background image

14

A

UTOMATIC


REDIAL

If no connection is established due to line errors or because the
correspondent's number is busy, the fax machine 

automatically

redials

 the number up to three times.

T

O


DIAL


A


FREQUENTLY


USED


CODE


AUTOMATICALLY

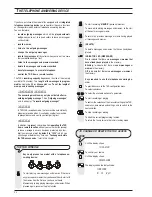
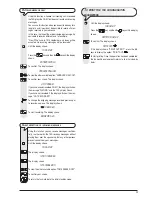
The fax machine will allow you to store a frequently used
code such as an area code or a code for access to an
alternative telephone operator.


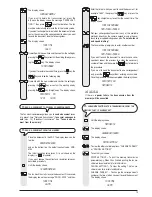
Until the display shows:

INSTALLATION


Until the display shows:

OTHER CARR.:ON


The display shows:

ENTER NAME:

-

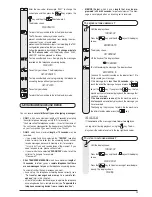
Enter the name that identifies the area of the code or the
name of the alternative telephone operator and then press

the 

 key or confirm the one set by pressing the

 key directly. The display shows:

TYPE PREFIX:
(0 - 9):

-

Enter the new code (max. 6 digits) and then press the

 key or confirm the one set by pressing the 

key directly. The display shows:

ENTER ACRONYM
(A - Z):

-

Enter the acronym to be used to identify the code on the

display (1 character) and then press the 

 key or

confirm the one set by pressing the 

 directly.


To return the fax machine to the initial stand-by mode.

note

Automatic code dialling is activated by pressing the 

 key

before dialling the correspondent’s number.
If the fax machine is connected to a private line (PBX), the

 key is to be pressed twice before dialling the corre-

spondent's number. In either case, the document must be
placed in the ADF.

T

O


SEND


A


DOCUMENT


AT


A


PRESET


TIME

  (

BROADCAST

TRANSMISSION

)

This function enables you to 

solve time zone problems

 if

your correspondent is located thousands of kilometres away
and to 

avoid paying high prices

 by choosing time bands

when there is less traffic on the telephone lines.

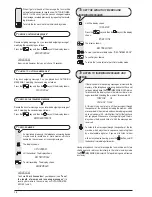
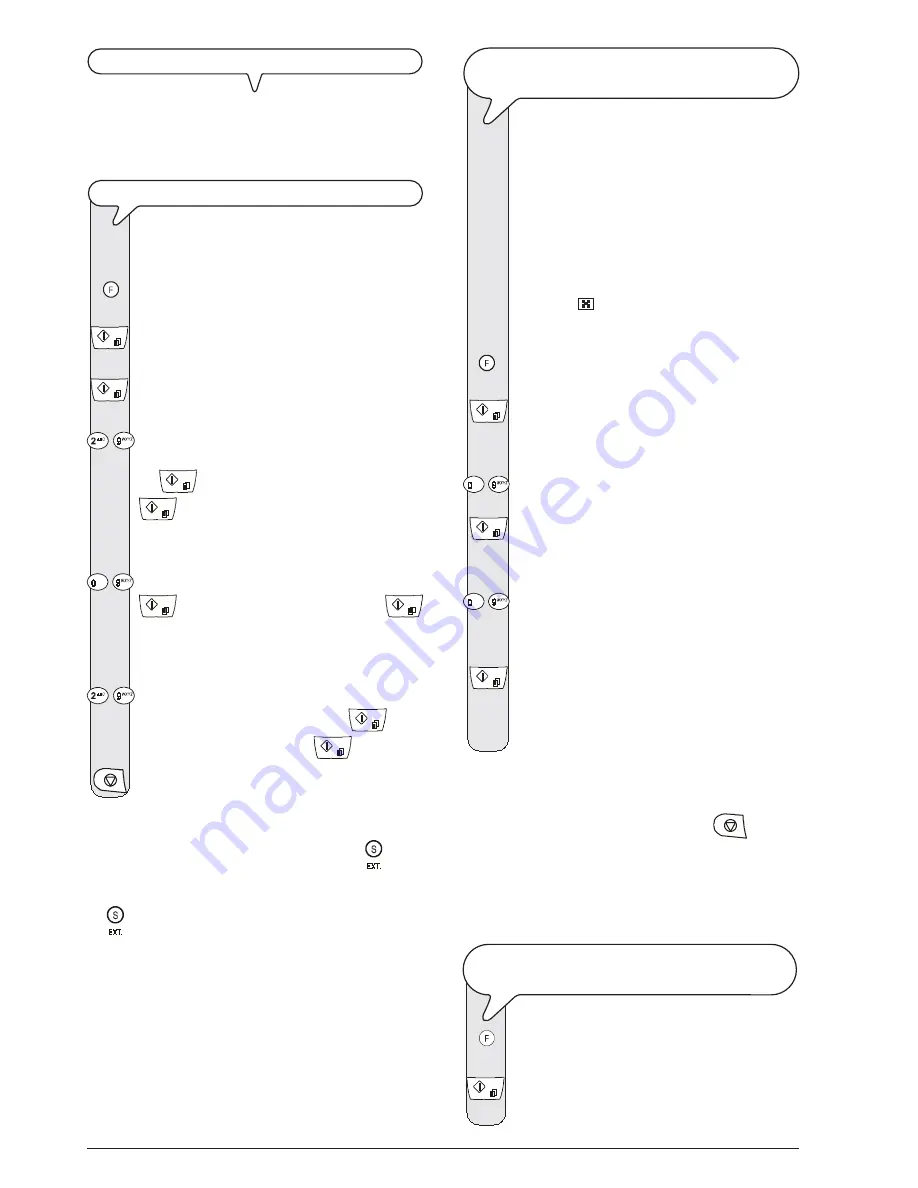
Place the document in the ADF. The display shows on the
top line:

DOCUMENT READY

and on the bottom line, the default contrast value: NOR-
MAL.

The initial resolution value (even if it is not shown on the
display) is: "

" (standard).

If you want, change the contrast and resolution values as
described previously.


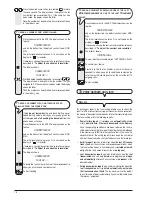
Until the display shows:

DELAYED TX


The display shows:

TYPE TIME

HH:MM

-

Enter the time at which you want to send the document. For
exemple "16:50".


The display shows:

TYPE FAX NUMBER

NUM/TOUCH/SPEED

-

Dial your correspondent’s number in any of the available
methods: directly on the numeric keypad or using the one-
touch keys or speed dialling codes (see "

To set one-touch

and speed dialling

").


To confirm the setting. The display shows "TX SET" for a

few seconds and then:

AUTOMATIC     OO

TX AT        16:50

note

You can delete the "broadcast transmission" setting by remov-

ing the document from the ADF or pressing the 

 key.

note

If there is 

a power failure

,

 the broadcast transmission

will be cancelled

.

T

O


CHANGE

/

DELETE


A


BROADCAST


TRANSMISSION


THAT


IS

ALREADY


SET


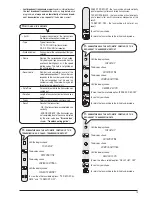
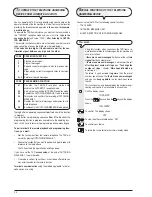
Until the display shows:

DELAYED TX


The display shows:

ALREADY ENTERED

Содержание Fax-Lab 220

Страница 1: ...Ink Jet Fax Fax Lab 220 270 Instructions...

Страница 2: ...nformance is certified by the application of the mark to the product Networkcompatibilitydeclaration This product has been designed and developed to operate in the networks of all European Community c...

Страница 3: ...12123456789012345678901234567890121234567890123456789012345678901 12345678901234567890123456789012123456789012345678901234567890121234567890123456789012345678901 12345678901234567890123456789012123456...

Страница 4: ...21234567890123456789012345678901212345678901234 12345678901234567890123456789012123456789012345678901234567890121234567890123456789012345678901212345678901234 12345678901234567890123456789012123456789...

Страница 5: ...RS 22 TO MAKE A COPY 23 WHAT DOCUMENTS CAN BE COPIED 23 TO MAKEACOPY 23 THE TELEPHONE ANSWERING DEVICE 24 THE TAD CONSOLE 24 TO CHANGE OR DELETE THE TADACCESS CODE 24 OUTGOING MESSAGESAND MEMOS 25 TO...

Страница 6: ......

Страница 7: ...or receive telephone calls as the keypad will be disabled If it is essential that you make a call in this situation you must use an emergency telephone approved by the telephone company and connected...

Страница 8: ...le into the wall telephone line socket see diagrams case 1 case 2 or case 3 CONNECTING THE EXTERNAL ANSWERING MACHINE BASE MODEL AND EMERGENCY TELEPHONE Case 1 connection 1 Place the fax machine on it...

Страница 9: ...TION GERMANY CORD FAX EMERGENCY TELEPHONE OR EXTERNAL ANSWERING MACHINE BASE MODEL Connection sockets OTHER DEVICES CASE 3 CONNECTION AUSTRIA CORD FAX EMERGENCY TELEPHONE OR EXTERNAL ANSWERING MACHINE...

Страница 10: ...NGUAGE AND THE COUNTRY OF DESTINATION The display shows the language in which the messages are displayed For example ITALIANO To select the desired language For example ENGLISH To confirm the setting...

Страница 11: ...nd by mode Re member that the stand by mode is the status in which it is idle and that it is the mode from which the machine can be programmed note If you have chosen the 12 hour time format the displ...

Страница 12: ...he print head has been inserted the fax machine starts the nozzle cleaning and checking procedure which is com pleted by the printing on the sheet loaded automatically of a diagnostic test sheet conta...

Страница 13: ...ave selected the letter A Until you have selected the letter R Until you have selected the letter A To confirm the name The display shows PHONE NUMBER Now enter the fax number as indicated below TO SE...

Страница 14: ...e area code or flash to access the public telephone network from the private telephone net work Set the same dialling mode tone or pulse as the one used by the public telephone exchange Until the disp...

Страница 15: ...es reso lution and contrast values and for the model with a built in telephone an swering device the total number of messages received Paper adjusting lever Plain paper feed compartment ASF Adjustable...

Страница 16: ...the memory that have already been played Blinking indicates that the memory contains documents that have not been printed mes sages or memos that have not been played Off indicates that the memory is...

Страница 17: ...tomati cally dials once set the tel ephone or fax number associ ated with them Cancels incorrect settings Inserts a pause during the dialling of the telephone or fax number Displays a list of the last...

Страница 18: ...y the document and send the copy or use a transparency with a rear sheet TO PLACE THE DOCUMENT IN THE ADF 1 Insert the automatic document feeder in the slot until it clicks into position Insert the do...

Страница 19: ...onsists of more than one sheet before pressing to unload the first remove all the others by hand TO HEAR THE DIALLING TONE WHEN SENDING A DOCUMENT Place the document in the ADF The display shows on th...

Страница 20: ...spondent s number In either case the document must be placed in the ADF TO SEND A DOCUMENT AT A PRESET TIME BROADCAST TRANSMISSION This function enables you to solve time zone problems if your corresp...

Страница 21: ...machine starts to save the document Once saved the display shows the message DOC N XXXX and then TYPE TIME HH MM Enter the time at which you want to send the document for exemple 16 50 then press the...

Страница 22: ...ut the reception in progress including the your correspondent s fax number or if programmed his name Once the document has been received the display shows the message RX COMPLETED for a few seconds an...

Страница 23: ...name are entered SPEED DIALLING Using codes 01 50 you can assign other fax numbers telephone numbers and names which will be automati cally dialled by pressing the key and typing the code Follow the f...

Страница 24: ...ays and automatically after each transmission or on request at the desired moment Failed transmission report also contains information about the last transmission but is printed automatically only whe...

Страница 25: ...cated by the error code see Error codes chapter Troubleshooting guide TO ENABLE DISABLE THE AUTOMATIC PRINTING OF THE TRANSMISSION AND FAILED TRANSMISSION REPORT Until the display shows FAX SET UP The...

Страница 26: ...STALLATION PARAMETERS AND THE BLACK LIST NUMBERS Until the display shows INSTALLATION The display shows TEL LINE SET UP Until the display shows PRINT INSTALL The display shows PRINT INSTALL To view th...

Страница 27: ...dialling chapter Basic trans mission and reception operations If you also associ ated a name with it the display will show this too Once the number has been dialled if the correspondent is free you ca...

Страница 28: ...e length of the call in minutes and seconds in the top right hand corner The display shows INCOMING CALLS To display the other available option OUTGOING CALLS To confirm your choice To find the teleph...

Страница 29: ...R MAL The display shows the default copy size contrast and reso lution settings 100 NORMAL and TEXT respectively The display shows COPY HIGH QUAL To view the other available option COPY NORMAL To conf...

Страница 30: ...ric code set by default to 1234 which you can change or delete at any time see To change or delete the TAD access code later in this chapter THE TAD CONSOLE Keys only present on model with a telephone...

Страница 31: ...not to hang up for example Please wait CALL TRANSFER MESSAGE which has a maximum length of 10 seconds to inform you on a remote telephone that there are new messages for you on the telephone answerin...

Страница 32: ...and incoming messages to record your memo in the same way as OUTGOING MES SAGES 1 and 2 TO SET THE LENGTH OF MEMOS AND INCOMING MESSAGES Until the display shows TAD SET UP Press the key and then the...

Страница 33: ...another one see To record the transfer message Now that you have programmed the TAD to transfer new messages to a remote location you can listen to them by operating the TAD in the same way as in the...

Страница 34: ...se to resume the programming phase press again To perform both the remote playback and programming func tions you must Dial the fax number from the remote telephone The TAD will answer by playing OUTG...

Страница 35: ...ot recorded it the display will show the mes sage NOT RECORDED To change the outgoing message recorded previously or to record a new one The display shows TO RECORD To start recording The display show...

Страница 36: ...se the SURPLUS ON setting the fax machine will always print the surplus text on another sheet If you choose the SURPLUS OFF setting the fax machine will not print the surplus text TO ENABLE DISABLE SI...

Страница 37: ...to display it as follows Until the display shows INSTALLATION The display shows TEL LINE SETU UP The display shows ENHANCED FEATUR Until the display shows CALLER ID ON To view the other available opt...

Страница 38: ...o view the other available values 3 4 8 10 or OFF For exemple 4 To confirm your choice To return the fax machine to the initial stand by mode TO ENABLE DISABLE RECOGNITION OF THE RING FREQUENCY In som...

Страница 39: ...ss the key to confirm and the key to return the fax machine to the initial stand by mode nOTE If you are connected to a private line follow the same proce dure until the display shows PUBL LINE PSTN p...

Страница 40: ...confirm your choice To return the fax machine to the initial stand by mode TO REDUCE THE TRANSMISSION SPEED The fax machine transmits regularly at a speed of 14400 bps bits per second A transmission...

Страница 41: ...or using the one touch dialling keys or speed dialling codes To confirm the setting The fax machine shows the message POLL SET for a few seconds and then returns automati cally to the initial stand by...

Страница 42: ...o errors on the line or fax machine the error LED lights up and a short beep is emitted in this case the fax machine automatically prints the transmission report see To print reports and lists chapter...

Страница 43: ...found Resume transmission of the pages indicated in the report 07 DOCUMENT TOO LONG The document to be sent is too long The time taken to send it exceeds the allowed limits Split up the document to be...

Страница 44: ...urred during the document copying phase prevent ing it from being printed check the type of fault on the display and correct it COVER OPEN You forgot to close the print head compartment cover close it...

Страница 45: ...DOCUMENT READY You have inserted the document in the ADF correctly LAST TX OK The last transmission was completed successfully LIFT HANDSET The correspondent has made a talk request lift the handset t...

Страница 46: ...nostic test Examine the diagnostic test result with reference to To install the print head chapter Opera tions essential for correct operation If you replaced the print head because of a deterioration...

Страница 47: ...lever as shown in the figure 3 Release the print head by pressing the levers and then remove it from its seat 4 Clean the electrical contacts using a slightly damp cloth Do not touch the nozzles 5 Cle...

Страница 48: ...O REMOVE JAMMED SHEETS OF PAPER If the paper used to print the documents received or to copy docu ments gets jammed this condition is signalled on the display by the message PAPER ERROR PRESS Try to u...

Страница 49: ...thod CIS Scanning resolution Horizontal 8 pixel mm Vertical STANDARD 3 85 lines mm Vertical FINE 7 7 lines mm TRANSMISSION CHARACTERISTICS Transmission speed ca 7s 14400 bps ca 11s 9600 bps ADF capaci...

Страница 50: ......

Страница 51: ...Monochrome print head part number Single block print head P N B0336F...

Страница 52: ...255881V...

Отзывы: