12
At first startup, check that the Water Tubes are connected properly to avoid any water leakage.
3.
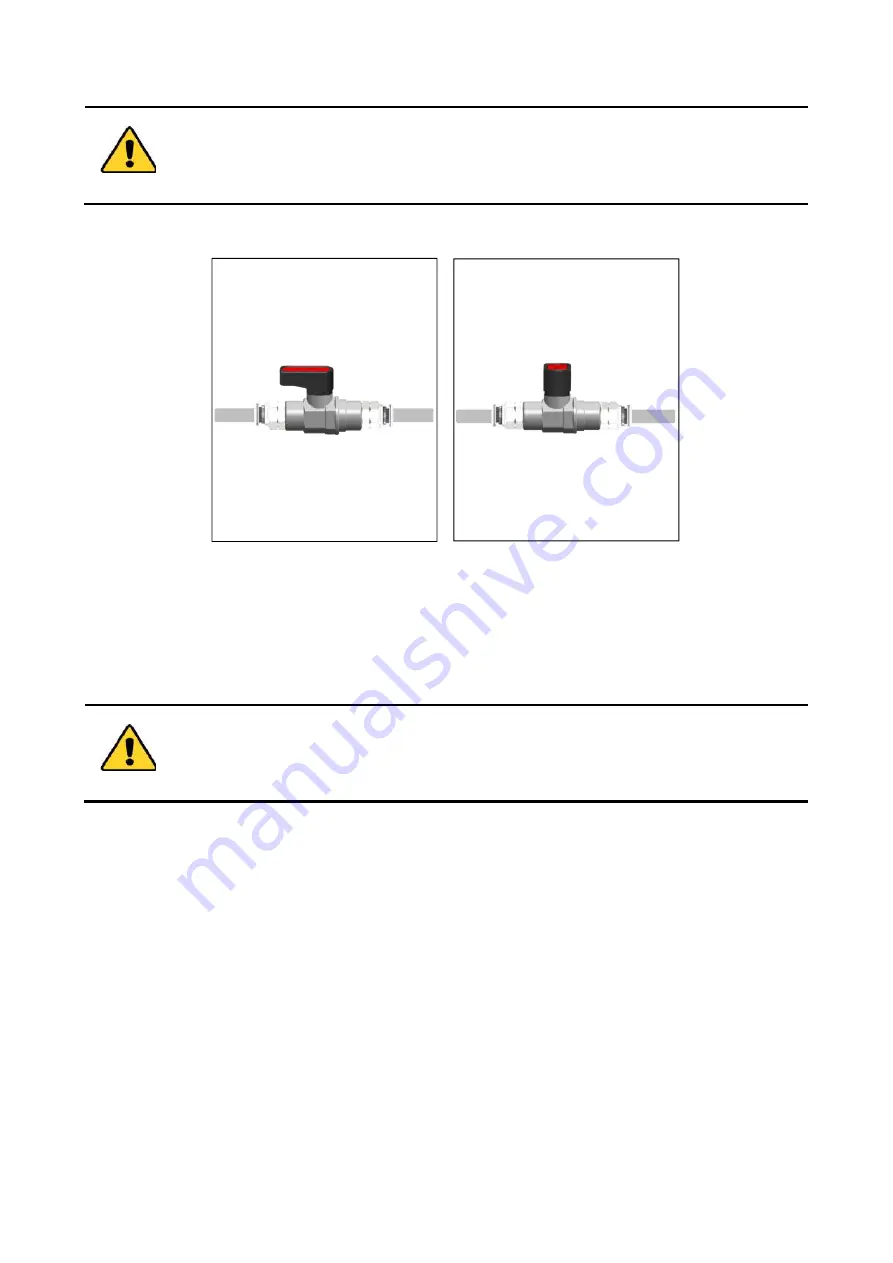
Make sure that the valves along the Water Tubes are in the opened position (see Figure 11, a).
CLOSED
OPENED
b
a
Figure 11.Opened and closed position of the valve (a -b).
Note
►
Close the valves before disconnecting the Water Tubes.
4.
Prepare the cooling mixture adding 5 liters of KRYO 30
–
LZB 109 to 5 liters of distilled water to obtain a
freezing temperature of about -15°C. The total amount of the cooling mixture should be about 10 liters.
Ensure that the water meets the required criteria. See Chiller’s User Manual (paragraph 4.4
“Cooling Water”).
5.
Close the Drain Plug
(see the Chiller’s User Manual pag. 16)
. Turn the Drain Plug clockwise as far as
the stop.
6.
Fill the Chiller with the cooling mixture. Check the level indicator placed on the front panel of the
Chiller. The top arrow of the level indicator (see pointer 1 in Figure 12) indicates the maximum level
allowed by the Chiller. The bottom arrow (see pointer 2 in Figure 12) indicates the minimum
permissible level.


