ES 1220n Menu Functions • 172
Menu Functions
This section lists the menus accessed via the controls on the printer’s
operator panel and displayed in the LCD window.
Many of these settings can be overridden by settings in the Windows
printer drivers. However, several of the driver settings can be left at
“Printer Setting,” which will then default to the settings entered in
these printer menus
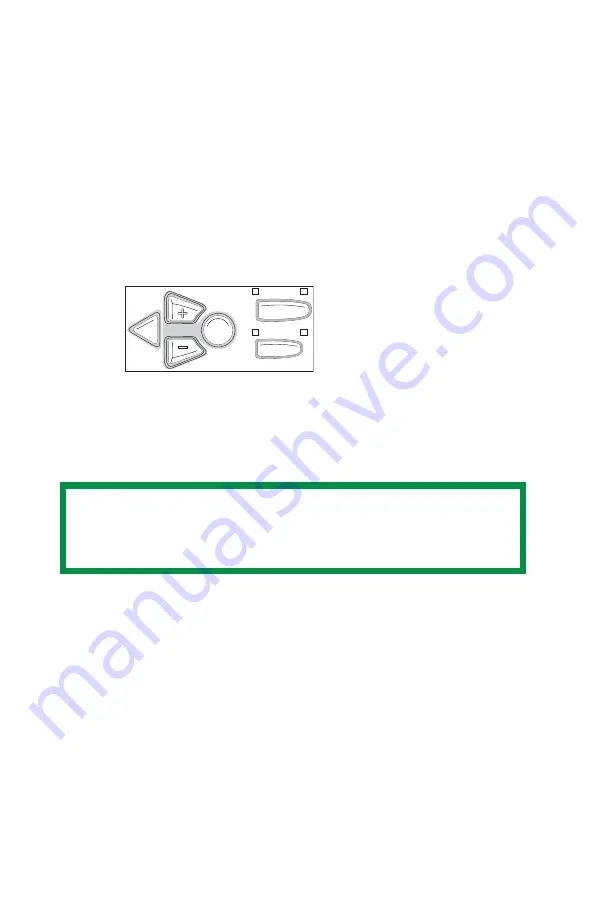
How To Make Changes in The Menus
1.
Press
+
to enter the menu mode.
2.
Press
+
or
–
to scan through the available menus until the menu
you wish to enter appears on the display.
3.
Press
ENTER
to enter the menu.
4.
Use
+
/
–
to move up and down through the items in the selected
menu. When the item you want to change is displayed, press
ENTER
to edit that item.
5.
Use
+
/
–
to move up and down through the available settings for
this item.
NOTE
The menus and their various listings will vary depending on
which options you have installed on your printer.
B
ACK
E
NTER
O L
N INE
C
ANCEL
M
ENU
Содержание ES1220n
Страница 1: ...59356001 User s Guide Windows...
Страница 23: ...ES 1220n Loading Paper 23 1 Open the MP Tray...
Страница 135: ...ES 1220n PCL Emulation Driver 135 3 On the Setup tab under 2 Sided Printing select Long Edge or Short Edge 4 Click Print...
Страница 225: ...ES 1220n Replacing Consumables 225 9 Close and latch the top cover...
Страница 232: ...ES 1220n Replacing Consumables 232 11 Remove the silica gel pack 12 Place the image drum in the printer...
Страница 233: ...ES 1220n Replacing Consumables 233 13 Remove the orange drum seal 14 Install the toner cartridge in the image drum...
Страница 234: ...ES 1220n Replacing Consumables 234 15 Push back the toner cartridge lock lever 16 Close and latch the top cover...
Страница 244: ...ES 1220n Replacing Consumables 244 8 Close and latch the top cover...
Страница 252: ...ES 1220n Clearing Paper Jams 252 5 Close the rear exit 6 Close the top cover...
Страница 260: ...ES 1220n Clearing Paper Jams 260 3 Close the front cover...
Страница 262: ...ES 1220n Clearing Paper Jams 262 2 Remove any jammed sheets...
Страница 264: ...ES 1220n Clearing Paper Jams 264 3 Pull the duplexer lid to unlock it 4 Open the lid and remove the jammed sheet...
Страница 267: ...ES 1220n Clearing Paper Jams 267 2 Open the front cover 3 Remove any jammed sheets 4 Close the front cover...
Страница 269: ...ES 1220n Clearing Paper Jams 269 2 Remove any jammed sheets 3 Close the front cover...


