background image

71

Advanced operations

External dryer system control information

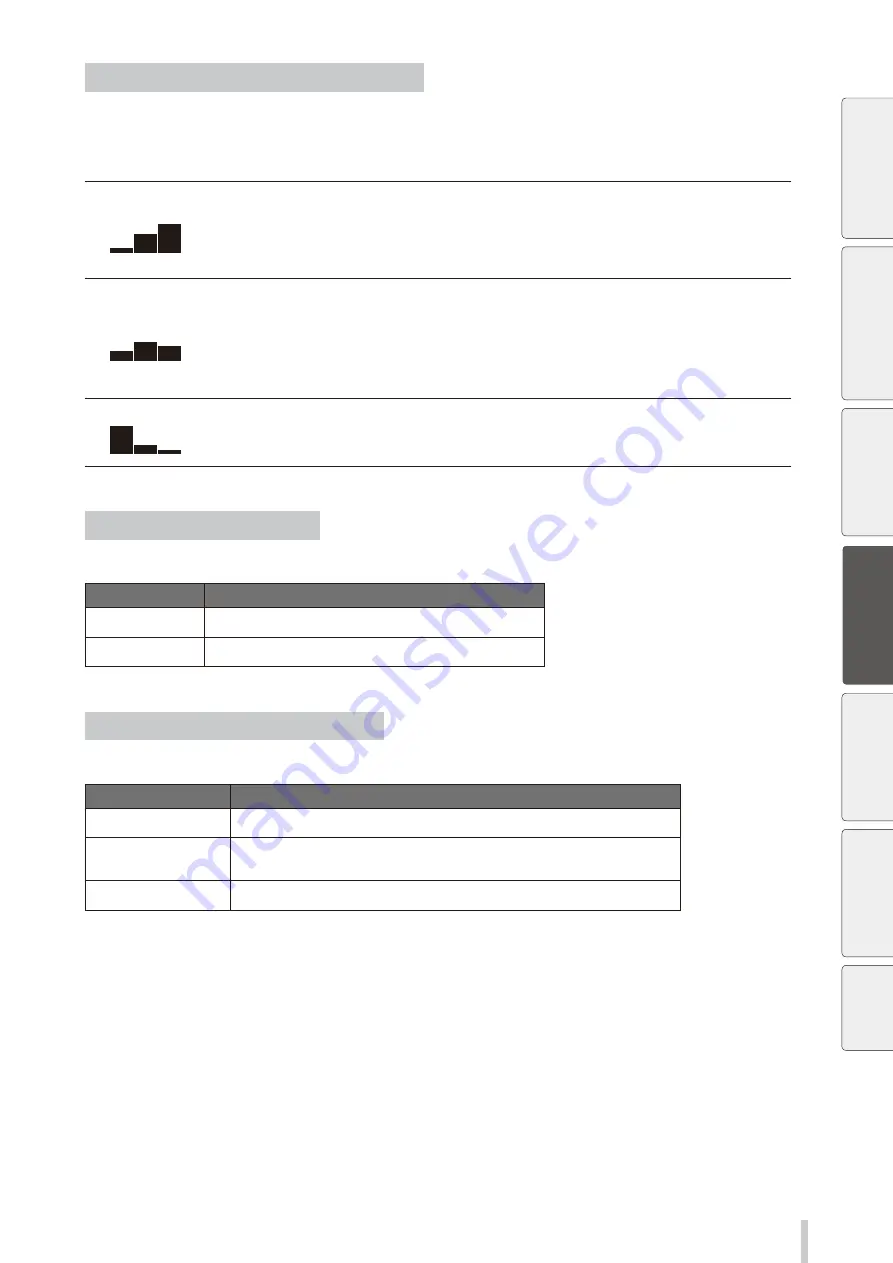
When Ext is displayed at the bottom left of the panel, press the Up or Down button to change the external dryer 
system control.

- Preheating mode:

- Normal operation:

- Heater temporarily OFF:

Starts preheating of the external dryer system.
Use this mode to warm the external dryer system in advance.
*  When printing starts in this mode, the printer switches automatically to the normal operation.
  The external dryer system turns off automatically 20 minutes after this setting has been set.

- Preheating mode:

- Normal operation:

- Heater temporarily OFF:

The external dryer system starts with the printing operation.
The external dryer system remains turned off until the printing starts.
*  The external dryer system takes between 10 and 15 minutes to reach the desired temperature.
  (The required time varied depending on the ambient temperature.)
  The external dryer system turns off automatically 20 minutes after the printing ends.

- Preheating mode:

- Normal operation:

- Heater temporarily OFF:

Turns the external dryer system off.
*  When printing starts in this mode, the printer switches automatically to the normal operation.

External dryer system status

Displays the on/off status of the external dryer system

Display

Description

OFF

The external dryer system is turned off.

ON

The external dryer system is turned on.

External dryer system warming state

The external dryer system warming state is displayed as follows.

Display

Description

--------

(The external dryer system is turned off.)

WARMING UP

The external dryer system is on and did not reach the temperature yet 
(still warming up).

READY

The external dryer system reached the desired temperature.

In preheating mode, the external dryer system can operate continuously for a maximum of 20 minutes (including 
the warming up time).
Note that the following actions cancel the preheating mode.
- Releasing the grip lever
- Opening the front cover

Be

fo

re

 p

rin

tin

g

Prin

tin

g o

re

fle

ctiv

e s

he

eti

ng

M

ai

nt

enan
ce

A

dv

an

ce

op

er

ati

on

s

Trou
ble

sh

oo

tin

g

M

enu

 tr

ee

Ap
pe

nd

ix

Содержание ColorPainter M-64S

Страница 1: ...User s Guide ColorPainter M 64s Traffic Sign Printer with 3M SX Ink Before printing Printing on reflective sheeting Maintenance Advanced operations Troubleshooting Menu tree Appendix...

Страница 2: ...o comply with the limits for a Class A digital device pursuant to Part 15 of the FCC Rules These limits are designed to provide reasonable protection against harmful interference when the equipment is...

Страница 3: ...Inkjet Printer User s Guide The following items should be read before using the external dryer system to ensure correct and safe operations of this system Safety precautions Components delivered with...

Страница 4: ...reflective sheeting Install the take up reel unit Print from the RIP software Unfold the dust cover Install the external dryer system Remove the printout from the take up reel unit page 24 page 34 pa...

Страница 5: ...TUR unit 35 Installing the external dryer system 39 External dryer system installation procedure 39 Printing from the RIP software 40 Specify the traffic colors with the design tool 40 Traffic color s...

Страница 6: ...lines marked with this symbol could result in minor personal injury or damage to the product Example of symbols This symbol Triangle denotes items that require special care while executing a certain p...

Страница 7: ...revent them from falling Dropping a media roll could cause personal injury or damage to the printer It is recommended to carry media rolls with a dolly Be careful not to let ink come into contact with...

Страница 8: ...d all these instructions before installing or using the external dryer system z z All wiring to the external dryer system must be connected to the electrical source in strict accordance with all local...

Страница 9: ...in a cool and dark place z z Avoid rapid temperature change to prevent condensation z z Do not store media upright A media stored upright may be deformed move on the roll due to its weight or may its...

Страница 10: ...come off if the surface is rubbed hard or scratched z z The printed image may bleed or disappear if scratched or left while being wet Other precautions z z Media loses its color and quality with age...

Страница 11: ...cates useful information additional items and important operations Reference mark This mark is followed by a reference section or page number Capping unit side and maintenance area side To identify th...

Страница 12: ...Check that the following items are contained in the reflective sheeting kit If an item is missing or damaged please contact your dealer or a service representative External dryer system x1 Bar type io...

Страница 13: ...the printer for replacement of consumables and parts print processing and ventilation during normal operation and maintenance Secure the space shown in the figure below 1000 3900 6100 4300 400 1500 4...

Страница 14: ...ear a fire z z Places exposed to direct sunlight z z Places subject to vibration z z Places with excessive dust z z Places subject to extreme changes in temperature or humidity z z Places near an air...

Страница 15: ...15 Before printing Printing on reflective sheeting Maintenance Advanced operations Troubleshooting Menu tree Appendix Before printing...

Страница 16: ...ng Control box Controls the external dryer system and the bar type ionizer The state lit blinking off of the LEDs of the control box indicates the status of the external dryers and the bar type ionize...

Страница 17: ...ations Troubleshooting Menu tree Appendix Bar type ionizer Removes static electricity from the reflective sheeting Operates only when printing on reflective sheeting Extra ionizers Removes static elec...

Страница 18: ...t for 100 V AC Power on procedure 1 Turn the printer on before turning the control box on Refer to page 38 in the IP 6620 Color Inkjet Printer User s Guide 2 Check that the three switches POWER SUPPLY...

Страница 19: ...ER and SSR 2 POWER CAUTION When turning the control box on the self check function may take up to three minutes to complete in case the external heaters are hot Before printing Printing on reflective...

Страница 20: ...Before printing Power off procedure 1 Turn off the SSR 1 POWER and SSR 2 POWER 2 Turn the POWER SUPPLY POWER off 3 Turn the printer off Refer to page 38 in the IP 6620 Color Inkjet Printer User s Gui...

Страница 21: ...print traffic signs Usually glue on the back of the media makes it possible to stick it after removing the release paper Ask your dealer for more details Before printing Printing on reflective sheetin...

Страница 22: ...the media mismatch error has occurred to print without using the function Although a warning message is displayed and a warning beep is emitted printing can be performed See page 31 for more informati...

Страница 23: ...23 Before printing Printing on reflective sheeting Maintenance Advanced operations Troubleshooting Menu tree Appendix Printing on reflective sheeting...

Страница 24: ...attached to the roll tube with adhesive this adhesive may adhere to the paper guide or the platen In this case be sure to remove all adhesive before loading the new media 2 Pipe Dust cover Hook and l...

Страница 25: ...ight 5 Install the media jack and media support Since the left side of the media will be installed first install the media jack on the capping unit side and the media support on the maintenance side I...

Страница 26: ...ing parts leading to an injury Media orientation printing surface 7 Turn the media jack s handle clockwise to raise the media until the roll tube is aligned with the media holder Note Pay attention no...

Страница 27: ...e to lower and remove the jack Then put the media jack and the media support away Note If you leave the media jack or the media support in place under the roll media the media may curl or be damaged w...

Страница 28: ...not use heavily curled media Make sure that the leading edge of the media does not touch the front cover If the media forms a curve straighten it before the installation Check that the media edge gua...

Страница 29: ...of the media with your hand wear a glove to prevent soiling of the media surface with your fingerprints 17 Put the pressure roller lever to the lowest position From here continue the procedure followi...

Страница 30: ...1 PAPER Select the media type Select a registered media type using the Up and Down buttons then press the OK button Media preset for reflective sheeting 07 RFLTIV is set by default as the preset for r...

Страница 31: ...online or offline state If the operation fails an error message is displayed Media position error INCORRECT MEDIA POS RELOAD MEDIA Media mismatch error when the reflective sheet mode is on RFL SHEET M...

Страница 32: ...but follow the procedure below if you want to stop the warning beep 1 PRINTER READY 01 PAPER 1626mm Press the MENU button 2 MENU 2INFORMATION Press the Down button to select SETTING 3 MENU 2SETTING Pr...

Страница 33: ...h at once but perform the back feed operation while winding the media by hand to remove any slack that is forming Procedure to monitor remaining media Refer to page 53 in the IP 6620 Color Inkjet Prin...

Страница 34: ...t be guaranteed Only the tension mode in the outer take up direction is supported when printing on reflective sheeting Note Refer to page 60 in the IP 6620 Color Inkjet Printer User s Guide for detail...

Страница 35: ...he right media holder in the off position Inner take up Winding off Outer take up 2 Move the guide bar to the standby position 3 Hold the front pipe of the TUR unit by the center and pull the TUR unit...

Страница 36: ...right flange into one end of a paper tube 5 Move the left flange and insert it into the other end of the paper tube 6 Tighten the knob screw on the left flange to secure the position 7 Feed the media...

Страница 37: ...Rotate the tube one turn to prevent the media from detaching from the tube To take up the media either rotate the flange manually or use the take up reel switch while feeding the media Switch between...

Страница 38: ...Printing on reflective sheeting 12 Set the take up direction switch In loose mode always select outer take up direction Refer to the figure below to set the switch Inner take up Winding off Outer take...

Страница 39: ...r legs Pay attention that the cable connected to the external dryer system does not get caught into or under the external dryer system casters when moving the system To move the external dryer system...

Страница 40: ...how to specify the colors of traffic signs designed using the FlexiPRINT CUT Authorized 3M Traffic Edition for OKI software by SAi with spot colors 1 Click the FlexiPRINT CUT Authorized 3M Traffic Ed...

Страница 41: ...Show None and select the target color Even when the design is complex it is easy to select the object since only the target color is displayed 3 The mark in the palette changes to the traffic color Se...

Страница 42: ...gnEditor in the View menu 3 In the DesignEditor window click the Objects tab and click the icon to display the hidden objects Find the target object using the colors of the icons on the left of the pa...

Страница 43: ...he choke spot color objects option at the bottom left of the page and specify the distance 3 Send the file to Production Manager Note that the distance should probably be smaller than illustrated left...

Страница 44: ...nt to use Notes The preset specified here must match the preset selected in the Default Job Property window of Production Manager If reflective sheeting has been newly installed to the printer or if t...

Страница 45: ...B Job Property screen in Flexi Production Manager 1 1 2 3 4 Check the Edges Guards and Color Stripe Bar settings of the media preset currently applied to the printer in CP_ Manager 1 Launch CP_Manager...

Страница 46: ...the left and right margins in addition to the roll width 2 Refer to the table to enter the left and right margin values in the corresponding fields on the RIP and Print screen The margin values must...

Страница 47: ...nd as mentioned above but the media is rewound and the next printing job is started in the middle of the drying operation Since the printed surface of the previous job will pass through the external d...

Страница 48: ...ing performed the ink may transfer to another page or peel because it has not dried sufficiently To cancel the drying operation 1 DRYING REQUIRED TIME YY YY Press the CANCEL button 2 CANCEL DRYING OK...

Страница 49: ...comes very hot Never touch this location Otherwise there is a risk of burn The external dryer system is connected to the printer with a cable Do not separate the external dryer system from the printer...

Страница 50: ...d has passed the output paper guide 2 Cut the media slightly after the edge of the output paper guide Note Pay attention not to damage the output paper guide with the cutter 3 Check that the guide bar...

Страница 51: ...to the level of the media 2 When the jack supports the media slide the right media holder to remove it from the media roll Notes Do not raise the media jack too high when the media is still installed...

Страница 52: ...Close the dust cover Then fold it and attach it with the five hook and loop fasteners Notes Hold the pipe with both hands when handling the dust cover Pay attention not to catch your fingers when han...

Страница 53: ...oll is heavy use tools to help you and remove the media using the loading procedure in the reverse order Be careful that the media does not fall when removing the media holders from the roll Workers m...

Страница 54: ...54 Printing on reflective sheeting...

Страница 55: ...55 Before printing Printing on reflective sheeting Maintenance Advanced operations Troubleshooting Menu tree Appendix Maintenance...

Страница 56: ...rinting on reflective sheeting Extra ionizer cleaning Edge sensors cleaning Dust cover cleaning Cleaning of the sensors for automatic print adjustment Ionizers cleaning Each part above should be clean...

Страница 57: ...s how to clean the extra ionizers 1 PRINTER READY 01 PAPER 1626mm Press the MAINTENANCE button 2 MAINTENANCE 2START MAINTENANCE Press the DOWN button to select CLEAN EXTRAIONIZER 3 MAINTENANCE 2CLEAN...

Страница 58: ...Maintenance Procedure in CP_Manager The following procedure explains how to clean the extra ionizers 1 Click the Maintenance tab 2 Click the Extra Ionizers Cleaning button in the Maintenance tab To st...

Страница 59: ...er issues a warning beep Refer to page 198 of the User s Guide supplied with your printer 6 OPEN COVERS AND CLEAN EXTRA IONIZERS Open the front cover and then the maintenance area cover 7 Connector Un...

Страница 60: ...60 Maintenance 8 fasteners Remove the fasteners securing the right and left extra ionizers fasteners 9 Remove the extra ionizers from the printer...

Страница 61: ...o remove the louvers it may help to lift them slightly when sliding them 11 Clean the six discharge needles circled areas in the picture inside the extra ionizers using the supplied brush Before print...

Страница 62: ...he louvers need to be correctly oriented when installed Make sure that their front side is oriented outward when installing them Front side with protrusion Back side no protrusion Louver both sides ap...

Страница 63: ...asteners and then connect the connectors 14 CLEAN EXTRA IONIZERS AND CLOSE COVERS Close the maintenance area cover and the front cover 15 CARRIAGE IS MOVING PLEASE WAIT Carriage stops moving 16 MAINTE...

Страница 64: ...on to select PH MAINTENANCE 3 MAINTENANCE 2PH MAINTENANCE Press the OK button 4 PH MAINTENANCE 2SET PH FOR CHECK Press the Down button to select SET PH FOR CHECK and then press the OK button 5 SET PH...

Страница 65: ...th the cleaning swab to remove the ink mist that adhered Note Do not put anything on the cleaning swab when cleaning Otherwise it may cause a malfunction of the sensors 9 CHECK PRINT HEADS THEN CLOSE...

Страница 66: ...adhere to the media and create white or black marks on the printout or other problems related to the print quality Remove the dust accumulated on the dust cover using a dry soft cloth When doing so re...

Страница 67: ...67 Before printing Printing on reflective sheeting Maintenance Advanced operations Troubleshooting Menu tree Appendix Advanced operations...

Страница 68: ...EDIUM MEDIUM LOW LOW LOW LOW MEDIA ADVANCE MODE FORWARD ONLY FORWARD ONLY FORWARD ONLY FORWARD ONLY FORWARD ONLY BACK FWD MAX FORWARD ONLY MEDIA BACK MODE ON ON ON ON ON ON ON AUTO PH CLEANING BEFORE...

Страница 69: ...t tab in CP_Manager is as shown below When the reflective sheet mode is set on the values that are fixed and cannot be modified for printing are grayed out Before printing Printing on reflective sheet...

Страница 70: ...media heaters cannot be adjusted from the panel printing is performed with the temperatures set in the data 2nn 55 40 45 C Aft 40 40 45Pre HEATER 2nn ON Ext READY HEATER 2nn ON Ext READY External drye...

Страница 71: ...urns off automatically 20 minutes after the printing ends Preheating mode Normal operation Heater temporarily OFF Turns the external dryer system off When printing starts in this mode the printer swit...

Страница 72: ...ws in CP_Manager The external dryer system warming state is displayed as follows Display Description OFF The external dryer system is turned off WARMING UP The external dryer system is on and did not...

Страница 73: ...73 Before printing Printing on reflective sheeting Maintenance Advanced operations Troubleshooting Menu tree Appendix Troubleshooting...

Страница 74: ...g in the correct position Refer to page 28 for details on the reflective sheeting installation position Media mismatch error reflective sheet mode on RFL SHEET MODE ON CHECK LOADED MEDIA Meaning Altho...

Страница 75: ...An external dryer system error was detected during printing Action Check the following The external dryer system is correctly connected to the printer The external dryer system power supply is turned...

Страница 76: ...n this guide Connector Connector If this error occurs regardless of the connector being connected properly contact your service representative However if you want to continue printing without using th...

Страница 77: ...ction rows CHECK REFLECTIVE SHEET MODE STATUS Meaning The reflective sheeting setting reflective sheet mode of the media preset does not correspond to the type of the media installed in the printer Ac...

Страница 78: ...f check the connection of the cables between the control box and the heaters as well as the connection of the cable between the control box and the printer Then turn the control box on again If the al...

Страница 79: ...79 Before printing Printing on reflective sheeting Maintenance Advanced operations Troubleshooting Menu tree Appendix Menu tree...

Страница 80: ...istered YYYY Media advance setting priority after change Millimeters EDIT MEDIA PRESETS 2MISC SETTINGS MISC SETTINGS 2REMAINING MEDIA REMAINING MEDIA 2ZXXXgYYYm Z Registration mark A registration mark...

Страница 81: ...81 Before printing Printing on reflective sheeting Maintenance Advanced operations Troubleshooting Menu tree Appendix Appendix...

Страница 82: ...and right and left margins 5 mm When media edge guards are used right and left margins are 10 mm Power supply voltage M64s printer 200 V AC to 240 V AC 12 A 50 Hz 60 Hz External dryer system heater 1...

Страница 83: ...with the eyes to prevent breathing trouble or visual impairment If ink gets into your eyes wash it off with clean water and consult a doctor If it is swallowed do not try to induce vomiting but consul...

Страница 84: ...47260301EE Rev4...

Отзывы: