OCS SOFTWARE
OJMAR
23
4.3.3 Personalise installation
The “Change icon” button lets you select a different icon to the one that appears by default to be able to identify the locks you are
going to create better. In the installation CD provided by ojmar you can find different icons for OCS locks in the
“Icons”
folder.
You can change the icon at any moment, before creating the locks or later on, when they are already created.
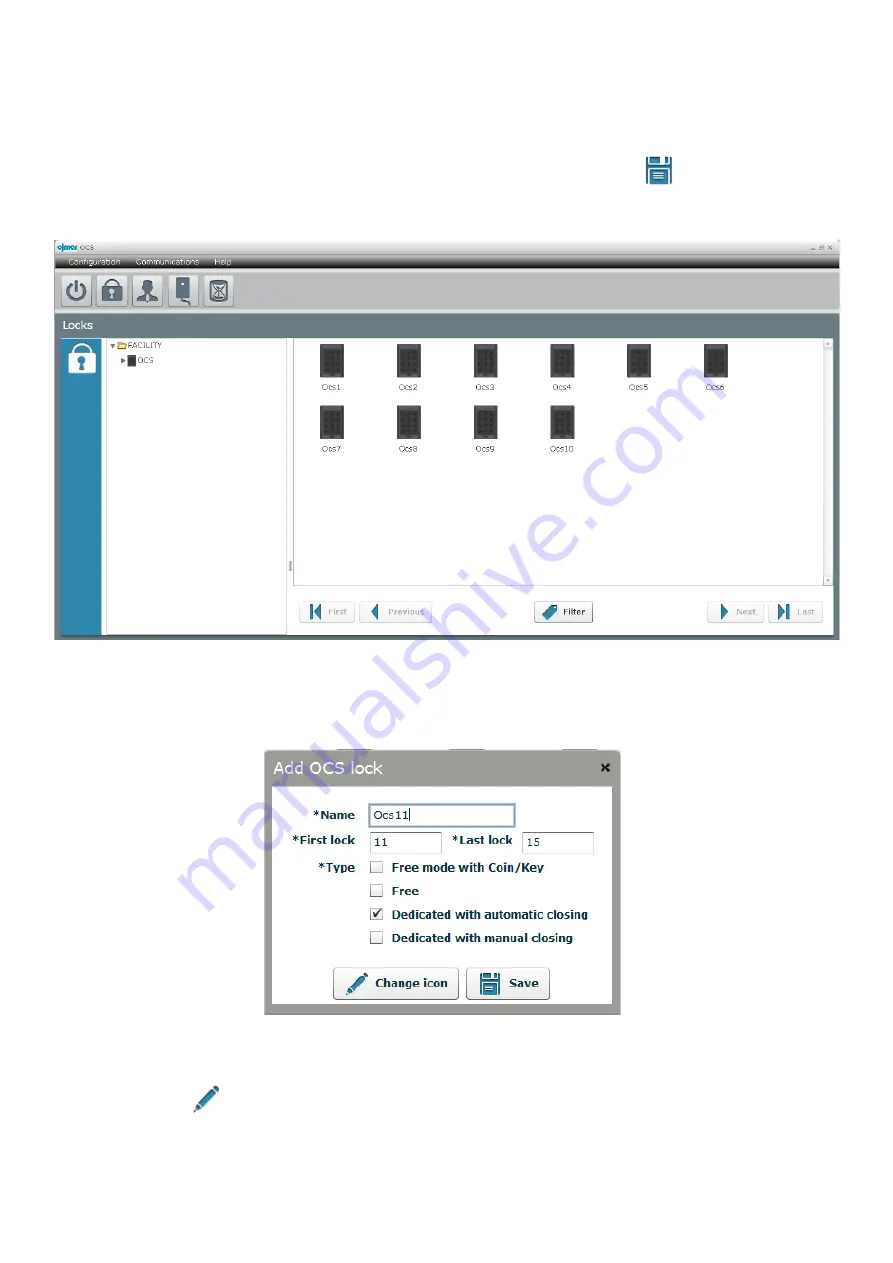
In the following example we are going to create ten free locks. After filling in the details we click “
Save” and the locks are
automatically created.
Figure 3.21.- Created free locks
We are now going to create another 5 locks, but this time of the automatic locked fixed model type.
Figure 3.22.- Adding dedicated locks
We are going to change the icon to tell them apart from the already created ones. To do so, we select the locks using the “Control”
or “Shift” key on the keyboard and keeping it pressed we double left click the mouse on one of the OCS icons. In the window that
appears, we click on “
Change icon” and we look in the dialogue box for the new image in the computer. For this example
we will use the image “OCS_Copper.PNG” included in the ojmar installation CD, in the
“Icons”
folder.


