Officine Gullo
12
OVEN ELECTRICAL SCHEME
Fig. D
LIBR.ALLEG.CF70GE 230Vac 230Vac3
563035700.doc
SCHEMA ELETTRICO , SCHALTPLAN, SCHEMA ELECTRIQUE , WIRING
DIAGRAM, ESQUEMA ELECTRICO
GN 2/1
549018805 M00_00
230V~ 50/60Hz
230V~3 50/60Hz
1-2
Commutatore
Schalter
Commutateur
Commutator
Conmutador
3
Morsettiera
Klemm-leiste
Bornier
Junction-box
Tablero de bornes
4
Resistenza
Widerstand
Résistance
Element
Resistencia
5
Spia bianca
weiße Kontroll-Leuchte Témoin blanc
White light
Luz indicadora blanca
6
Spia verde
grüne Kontroll-Leuchte
Témoin vert
Green light
Luz indicadora verde
7
Termostato sicurezza Sicherheits-thermostat
Thermostat de sécurité Safety thermostat Termostato de seguridad
8
Termostato
Thermostat
Thermostat
Thermostat
Termostato
1. Commutator
2. Commutator
3. Junction-box
4. Element
5. White light
6. Green light
7. Safety thermostat
8. Thermostat
13
Officine Gullo
INSTALLATION INSTRUCTIONS
This appliance is manufactured by OFFICINE GULLO S.r.l
Headquarters and factory
50012 Antella - Bagno a Ripoli (FI) Italy
via della Torricella, 29.
Tel. +39 055 6560324
In the US call
800 620 8490
Home page http:// www.officinegullo.com
E-Mail: [email protected]
Keep the appliance area free and clear from combustibles.
Not obstruct the flow of combustion and ventilation air.
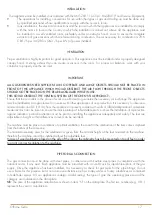
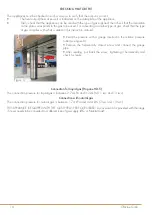
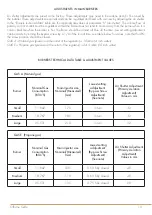
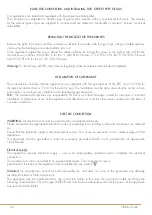
This manual shall be retained for future reference.
The manufacturer declines any responsibility for direct or indirect damage caused by improper or incorrect
installation, alterations, maintenance or use of the appliance, as in all the other cases considered in the items of our
sales conditions.
GAS PRESSURE REGULATOR
(Must be installed)
Each gas hook input (every element) is supplied with a separate pressure regulator that needs to be installed.
WARNING: Maximum input pressure is ½ PSI
The gas pressure regulator has to be placed back to the wall or behind the cabinetry next to the range, never
under it, connected with a flexible gas connecting hose.
For assembly proceed as follows:
• Fix the 90° elbow (1) to the income gas ramp.
•
Connect the flexible gas connecting hose (min lenght 39") to the elbow.
• Screw in the nipple piece (2) to the pressure regulator (3).
•
Connect the flexible hose to the nipple piece
.
Содержание GES8MPU
Страница 2: ...Officine Gullo 2...
Страница 25: ...25 Officine Gullo...
Страница 26: ...Officine Gullo 26...
Страница 27: ...27 Officine Gullo...


