


38
User manual
The status bar
The status bar at the bottom of the Océ Settings Editor displays the following
(from left to right).
■
The system status ('connected' or 'disconnected').
■
The system name ('local host' if you are working on the controller).
■
The user mode (key operator, system administrator or anonymous).
■
The view mode (KO Settings or SA Settings).
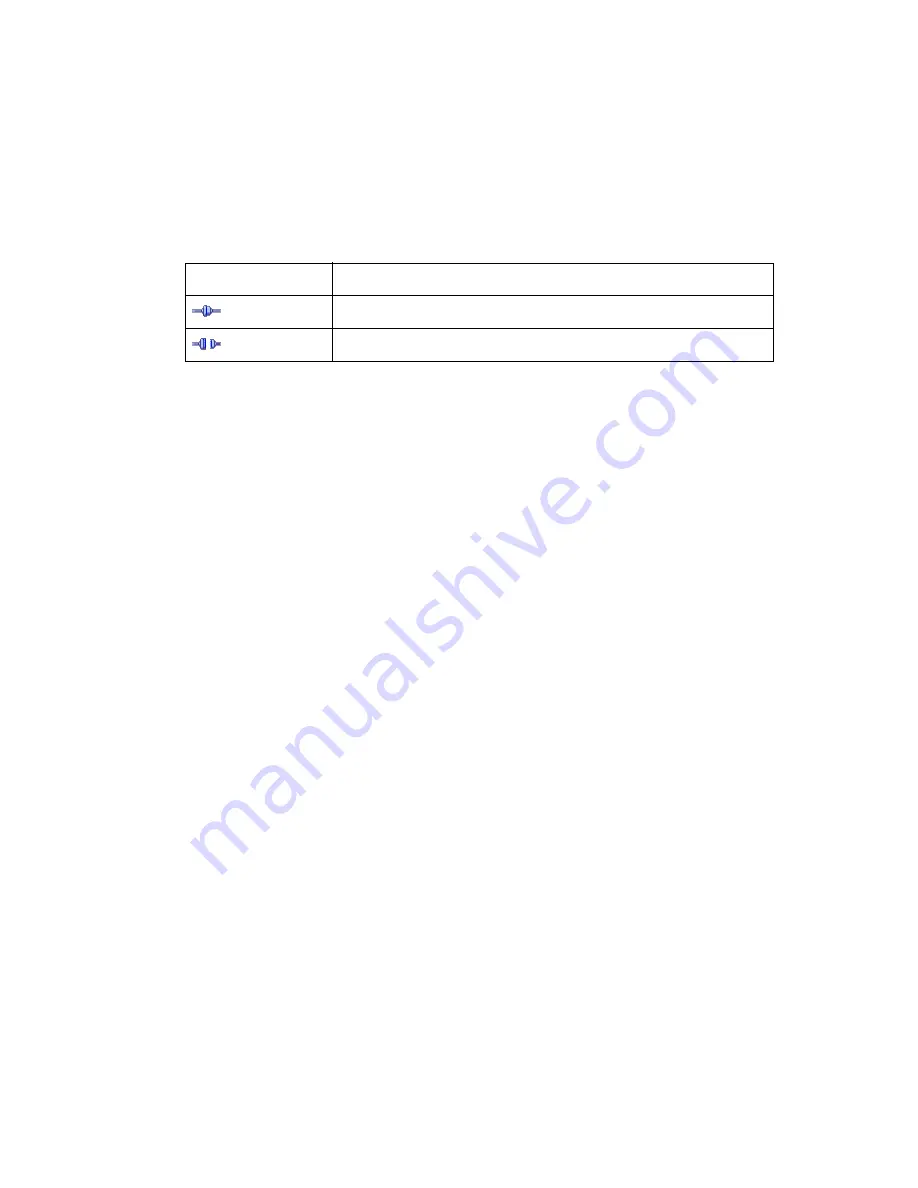
[8] The icons for the connection status
[8] The icons for the connection status
Icon
Description
The Océ Settings Editor is connected to a system.
The Océ Settings Editor is not connected to a system.
Содержание TDS400-CS
Страница 1: ...Oc TDS400 CS User manual...
Страница 4: ...4 User manual...
Страница 11: ...11 Oc TDS400 CS User manual Chapter 1 Introduction...
Страница 20: ...20 User manual...
Страница 21: ...21 Oc TDS400 CS User manual Chapter 2 Get to know the Oc TCS4 scanner...
Страница 27: ...27 Oc TDS400 CS User manual Chapter 3 Get to know the Oc Power Logic controller applications...
Страница 34: ...34 User manual 7 The left toolbar 7 The left toolbar...
Страница 35: ...Get to know the Oc Power Logic controller applications 35 8 The settings area 8 The settings area...
Страница 78: ...78 User manual...
Страница 79: ...79 Oc TDS400 CS User manual Chapter 4 Get to know the Oc TDS400 printer...
Страница 89: ...89 Oc TDS400 CS User manual Chapter 5 Get to know the finishing options...
Страница 95: ...95 Oc TDS400 CS User manual Chapter 6 Get to know the software applications...
Страница 107: ...107 Oc TDS400 CS User manual Chapter 7 Prepare the Oc TDS400 CS for use...
Страница 130: ...130 User manual...
Страница 131: ...131 Oc TDS400 CS User manual Chapter 8 Set up your workflow with the Oc Power Logic controller applications...
Страница 139: ...139 Oc TDS400 CS User manual Chapter 9 Control your workflow with the Oc Power Logic controller applications...
Страница 166: ...166 User manual...
Страница 167: ...167 Oc TDS400 CS User manual Chapter 10 Print jobs...
Страница 173: ...173 Oc TDS400 CS User manual Chapter 11 Copy jobs...
Страница 208: ...208 User manual...
Страница 209: ...209 Oc TDS400 CS User manual Chapter 12 Scan to file jobs...
Страница 229: ...229 Oc TDS400 CS User manual Chapter 13 Finish copy and print jobs...
Страница 243: ...243 Oc TDS400 CS User manual Chapter 14 Maintain the Oc TDS400 CS...
Страница 297: ...297 Oc TDS400 CS User manual Appendix A System specifications...
Страница 315: ...315 Oc TDS400 CS User manual Appendix B Miscellaneous...


