Intelligent Surveillance Solution
1. Main Console
page-
20
1
1
.
.
4
4
O
O
n
n
S
S
c
c
r
r
e
e
e
e
n
n
M
M
e
e
n
n
u
u
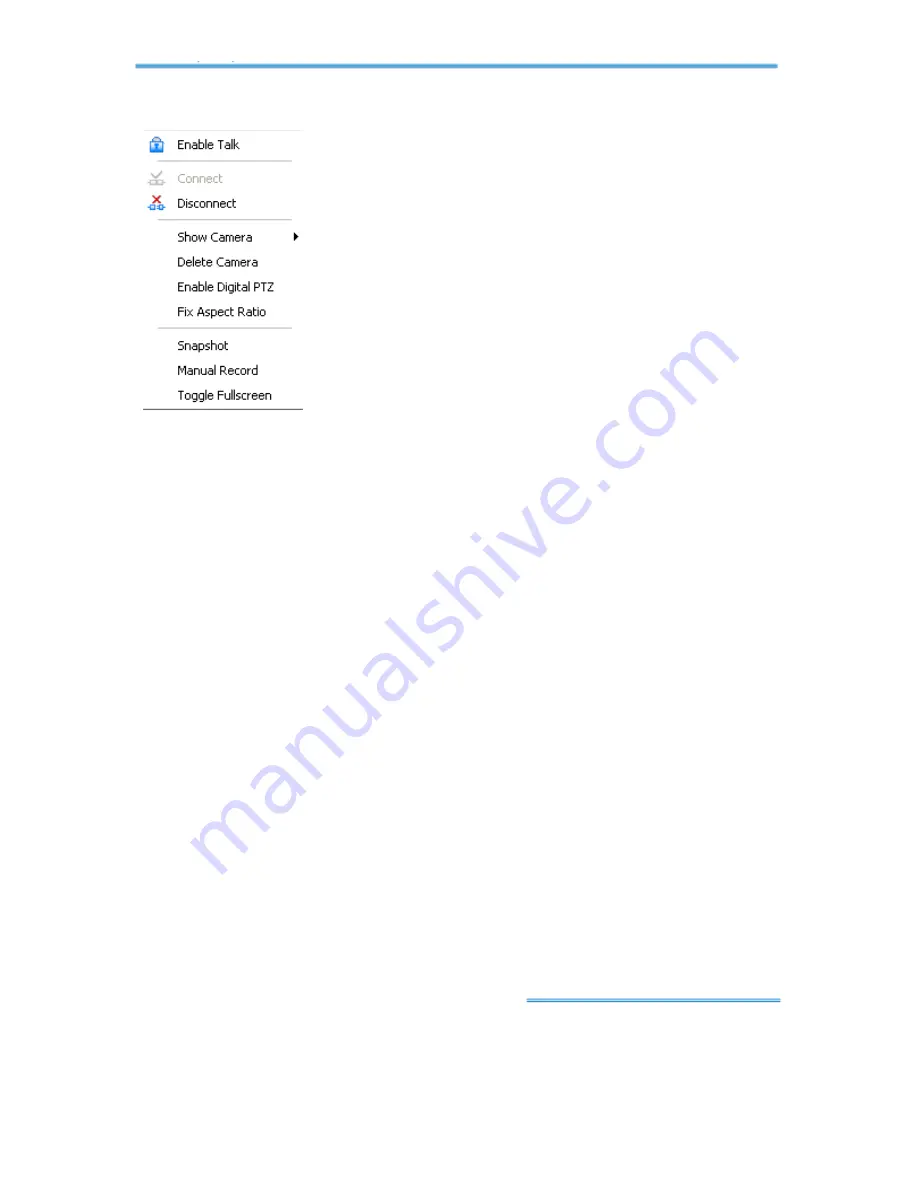
Right click on the camera screen and get the On
Screen Menu, from which you can
enable move,
enable digital PTZ
, and
connect/ disconnect
the
camera.
1.4.1 Enable Move:
With cameras that support PT
function, by selecting the enable move function, you
may adjust the camera’s view by clicking on the
display screen. To cancel this function, right click on
the screen and select
Disable Move
.
Note:
You can only work on current camera after
clicking
Enable Move.
1.4.2 Enable Talk:
With cameras that support two-way audio, you may
select enable talk to utilize the function.
1.4.3 Connect/ Disconnect:
Right click on the display screen and select
Connect/ Disconnect to modify the connecting status of the camera.
1.4.4 Show Camera:
Select the camera to be displayed from the Show
Camera Menu.
1.4.5 Delete Camera:
Click on Delete Camera to remove a camera from
the display screen. This does not delete the camera from the setting list.
1.4.6 Enable Digital PTZ:
To enable the PTZ functions of the camera, select
the Enable digital PTZ option.
When enable digital PTZ, we can use mouse
wheel to zoom in and zoom out on the camera.
Note:
Enable Digital PTZ
is the option function in IP+ software not in IP
software.
1.4.7 Fix Aspect Ratio:
For some special camera resolution, user can
enable Fix Aspect Ratio to view original ratio video, or disable this option
to stretch 3:4 to fit window.
1.4.8 Snapshot:
Select the snapshot function to capture a specific video
image immediately. You have the options to copy the image to the
clipboard or to save it.
1.4.9 Manual Record:
Start recording video by selecting manual record.
1.4.10 Toggle Full Screen
:
To view a specific channel with full screen.


