


NTI SERIMUX SERIES CONSOLE SWITCH
30
Firmware Upgrade
It may be desired to upgrade the firmware that controls the SERIMUX as soon as improved versions become available. Once the
firmware file has been downloaded from
www.networktechinc.com
to a local CPU, follow these instructions to install it.
1. Log-in as administrator, at ports 0 or 1 (port configured for 9600 bps, 8-bit, no parity, 1 stop bit).
Note: During the transfer and the internal upgrade, all ports (except ports 0 and 1) and all users are disconnected.
2. Locate on the local hard disk the binary file containing a valid firmware version (downloaded from the NTI website at
www.networktechinc.com)
.
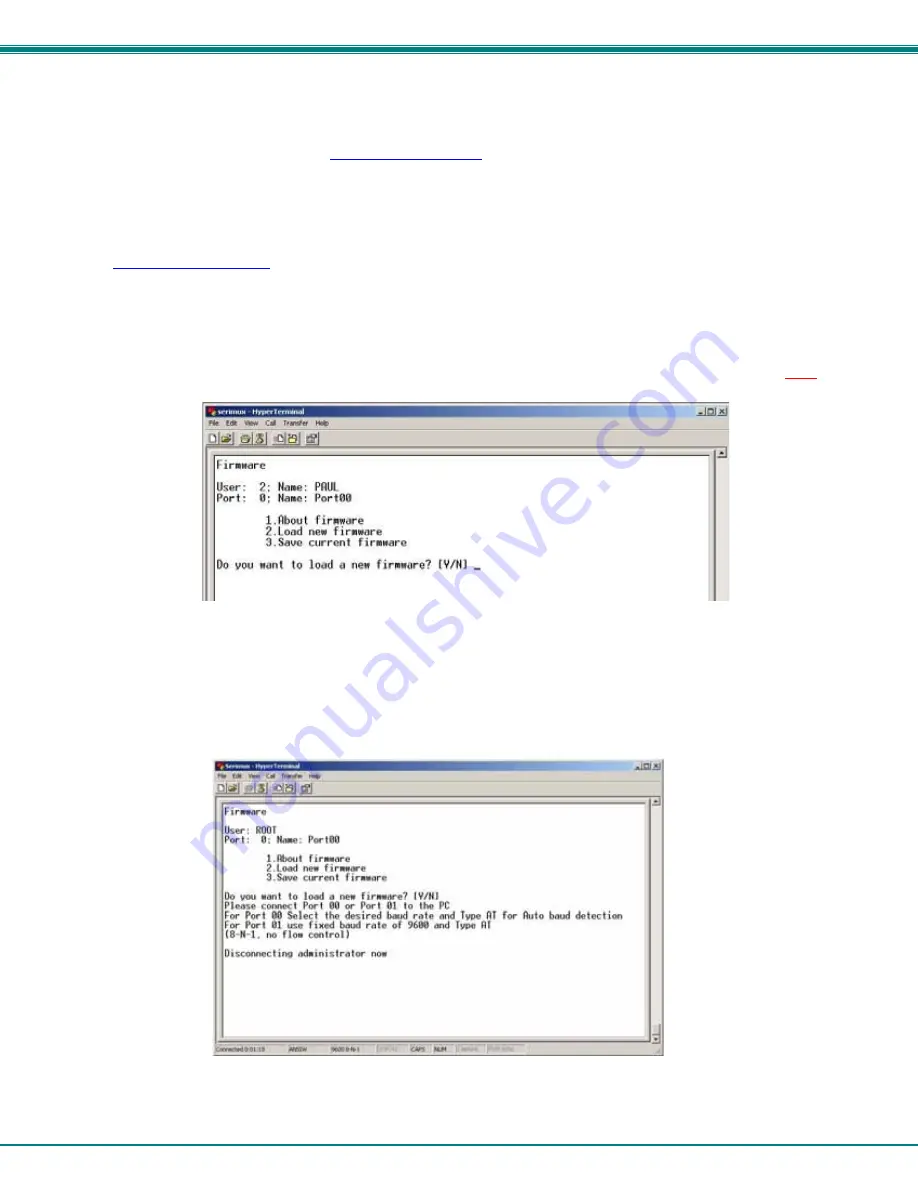
3. From the "Firmware" menu (pg 22) press [
2
], then [
Y
] to confirm. All other ports will be disconnected and disabled during the
firmware update procedure.
Note: When using Port 0 for firmware file transfer, if a different baud rate is desired for file transfer, change it in the
terminal program now, before step 4. (Leave the baud rate at 9600 if Port 1 is used for the file transfer.) Remember, to
re-establish communication with the SERIMUX after file transfer is complete, the terminal program baud rate must be
reset to 9600.
.
Figure 26- Firmware upload window
4. Type
[
A
] + [
T
] “
AT
” (case sensitve, must be uppercase) to activate the SERIMUX auto baud detection.
5. When prompted, press [
Y
] to confirm, and [
C
] to continue with the procedure.
Note: Proceeding past this point will erase all programming. The firmware upgrade must be completed for the SERIMUX
to function.
Figure 27- Type "AT" to auto-detect baud rate


