


26
Confirmation:
Green Dot should appear on the Top Left Screen of DoorPad. (DoorPad
was successfully registered to the SIP Server and is ready to call and
receive
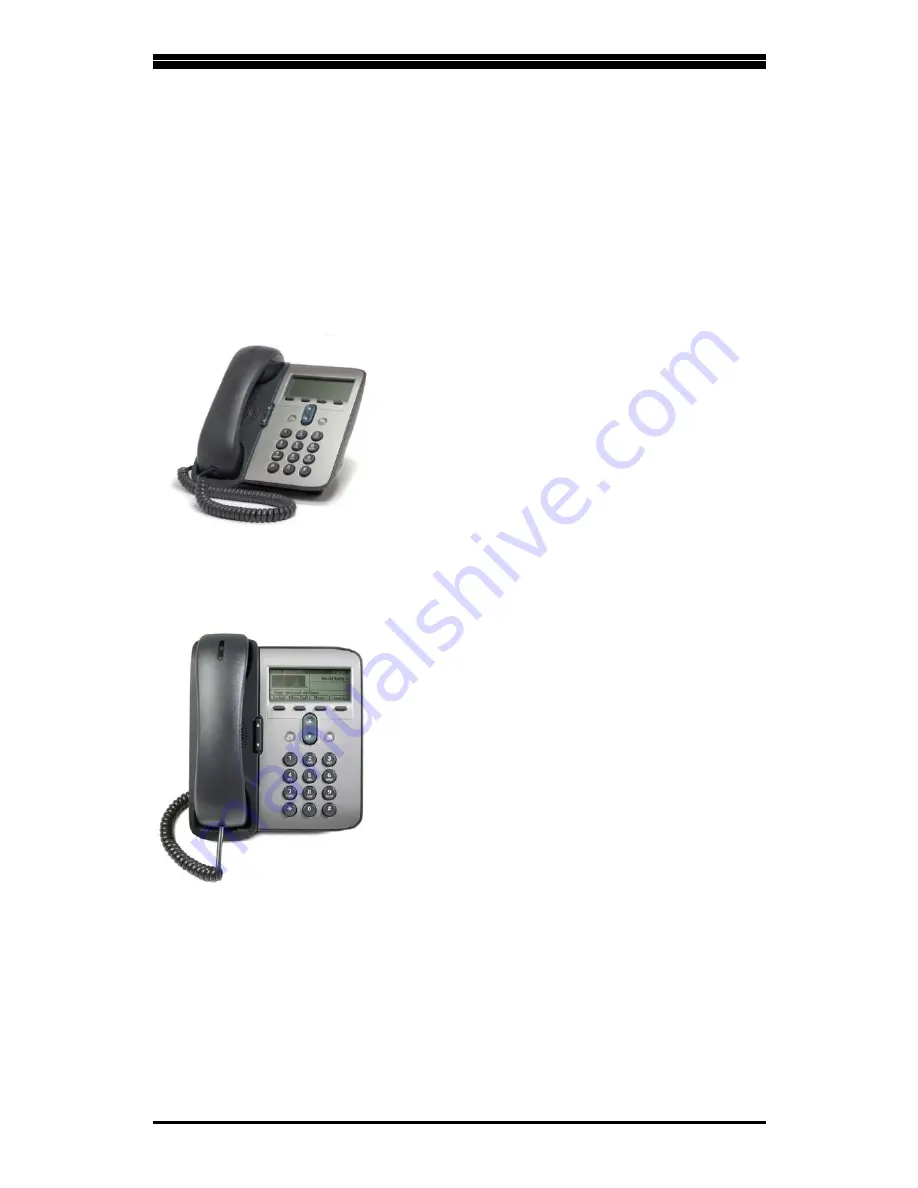
IP Phone
(For Illustration, we are using a generic IP Phone. Terms may vary for
branded IP Phones. Our Technical Support will be glad to help)
You may now use NEX Phone App as a local extension
1. Connect IP Phone to LAN Cable on
the same Network that the DoorPad is
connected
2. Select “Menu”
3. Select “Setting”
4. Select “Advanced”
5. Enter default IP Phone Password (this
may vary depending on model)
6. Select Accounts
7. Set IP address of the SIP Server
8. Set Server Port of the SIP Server
9. Set User ID / Call ID. This will be the local
extension number
10. Enter DoorPad Default Password:
000000
11. Set Display Name. This is the same as
the local extension number
12. Make sure of the following:
Outbound Proxy:
Disabled
Registration:
Enabled
13. Save Details
Figure 11.1
You may now use the IP Phone as a local extension. It will have all
Communication Features of the DoorPad if its form factors permits it
to.
Figure 11.2
Содержание DOORPAD
Страница 1: ...Product Manual Product Manual Version DP2016 V01 Software Version 1 0 1 3...
Страница 13: ...12 Home Automation Page Figure 3 6 DoorPad Camera Viewer...
Страница 15: ...Wiring Diagrams 14 DoorPad Basic Wiring Diagram Figure 4 1...
Страница 16: ...15 Wiring Diagrams Figure 4 2 Doortalk 2 Doorpad Wiring Diagram...
Страница 43: ...42 Where to get the latest copy of this document You may visit nteksystems com pages download...
Страница 44: ...Unit A Topy Building 1 3 Economia St Brgy Bagumbayan Quezon City Philippines 632 955 6821...