Chapter 5 Ethernet Configuration
OEM7 Installation and Operation User Manual v4
94
9. Click the
Close
button.
10. Proceed to
5.2.3 Confirming Ethernet Setup
1. Connect the computer to the OEM7 receiver using an Ethernet cross-over cable.
See
Figure 35: Cross-Over Ethernet Cable Configuration—OEM7 Receiver
2. Connect to the receiver using NovAtel Connect or any third party terminal program that sup-
ports TCP/IP connections. Use the static IP address and port number assigned to the OEM7
receiver in
Static IP Address Configuration—Receiver
NovAtel Connect version 2.0 or greater is required for OEM7 receivers. Download
the latest NovAtel Connect software and documentation from
www.novatel.com/novatel-connect
5.3 Dynamic IP Address Configuration
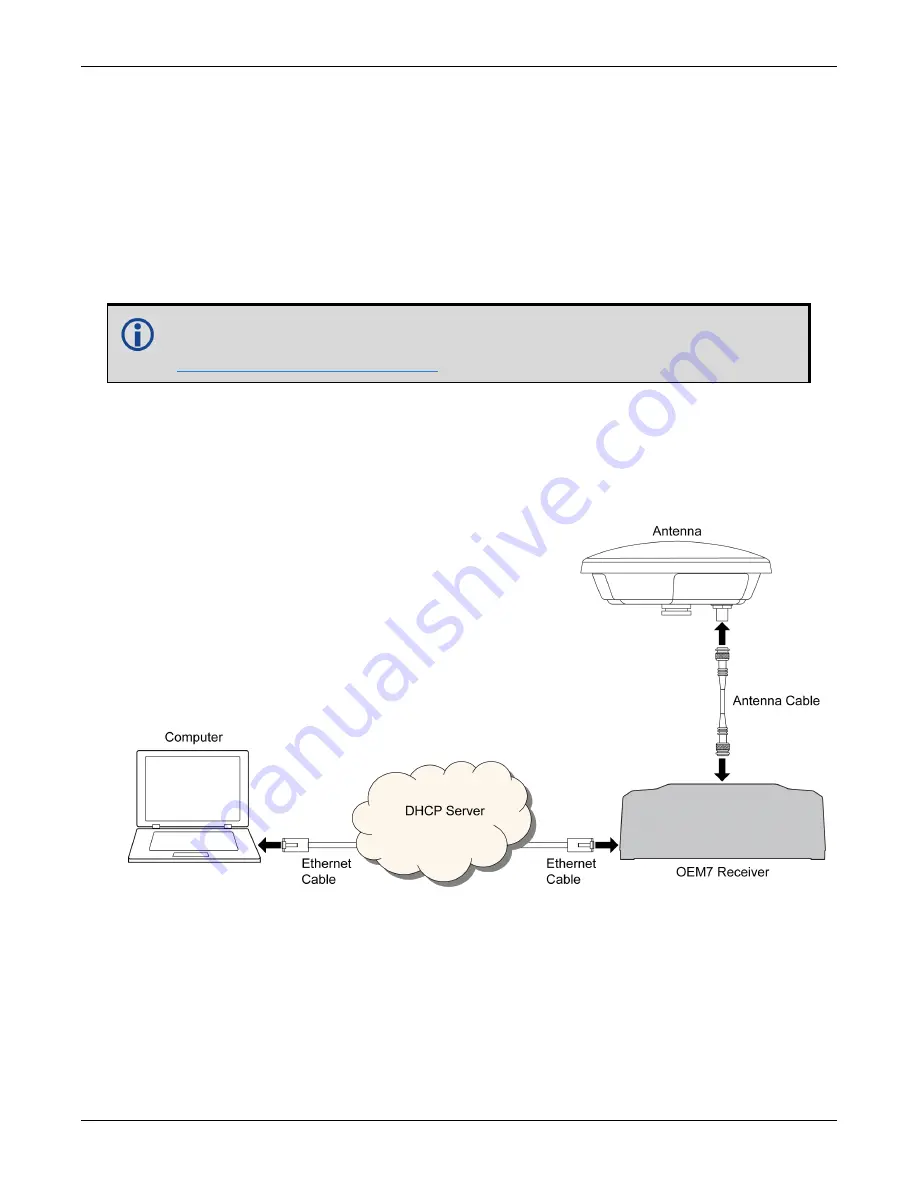
Figure 36: Dynamic IP Address Configuration through a DHCP Server—OEM7 Receiver
shows the connections when an OEM7 receiver uses a dynamic IP address configuration.
Figure 36: Dynamic IP Address Configuration through a DHCP Server—OEM7 Receiver
To set up a dynamic IP address configuration, follow these steps:
1. Connect a computer to the OEM7 receiver using a null modem serial cable or USB cable.
2. Establish a connection to the receiver using either NovAtel Connect or another terminal pro-
gram. This connection is used to send the commands in this procedure to the receiver.
Содержание OEM719
Страница 1: ...OM 20000168 v4 February 2018 OEM7 Installation and Operation User Manual...
Страница 123: ...Chapter 8 NovAtel Firmware and Software OEM7 Installation and Operation User Manual v4 123...
Страница 130: ...APPENDIX A OEM719 Technical Specifications OEM7 Installation and Operation User Manual v4 130 Figure 43 OEM719 Keep outs...
Страница 150: ...APPENDIX B OEM729 Technical Specifications OEM7 Installation and Operation User Manual v4 150 Figure 50 OEM729 Keep outs...
Страница 235: ...OEM7 Installation and Operation User Manual v4 235...


