background image

9

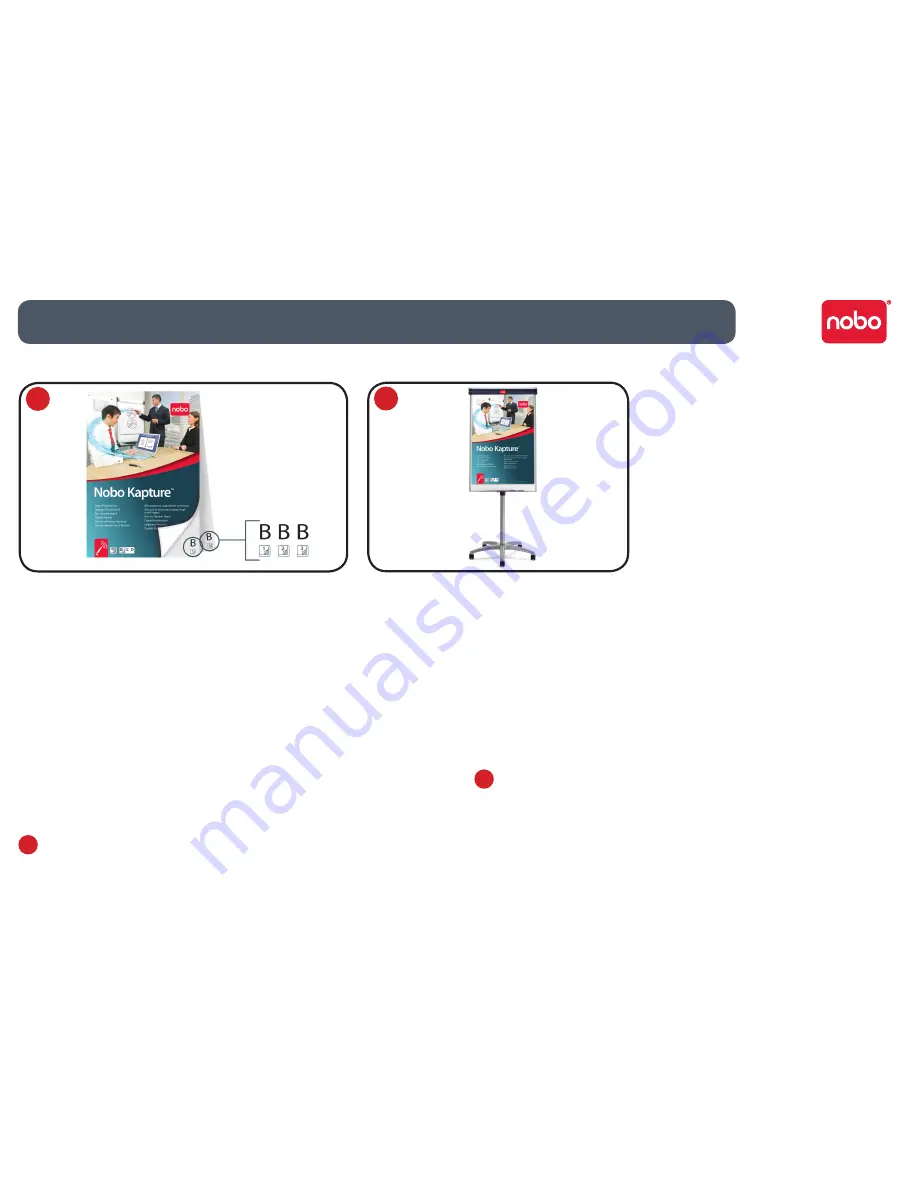
Digital Flipchart Pad overview

The Nobo Kapture™ system uses uniquely printed paper, which the camera uses to 
recognise its location on the page. There are 180 individual sheets across the pad 
range, separated into pad B, C and D. It is possible to use all pads at the same time 
(B, C & D), but it is not possible to use more than one of a particular pad letter. i.e. it is 
not possible to use two pad D’s in one session. All pad D’s are printed with the same 
pages, therefore the system will overwrite or miss information if two are in the same 
session.
As each sheet of paper within pad B, C & D is individual the system recognises which 
sheet of which pad it is writing on.
The Nobo Kapture™ software automatically opens a digital flipchart page on the 
computer when you start to write or draw on the physical flipchart page of a pad.

1

  Each physical flipchart page has its pad letter and page number shown in the 

bottom right hand corner, so if you tear pages from the pad you can still keep 
track of which page is in use. 

The page also has hidden pad type and page identifiers that the pen recognises to 
allow the Nobo Kapture™ software to keep track of which page is in use.

Notes:

Standard non-digital flipchart pads will not work with this system, only use Nobo 
Kapture™ Digital Flipchart Pads.
Do not try to use two Digital Flipchart Pads of the same Letter (e.g. B & B) at the same time, 
accurate capturing will not be possible.

Setup the Digital Flipchart Pad(s)

2

  Place the required flipchart pads on your Nobo Easel.


See www.noboeurope.com for details of our easel range. The list below are 
some of our leading models available throughout Europe.
Piranha Mobile Easel - 1901920
Piranha Static Easel - 1901919
Barracuda Mobile Easel - 1902386
Shark Easel - 1901918

Setup / Digital Flipchart Pad

1

2

Содержание Kapture

Страница 1: ...DRAFT v3 0d 29 10 2009...

Страница 2: ...tial system setup 11 Computer and pen communication 11 Set the pen colour 11 Operation 12 Operation capturing 12 Capturing from the flipchart pad 12 Reference 12 Reference software launch page 13 Refe...

Страница 3: ...t clean with solvents or abrasives LED Radiation Class 1 LED product Do not view directly with optical instruments Specifications Minimum system requirements Windows XP SP2 Vista or MAC OS X 10 5 Avai...

Страница 4: ...his USB receiver as a self extracting file with on screen prompts for easy installation Setup card 3 For setup and pairing of the pen to the system Also allows on screen colour to be changed to match...

Страница 5: ...arkerpen Battery cover release button Battery cover Battery 1 x AAA Cartridge Cartridge cover Cartridge cap Digital marker pen Cartridge cover release button Cartridge location pip Cartridge holder Ca...

Страница 6: ...he pen will automatically switch off after a period of inactivity Battery Do s Use only alkaline batteries of AAA LR03 type Remove the battery from the pen and store in a cool dry clean place if it wi...

Страница 7: ...3 Replace the cartridge cover by aligning the cover over the top of the cartridge cap Slide the cover along the body of the pen until it clicks into place Check correct cartridge installation The car...

Страница 8: ...p can be stored on the rear end of the pen Refitting the cartridge cap 4 Refit the cap to the cartridge ensuring the arrow is at the top 5 Push the cap until it clicks into place Note 6 Itispossibleto...

Страница 9: ...or draw on the physical flipchart page of a pad 1 Each physical flipchart page has its pad letter and page number shown in the bottom right hand corner so if you tear pages from the pad you can still...

Страница 10: ...or specific notes from the session The maximum number of physical pages is 180 but significantly more can be added electronically Saved files can therefore contain more pages than the physical Return...

Страница 11: ...he cap to the middle of the setup card hold it there until the LED turns solid green Press and release the button on the USB receiver Lift the pen the light will flash green it will return to solid gr...

Страница 12: ...curate capturing The Nobo Kapture software needs to be on the capture screen to capture what is being written Ensure the camera is not obscured when writing Do not use a cartridge with a damaged tip H...

Страница 13: ...13 Reference software launchpage Note AllscreensshownareforPCinstallation Macscreensmayvary Capture mode Edit mode Help...

Страница 14: ...14 Reference software errorpage This screen appears when the USB receiver is not inserted When the icon is red it indicates a pen warning or error...

Страница 15: ...ignal strength Pen management mode Battery status Paper warning To clear a paper warning click on the icon A warning appears when a pen is placed on a surface other than a Nobo Kapture pad Identify pe...

Страница 16: ...16 Reference software helppage Link to Nobo website Help mode Help information area Please follow one of the below links Linkto usermanual Linkto Nobo Kapture support Linkto Nobo Kapture website...

Страница 17: ...17 Reference software pageinformation Link to Nobo website Page information Select Apply to save note to current page...

Страница 18: ...18 Reference software save Link to Nobo website Save File save options...

Страница 19: ...19 Reference software filemanager File information area Link to Nobo website File manager...

Страница 20: ...ode Link to Nobo website Capture mode Page views Single Twin Quad Previous page next page zoom in zoom out Real time page view The capture icon will turn red if information is being written but the so...

Страница 21: ...21 Reference software editmode Link to Nobo website Edit tools Zoom in Zoom out Select Resize Rotate Cut Copy Paste Erase Colour palette Add page Remove page Current page Pages used in pad Edit mode...

Страница 22: ...system Demote pen Paper warning Battery status Pen management mode If the pen management mode icon is red it indicates that there is a warning or error message Link to Nobo website Icon Description Sa...

Страница 23: ...23 Reference iconquickreferenceguide Icon Description Copy Paste Undo Redo Erase Colour palette Add page Delete page Pen signal strength...

Страница 24: ...ent session A battery status indicator can be found in the pen management section of the software Ensure that you do not have two pads of the same pad letter in a session Check back with your computer...

Страница 25: ...ith the equipment specified on the product box Please check product box for details or contact ACCO technical support Disclaimer of warranty Except for the limited warranty provided herein to the exte...

Страница 26: ...order to meet FCC requirements all connections to equipment using an ACCO device should be made using only shielded cables FCC declaration of conformity compliance statement This product complies with...

Страница 27: ...r property damage Do not drop throw bend or deform crush disassemble or open puncture shred microwave incinerate paint or insert foreign objects into the digital pen or its accessories Failure to foll...

Страница 28: ...a clean and dust free place Keep food and beverages away from the device Clean with a dry cloth Do not use water soap detergent or other chemicals Do not drop the device or allow any other kind of st...

Отзывы: