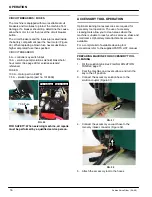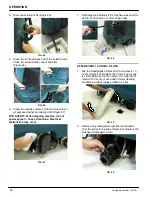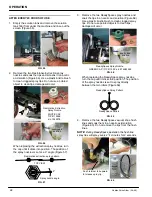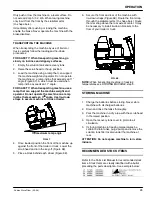
OPERATION
Nobles Strive Rider (09--06)
21
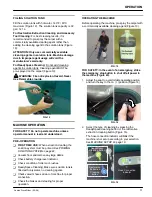
3. Clean the underside of the scrub head and the idler
plate (Figure 51).
FIG. 51
4. Remove the covers from the ReadySpace vacuum
shoes and wipe out the debris build up (Figure 52).
Remove the ReadySpace rollers and use a pointed
object to clean vacuum shoe intake slot.
FIG. 52
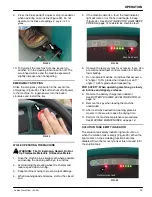
5. Remove the extraction vacuum shoes and rinse out
the debris buildup (Figure 53). Use a pointed object
to clean the vacuum shoe intake slot. (
See Figure
54 for Extraction Vacuum Shoe Removal.)
FIG. 53
Extraction Vacuum Shoe Removal
(Figure 54):
a. With the scrub head in the up position, remove
the two down pressure springs. Lower the
scrub head after removing springs.
b. Disconnect the vacuum hose.
c. Pull the two mounting pins
d. Remove shoe from scrub head.
a.
b.
c.
d.
FIG. 54
Содержание STRIVE RIDER
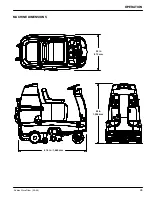
Страница 29: ...OPERATION Nobles Strive Rider 09 06 29 MACHINE DIMENSIONS 32 in 813 mm 61 5 in 1 560 mm 52 in 1 325 mm ...
Страница 34: ...TABLE OF CONTENTS Nobles StriveR Rider 09 2006 4 ...
Страница 44: ...STANDARD PARTS Nobles StriveR Rider 09 2006 14 INSTRUMENT PANEL GROUP 2 1 3 4 5 6 7 8 9 4 12 13 14 13 12 10 11 ...
Страница 46: ...STANDARD PARTS Nobles StriveR Rider 09 2006 16 FRONT DRIVE WHEEL GROUP 11 3 2 6 8 10 1 7 5 4 9 8 9 12 13 14 15 ...
Страница 60: ...STANDARD PARTS Nobles StriveR Rider 09 2006 30 TANKS DRAIN GROUP 2 10 11 1 12 5 11 12 3 4 6 8 9 7 ...
Страница 80: ...STANDARD PARTS Nobles StriveR Rider 03 2013 50 BATTERY GROUP 360Ah 2 8 6 7 1 9 11 12 13 5 5 10 14 3 4 3 4 15 ...
Страница 83: ...STANDARD PARTS Nobles StriveR Rider 03 2009 53 ...
Страница 109: ...BREAKDOWNS Nobles StriveR Rider 03 2013 79 ...


