110
Playback Options: The Playback Menu
Sh
o
o
tin
g
, Pl
ay
ba
ck
, a
n
d
S
etu
p M
enus
E
Transfer Marking
Change transfer marking (
E
) for existing pictures.
When the camera is connected to a computer with
PictureProject installed via the supplied USB cable,
pressing
d
transfers only the pictures marked with
a
E
icon (
c
83). At the default setting, all pic-
tures are marked for transfer.
Pictures selected for transfer are recognized by the
E
icon (
c
7).
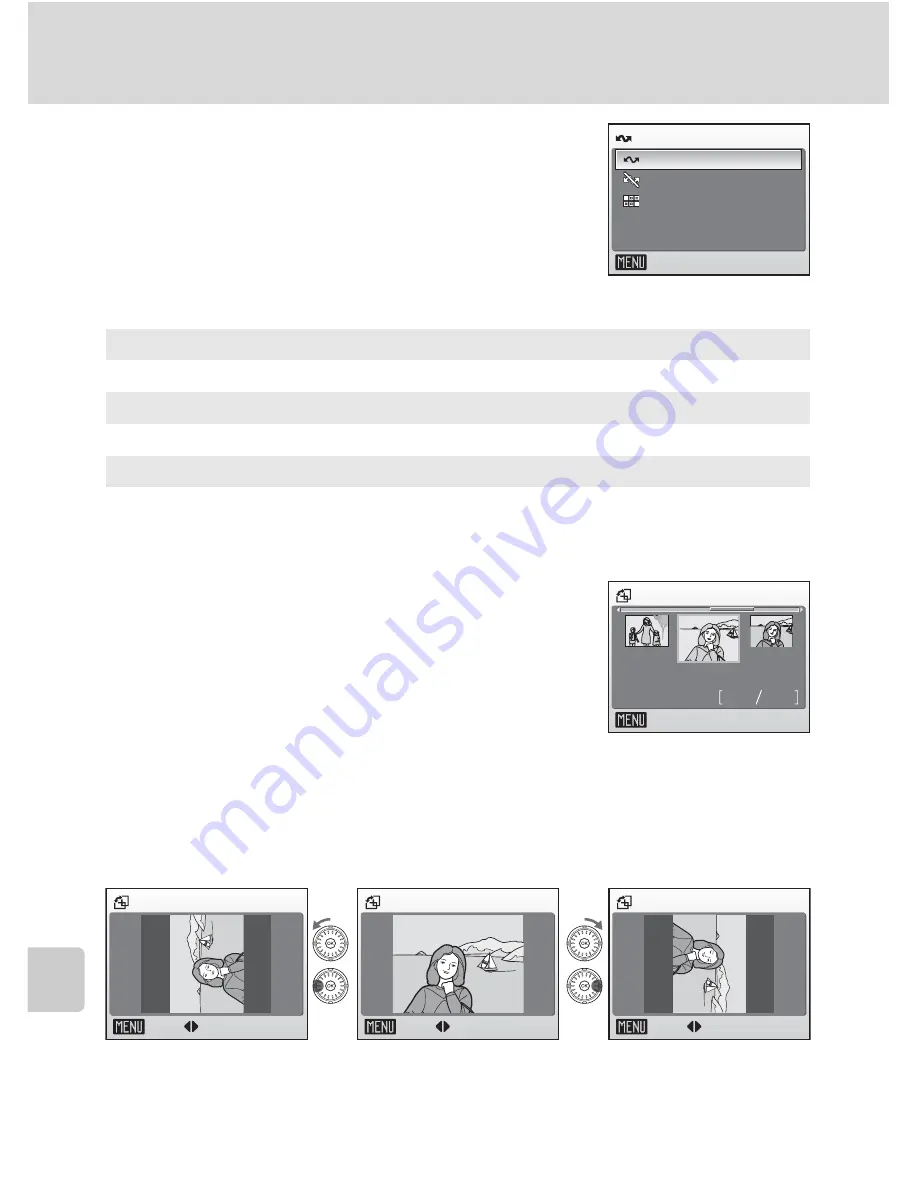
G
Rotate Image
Record pictures rotated 90° clockwise or counter-
clockwise.
Choose a file to be rotated in the picture selection
screen (
c
107). To select the direction to rotate
the chosen picture, rotate the rotary multi selector
clockwise (or press
J
) or counterclockwise (or
press
I
) in the rotate image screen.
When [Record orientation] (
c
122) is set to [Auto] (default setting), you can
rotate (up to 180°) pictures taken in “tall” orientation by rotating the rotary
multi selector either clockwise or counterclockwise.
Press
d
to record the orientation for the picture as shown in the rotate
image screen.
E
All on
Mark all images for transfer.
F
All off
Remove transfer marking from all images.
P
Select Image(s)
Mark selected pictures for transfer in the picture selection screen (
c
107).
Transfer marking
All off
Exit
All on
Select image(s)
4
3
0 1 . 1 2 . 2 0 0 6
1 2 : 0 0
Select image
Back
Rotate image
Back
Rotate
Rotate image
Back
Rotate
Rotate image
Back
Rotate
Rotate 90°
counterclockwise
Rotate 90°
clockwise


