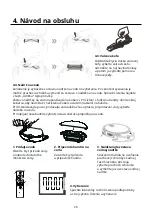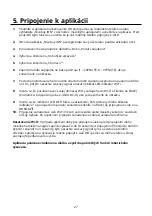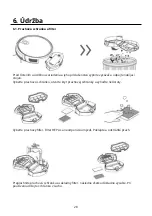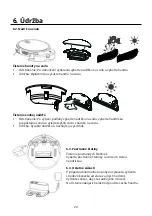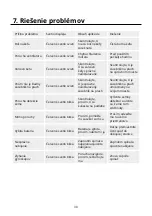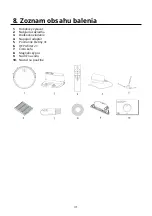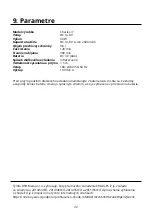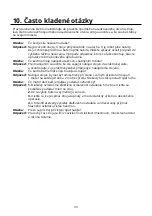
40
4. Operation Instructions
4.1. Charging Operation
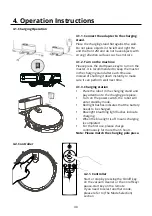
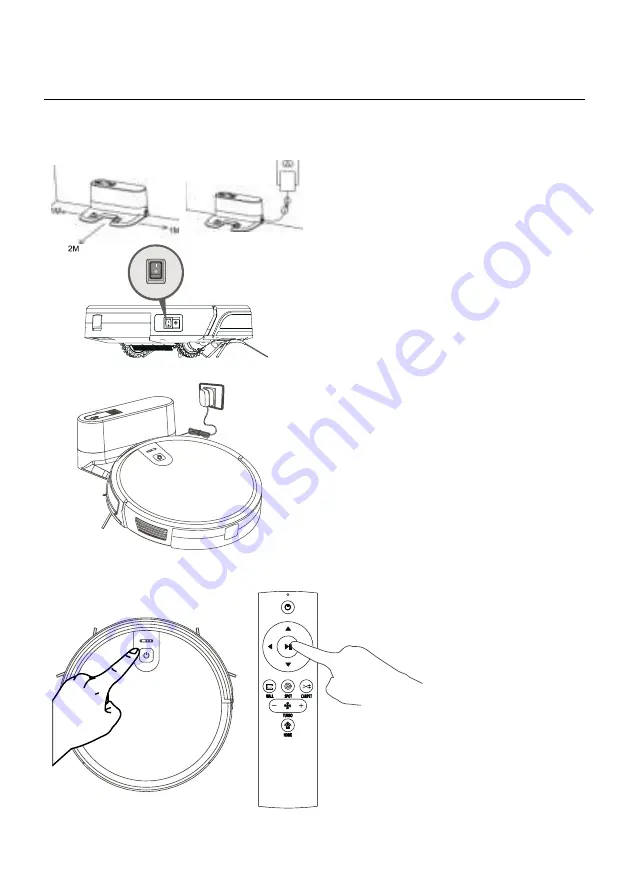
4.1.1. Connect the adapter to the charging
stand.
Place the charging stand flat against the wall.
Do not place objects in the left and right 1M
and the front 2M and do not have objects with
strong reflection surfaces such as mirrors
4.1.2. Turn on the machine
Please press the start/pause key to turn on the
master. It is recommended to keep the master
in the charging stand after each time use
instead of shutting it down instantly to make
sure it can perform well next time.
4.1.3. Charging station
•
Place the robot in the charging stand and
pay attention to the charging pole piece.
•
Turn on the power switch, the robot will
enter standby mode.
•
Red light flashes indicates that the battery
needs to be charged.
•
Blue light breathing light flashes indicate
charging.
•
When the blue light is off means charging
is completed.
•
For the first use, please charge
continuously for more than 6 hours.
Note: Please match the charging pole piece.
4.2. Controller
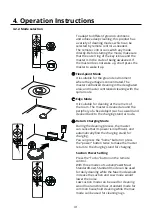
4.2.1. Controller
Start or stop by pressing the On/off key
on the vacuum cleaner or the on/off key/
pause-start key on the remote
If you need to select another mode,
please refer to (The Mode Selection)
section

