2
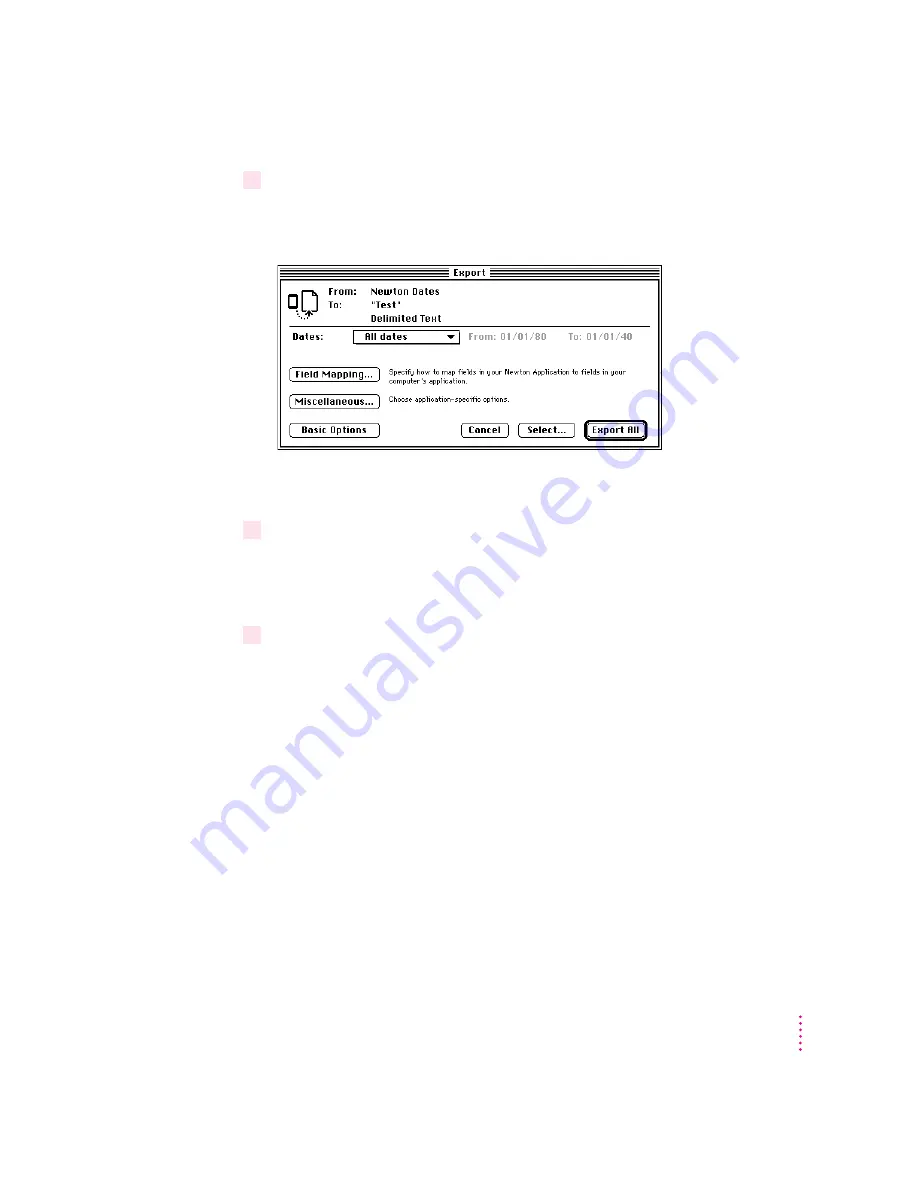
Click Advanced Options.
The Export dialog box expands to show more options for defining how
information is exported.
Note:
The date range options appear only if you’re transferring information
from a calendar or datebook application.
3
Choose a date range from the Dates pop-up menu.
If you choose Custom, you can change the dates that appear to the right of the
menu. Select the month, date, or year you want to change and use the up or
down arrows to change the date.
4
Click Export All.
The information from your calendar application is exported using the date
range you specified.
73
Setting Advanced Options


