18
Nektar Panorama P1: User Guide www.nektartech.com
CUBASE & REASON: TRANSPORT MODE
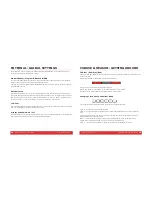
The transport buttons (F) are always available in all three Cubase or Reason modes so you can control
the main transport functions at any time.
Activating Transport mode expands your navigational options considerably, with control over locators,
tempo, click level, pre-count, song position and more. In addition, the real-time clock tells you the
current playback position in your arrangement so you always know where you are.
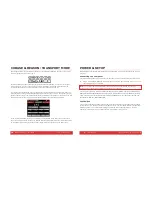
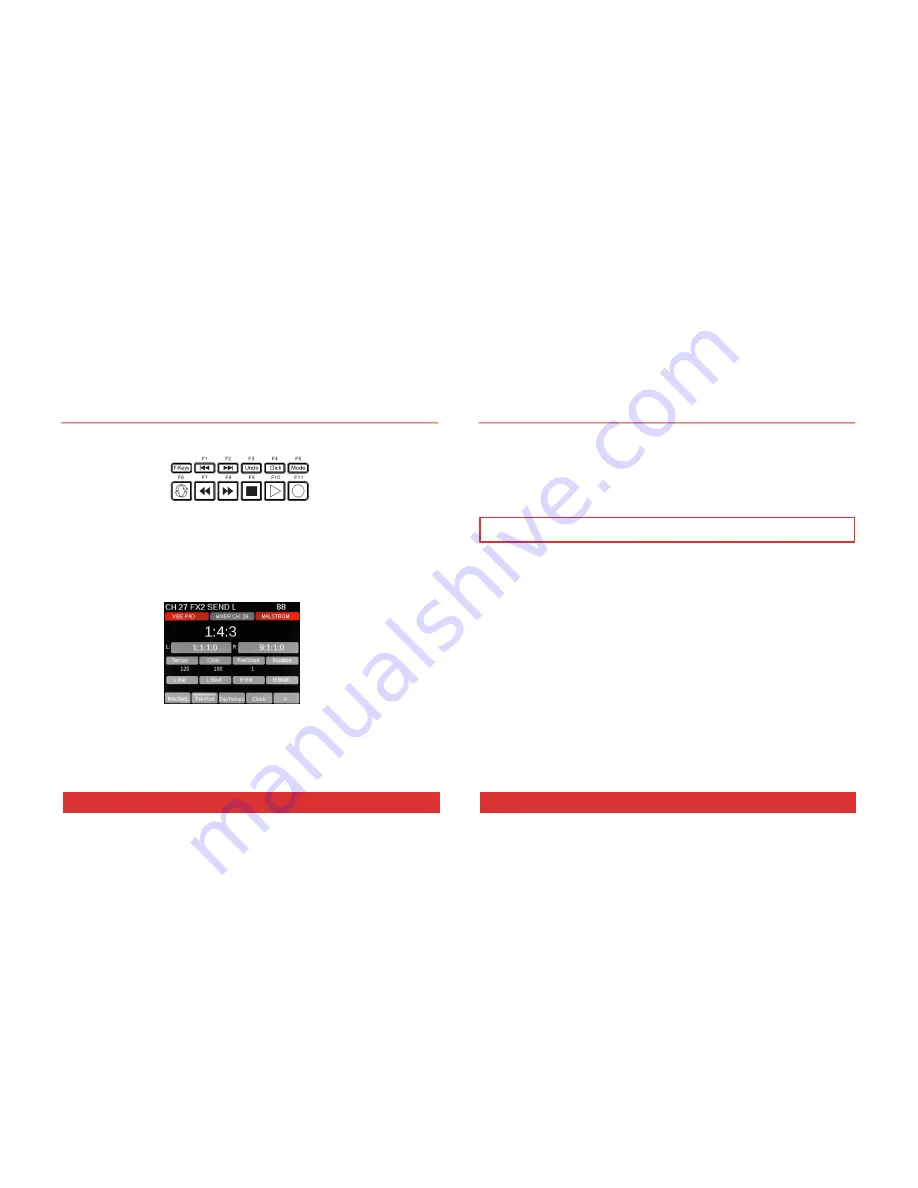
The layout of the Transport home page is similar to that of Instrument mode, with the clock readout in
large characters and the grid indicating the assignments of each of the controls in the encoder group (L).
The Menu buttons (D1-5) offer eight essential Transport features on two pages. For example, on the first
page the Clock button (D4) toggles the clock readout between real time and bars and beats.
If you are into loop-based recording, try the display buttons labeled Loop> and <Loop on the second
page of the Transport menu. Pressing one of these buttons automatically moves your L/R location points
by the number of bars between the two points, creating a new loop location with one button push.
www.nektartech.com Nektar Panorama P1: User Guide
7
POWER & SETUP
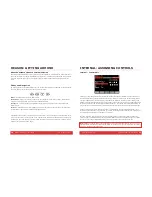
With Panorama unpacked and securely seated on a solid surface, it’s now time to connect the unit and
get going.
Connecting to a Computer
Panorama is USB bus-powered which means you can power it from a connected computer. Here is how:
Plug in the USB cable (
standard
) to the USB jack on the back of Panorama and plug the other end
into a USB port on your computer.
Note:
You can power Panorama via a battery powered laptop but we recommend the use of your
laptop’s AC power supply during extended work sessions with Panorama.
Your computer’s operating system will install the USB class driver
, which will show up as three sets of
MIDI ports inside most MIDI applications.
If you plan to use Panorama as a regular USB MIDI controller,
you will need to select the inputs and outputs labeled PANORAMA P1 in your application
. For now, you
can ignore the other two sets of MIDI ports.
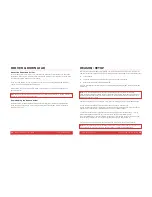
Foot Switch
You can also connect a foot switch to the foot switch socket on the back. The foot switch can be used to
control record on/off, sustain or changing Panorama’s Presets. Your foot switch polarity is automatically
detected on power up. If a foot switch is plugged in after the unit has been switched on, you may
experience it working in reverse. If that’s the case, simply power cycle your unit.


