14
Nektar Panorama P1: User Guide www.nektartech.com
REASON: GETTING AROUND
About Panorama’s Reason Implementation
Panorama’s dedicated communication protocol for Cubase & Reason is extremely comprehensive. And if
you know you DAW, it’s easy to understand how it all works...because you already know how your DAW
works! In the following we’ll give you a starting point for exploring Panorama, which may be all you
need.
Modes and Navigation
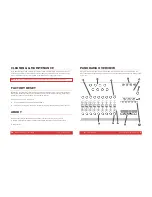
By pressing the Mode navigation buttons (A) you change the assignments of Panorama’s controls at the
push of a button. It’s like having four control surfaces in one:
Mixer
— Assigns all controls to the DAW’s mixer.
Instrument
— Assigns controls to the device on your sequencer track. In most cases, this will be an
instrument, but it’s also how you control any of Reason’s effects.
Transport
— Controls functions in your DAW’s transport menu including current song position and
locator points.
Internal
— Uses Panorama’s internal MIDI controller functions so you can jump out of our dedicated
protocol and use Panorama as a traditional MIDI controller.
Regardless of where you are in Panorama’s menu structure, you can always press a mode button (A) to
jump out of the current menu to a new mode. The last menu of a mode is remembered, so pressing the
mode button once from any other mode will take you back to the remembered menu; pressing it twice
will take you to the mode home page.
www.nektartech.com Nektar Panorama P1: User Guide
11
INTERNAL: ASSIGNING CONTROLS
Internal : Control Edit
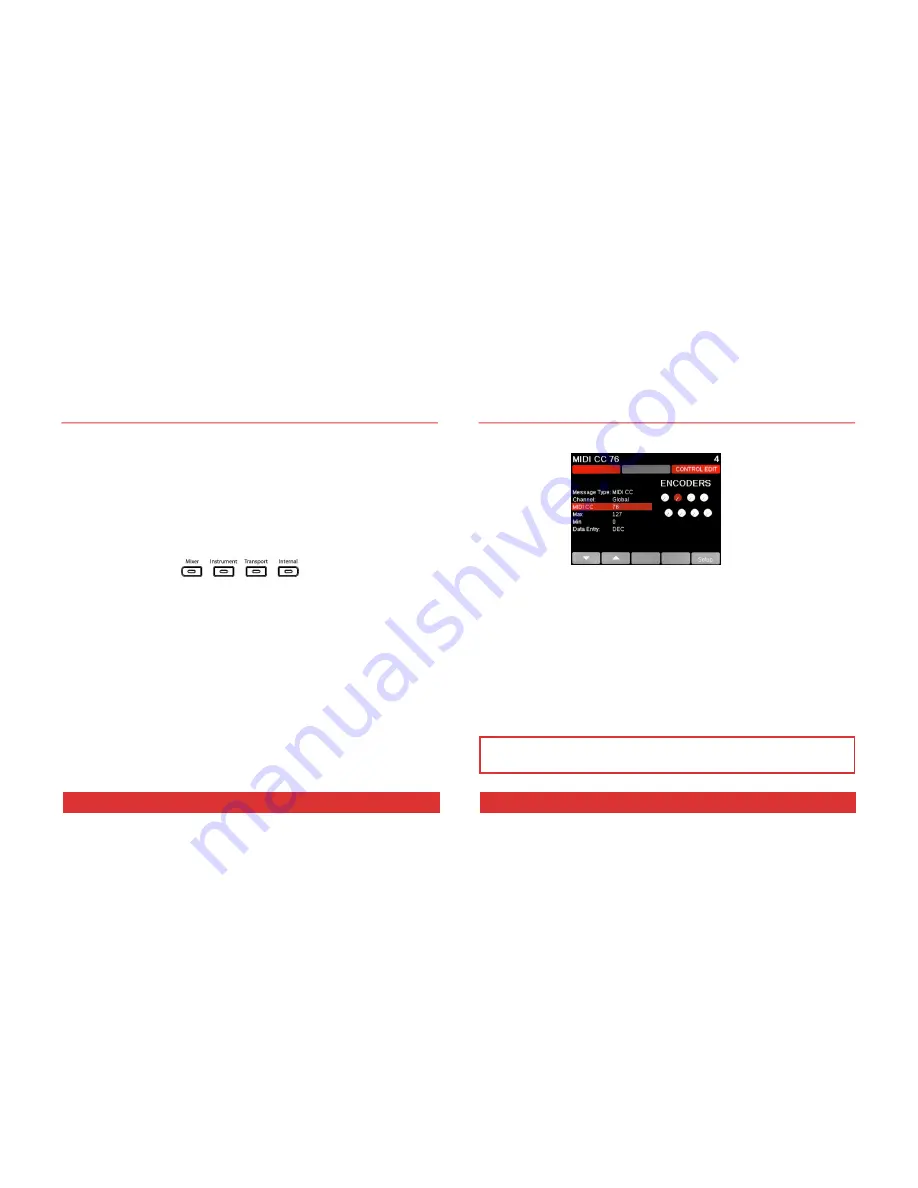
Pressing Ctrl Edit (Control Edit) from the Internal mode home page will activate the Control Edit menu
with the display looking similar to what is shown above. Moving or pressing any of the controls (faders,
encoders, pads, buttons) while on this page will update the display to show their current settings. The
default parameter selection is MIDI CC, so right away you can change the Controller number assignment
for the most recently used control using the Data encoder (C). The change takes effect immediately, so
you can check your receiving device or software to see that it responds correctly as you make changes.
Using the arrow display menu buttons (D1 or D2), select Message Type. Use the Data encoder (C) to
review the options. Options vary depending on the type of control you have selected so for example you
can’t assign loading presets to an encoder, only a button.
We have included a very flexible set of options for each selection. In the above screen you have the
ability to assign the selected fader to send a particular MIDI CC# within a definable range on any MIDI
channel, and then assign completely different values to the faders on either side if you like.
Note:
QWERTY or ASCII messages can be assigned to any of the assignable buttons, but only with the
Panorama driver installed. You can download it from our website once you have registered your product
here: www.nektartech.com/registration


