12
BASIC OPERATION
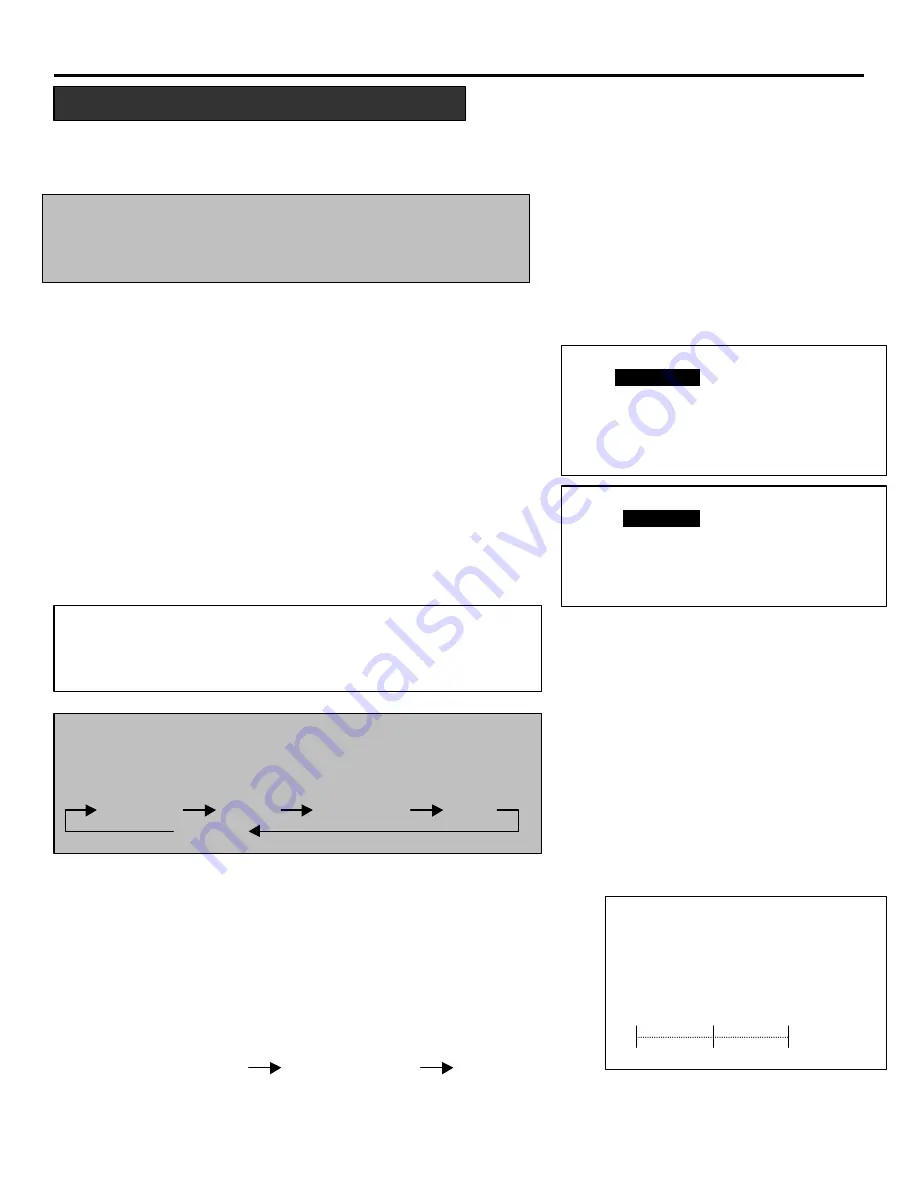
To adjust the picture for each input,
proceed as follows:
NOTE
:
The Color, Sharpness, and Tint controls are not included
in the “PICTURE” menu for RGB signal. The Tint control
is not included in the “PICTURE” menu for SECAM/PAL
signal.
1.
Press the OPERATE button.
•
The “OPERATE” menu will be displayed.
2.
Use the CURSOR
p
or
q
button to highlight the “lPICTURE”
and press the ENTER button to display the “PICTURE”
menu. You can also select the “PICTURE” menu
directly by pressing the INPUT “1” button.
3.
Use the CURSOR
p
or
q
button to select a picture function
and then press the ENTER button. You can also select an
item directly by pressing an Input button.
•
The picture adjustment screen will be displayed.
NOTE:
You
can enter the picture adjustment screen directly
using the PIC FUNC button on the full function remote control.
Each time you press the PIC FUNC button, the picture
functions will rotate as follows:
CONTRAST COLOR SHARPNESS TINT
BRIGHT
4.
Use the CURSOR buttons to adjust a picture to your preference.
•
The CURSOR
u
or
p
button increases the level.
•
The CURSOR
t
or
q
button decreases the level.
5.
To end this adjustment, press the END button to display the
“STORE?” screen.
•
Whenever the END button is pressed, the screen will be
changed in this order
:
“PICTURE” menu “OPERATE” menu “STORE?” menu
•
If the picture adjustments have not been changed, the “STORE ?”
menu will not be displayed.
Picture Adjustment
Items to select
• BRIGHT (Bright control)
• CONTRAST (Contrast control)
• COLOR (Color intensity control) • SHARPNESS (Picture detail control)
• TINT (Red and green values control)
– O P E R A T E –
1 / PICTURE
2 / POSITION
3 / SOUND
4 / INPUT SELECT
5 / SOURCE INFO
6 / STATIC
– P I C T U R E –
1 / BRIGHT
2 / CONTRAST
3 / COLOR
4 / SHARPNESS
5 / TINT
P I C T U R E
– B R I G H T –
q
60%


