


62
4. Multi-Screen Projection
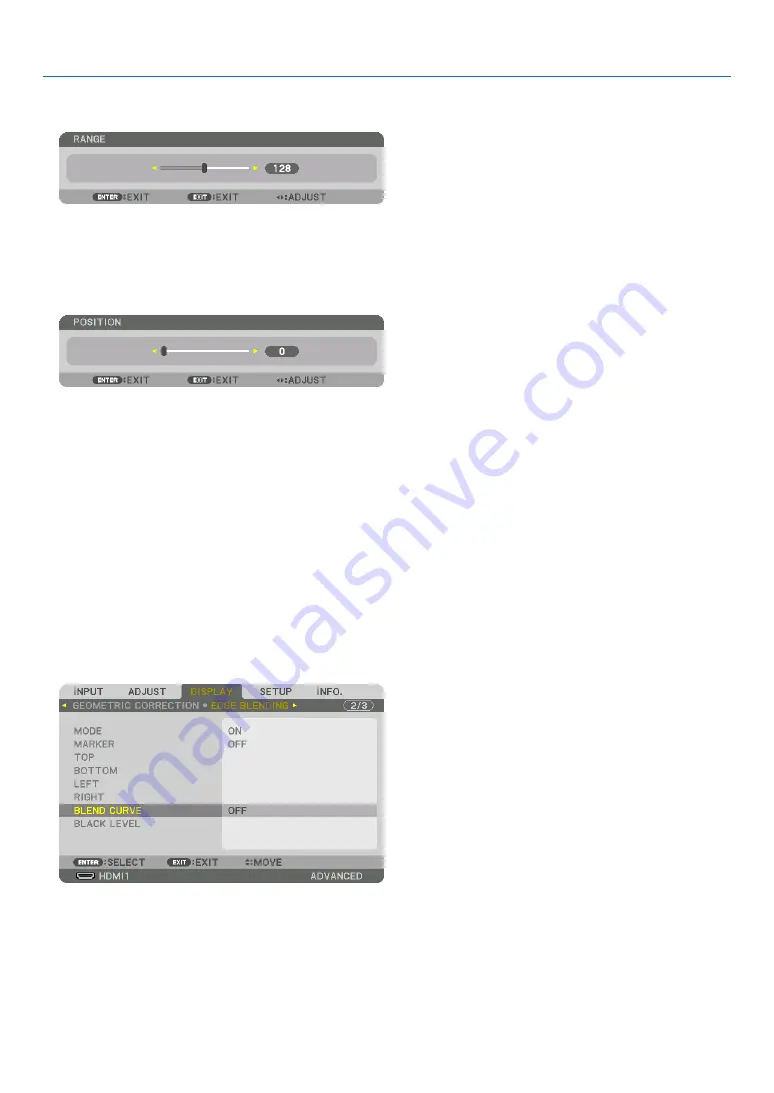
1 Adjust [RANGE].
Use the
◀
or
▶
button to adjust the overlapped area.
TIP:
• Adjust to overlap one projector’ marker with the other projector’s marker.
2 Adjust [POSITION].
Use the
◀
or
▶
button to align one edge with the other edge of overlapped images.
TIP:
• When displaying a signal with a different resolution, perform the Edge Blending function from the start.
• Setting of [MARKER] will not be saved and return to [OFF] when the projector is turned off.
• To display or hide the marker while the projector is running, turn on or off [MARKER] from the menu.
[BLEND CURVE]
Adjust the brightness of the overlapped section on the screens. According to the necessity, adjust the brightness of
the overlapped section on the screens by the [BLEND CURVE] AND [BLACK LEVEL].
• Set the [MODE] to [ON] for selecting [BLEND CURVE] and [BLACK LEVEL].
Selecting an option for the [BLEND CURVE]
By controlling the graduation of the overlapped section on the screens, it makes the border on the projected screens
inconspicuous. Select the optimal option among nine.
1. On the On-Screen Menu, move the cursor onto the [DISPLAY]
→
[EDGE BLENDING]
→
[BLEND CURVE] and
then press the ENTER. The option setting screen for the [BREND CURVE] is displayed on.
Содержание NP-LV01BD
Страница 8: ...vi Important Information Label Information Label A Label A Risk Group Lamp Safety Label ...
Страница 10: ...viii Important Information Label C PH2601QL Label D Label E ...
Страница 137: ...120 5 Using On Screen Menu HDBaseT SIGNAL QUALITY OPERATION MODE LINK STATUS HDMI STATUS ...
Страница 173: ... NEC Display Solutions Ltd 2018 7N952671 ...


