C-7
1.
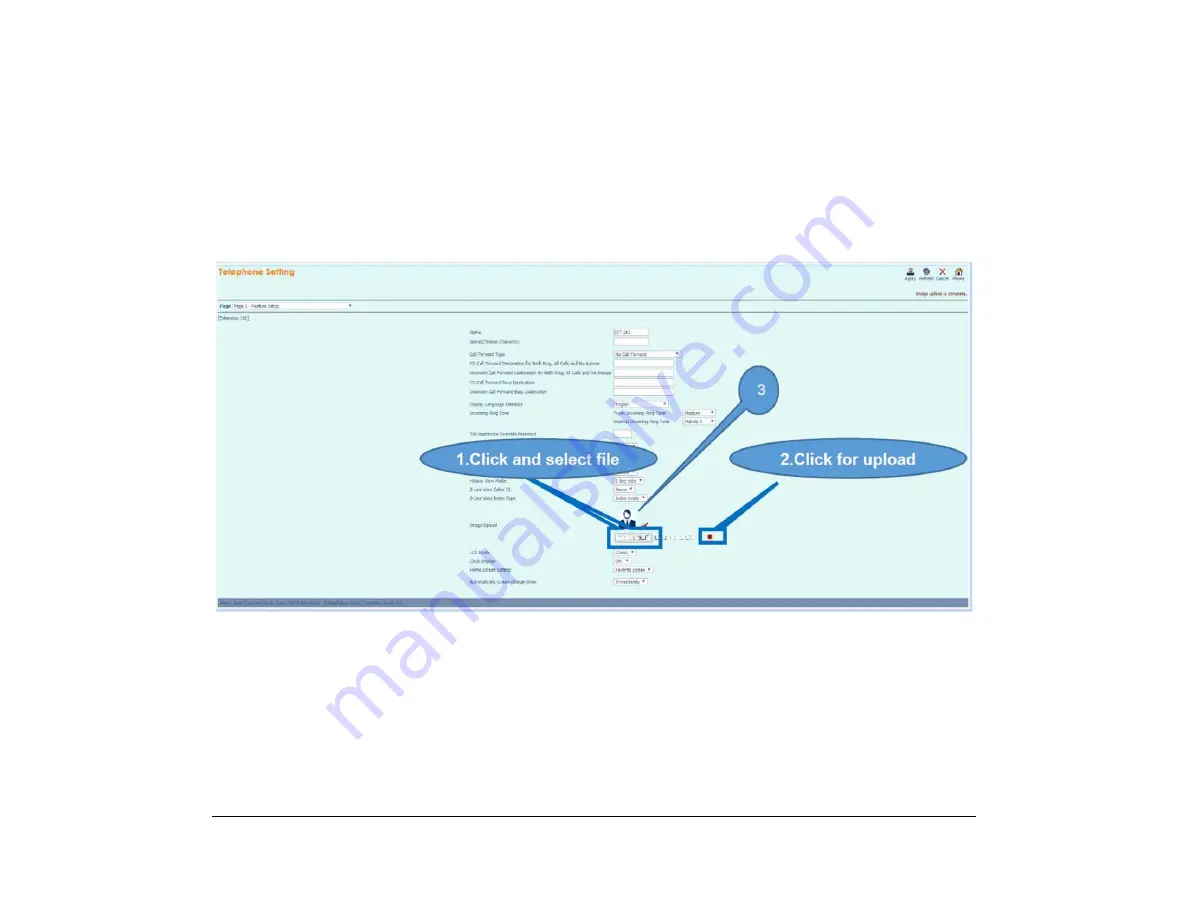
(3) From the screen below, use the steps outlined to specify the image to be uploaded.
1. Specify the image file to be uploaded.
2. Click on the upload icon.
3. Preview the image.
To delete the uploaded image, click the
Delete
icon.
Note:
When upload is successful, “Image upload is complete.” is displayed in the top right corner of the screen.
Содержание ITK-8LCX
Страница 2: ......
Страница 4: ......
Страница 18: ...2 1 Face Layout DT920 ITK 8LCX 1 Self Labeling Model DT930 ITK 8TCGX 1 Touch Panel Model ...
Страница 21: ...5 1 Keys and Parts DT920 ITK 8LCX ...
Страница 22: ...6 1 DT930 ITK 8TCGX Touch Button Area 15 ...
Страница 110: ...A 14 1 This page is for your notes ...
Страница 117: ...B 7 1 ...
Страница 118: ...B 8 1 ...
Страница 119: ...B 9 1 IP Address Input Input 1 10 shows the number of times the key is pressed 1 Separator for the IP Address ...
Страница 120: ...B 10 1 This page is for your notes ...
Страница 123: ...C 3 1 4 Press the Enter key the following is displayed ...
Страница 125: ...C 5 1 1 From the Home screen click on Telephone Setting ...
Страница 128: ...C 8 1 4 To upload an image from another extension click Cancel and repeat from step 2 above ...
Страница 129: ...C 9 1 5 When image upload is complete click Home to exit the Telephone Setting screen ...
Страница 130: ...C 10 1 6 From the Home screen click the Logout icon to log out ...
Страница 131: ......
Страница 132: ...NEC Enterprise Communication Technologies Inc December 2019 DT930 DT920 ITK 8TCGX ITK 8LCX User Guide SV9100 ...


