1-16
Product Overview
Customer Displays
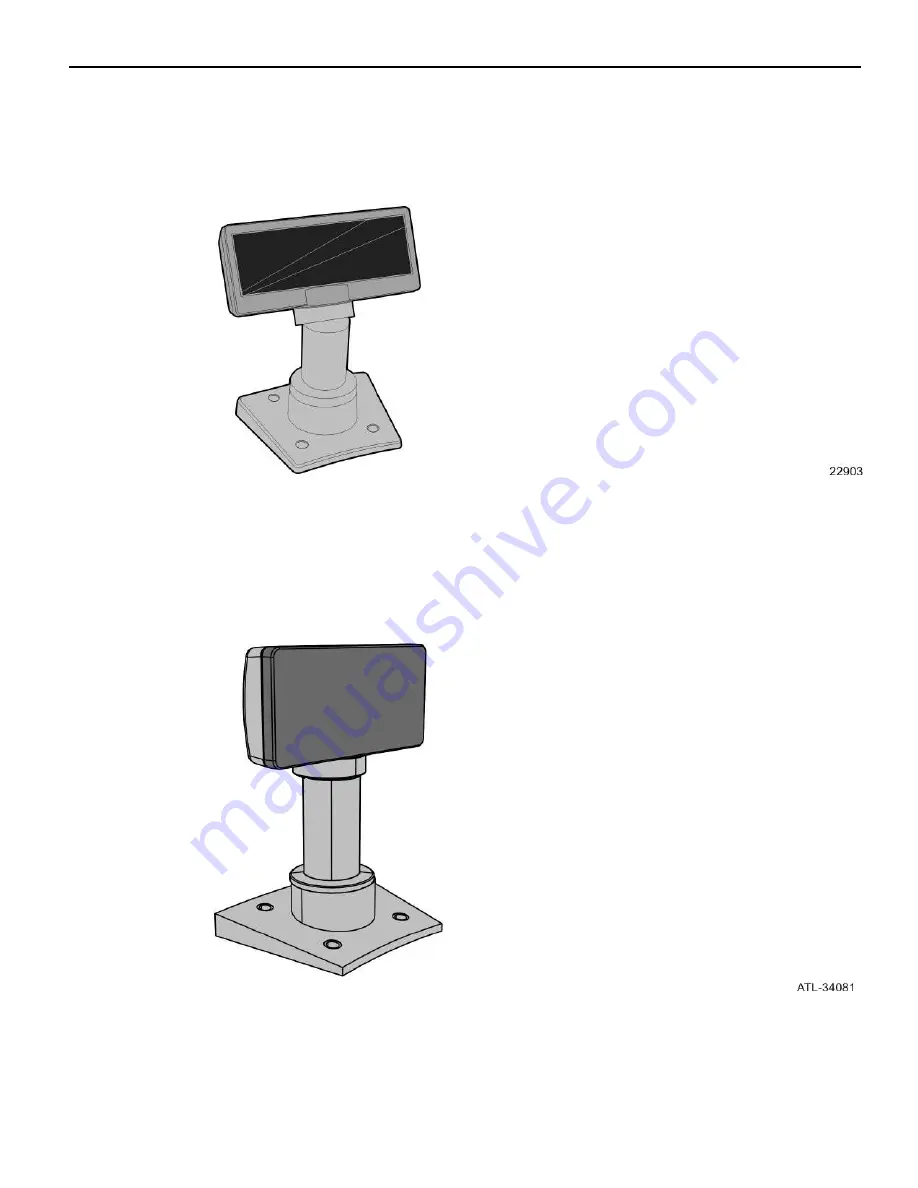
NCR POS 5975-1xxx Customer Display
The NCR POS 5975-1xxx Customer Display is a 2–line x 20–character Vacuum
Fluorescent Display (VFD), which can display any downloadable code page of single
byte characters. It supports both RS232 and USB interfaces.
NCR POS 5976 Customer Display
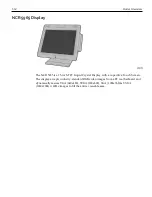
The NCR POS 5976–1xxx Customer Display is a 2–line x 20–character Liquid Crystal
Display (LCD), which can display any downloadable code page of single byte characters.
It supports both RS232 and USB interfaces.
Содержание POS XR8
Страница 1: ...User Guide NCR POS XR8 XR8c 7607 B005 0000 2436 Issue C ...
Страница 9: ...vii Touch Screen Cleaning Procedures 141 ...
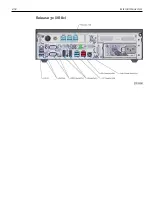
Страница 27: ...Chapter 2 External Connectors Motherboard Release 1 x Release 2 x Display Port Connections ...
Страница 28: ...2 18 External Connectors Release 3 x XR8c ...
Страница 42: ...2 32 ...
Страница 59: ...Hardware Installation 3 49 24V Powered USB and RS232 Cables ...
Страница 61: ...Hardware Installation 3 51 24V Powered USB and RS232 Cables ...
Страница 65: ...Hardware Installation 3 55 2185 Cash Drawer Fliptop with Locking lid The NCR 2185 is a Fliptop Cash Drawer ...
Страница 70: ...3 60 Hardware Installation NCR 5932 5715 Big Ticket USB Keyboard ...
Страница 72: ...3 62 Hardware Installation NCR 5932 6674 POS Compact Alphanumeric USB Keyboard ...
Страница 77: ...Hardware Installation 3 67 3 Disconnect the SATA Power connector from the Drive ...
Страница 78: ...3 68 Hardware Installation 4 Unscrew the Drive from the Hard Drive chassis Retain the screws ...
Страница 79: ...Hardware Installation 3 69 5 Slide the drive out of the chassis bracket ...
Страница 80: ...3 70 Hardware Installation 6 Slide in the new drive and secure with the retained screws ...
Страница 81: ...Hardware Installation 3 71 7 Connect the SATA Power connector to the Drive ...
Страница 82: ...3 72 Hardware Installation 8 Replace the Sled Cover and reconnect power to the terminal ...
Страница 85: ...Hardware Installation 3 75 5 Remove the HDD from the Bracket 6 Install the new HDD to the Bracket ...
Страница 92: ...5 82 ...
Страница 104: ...6 94 Disk Image Backup and Recovery Tool A message is displayed when the load is complete 5 Reboot the POS ...
Страница 130: ...7 120 ...
Страница 147: ...Configuring a Second HDD for RAID 10 137 7 Select Next ...
Страница 152: ...11 142 ...


