2-16
Installation Notes and Restrictions
Installation Notes
Cable Restraint
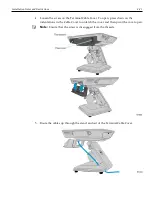
The P1535 includes a cable management system with cable strap to prevent accidental
disconnects and tampering. The strap is opened, peripheral connections are made, the
strap is closed, and then cables are then routed through the slot in the base.
Footprint
An area of no less than 18” inches square is necessary to properly install a P1535 unit
with MSR and side module. This will accommodate the unit as well as its associated
mounting hardware. For customer display attached, see user guide for specific
dimensions.
Power
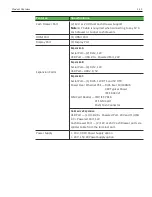
For tilt stand option, the P1535 has an integrated 19 V, 90 W power supply rated for 110
V and 240 V (Auto-sensing), 50 Hz or 60 Hz located in the base. With the powered USB
24 V option, the power supply is a 24V, 150 W external power brick rated for 110 V and
240 V (auto-sensing), 50Hz or 60Hz. Source power is drawn from a regular AC wall
outlet. The electronics are “universal” – that is, they will function when connected to
standard wall outlets in most countries around the world. For use in locales other than
North America, special wall outlet adapters or cables will be required. For international
configurations of the P1535, typically the country specific power cord is ordered
separately.
Moisture
The P1535 units should not be installed in areas where they might be exposed to direct
water spray. P1535 units are not meant for outdoor installation.
Touch Screen Cleaning
Use water or a standard glass cleaner (non–ammonia) with soft microfiber cloth to clean
touch screen. Spray onto cloth first before wiping screen to prevent liquid from running
down the glass and onto bezel.
Chemicals or solvents to avoid:
•
Alcohol–based agents
•
Ammonia
•
Bleaching agents
•
De–greasing agents
•
Sanitizing agents
Содержание P1535
Страница 1: ...USER GUIDE NCR P1535 POS 7761 Release 1 1 BCC5 0000 5054 Issue C...
Страница 14: ...Product Overview 1 5 Mounting Configurations...
Страница 15: ...1 6 Product Overview Expansion Options...
Страница 16: ...Product Overview 1 7 Customer Display Options...
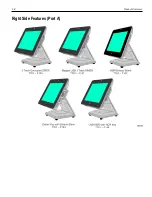
Страница 17: ...1 8 Product Overview Right Side Features Port A...
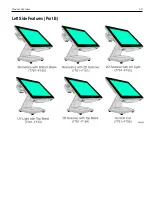
Страница 18: ...Product Overview 1 9 Left Side Features Port B...
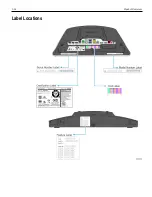
Страница 23: ...1 14 Product Overview Label Locations...


