


MASCHINE Getting Started – 60
These notes represent the Slices and trigger them in order to play the Loop just like we
recorded it. Try changing the tempo now, and you will hear that the Loop automatically
adjusts to the new tempo.
7.3 Mapping Samples
Since we sliced the Sample of our recorded drumloop already, we will not have to map
it: the slicing algorithm already did that and also provided the notes for the Slices in the
Piano Roll/Keyboard Editor.
However, mapping is useful for creating your own Sounds using multiple Samples instead
of just one. In the Mapping Editor you can set a root note, a note range on the keyboard,
velocity ranges and Tune, Gain and Pan for each Sample.
Hardware
In the Sampling Mode, hit Button to enter the Mapping Tab.
On the right display you will see the sample wave form of the selected zone now. To
switch between the zones of a sound consisting of more than one Sample (Multisample
Sound), use Button 7 and Button 8 for Previous and Next Zone.
To edit the velocity range of a Sample, switch to the next page using the Right Page
Button: Rotary Encoder 1 and 2 are now used to define the lowest and the highest
velocity.
The third page is used to enter Tune, Gain and Pan for the Sample Zone.
If you want to delete a Zone, select it and press Button 6 to remove it.
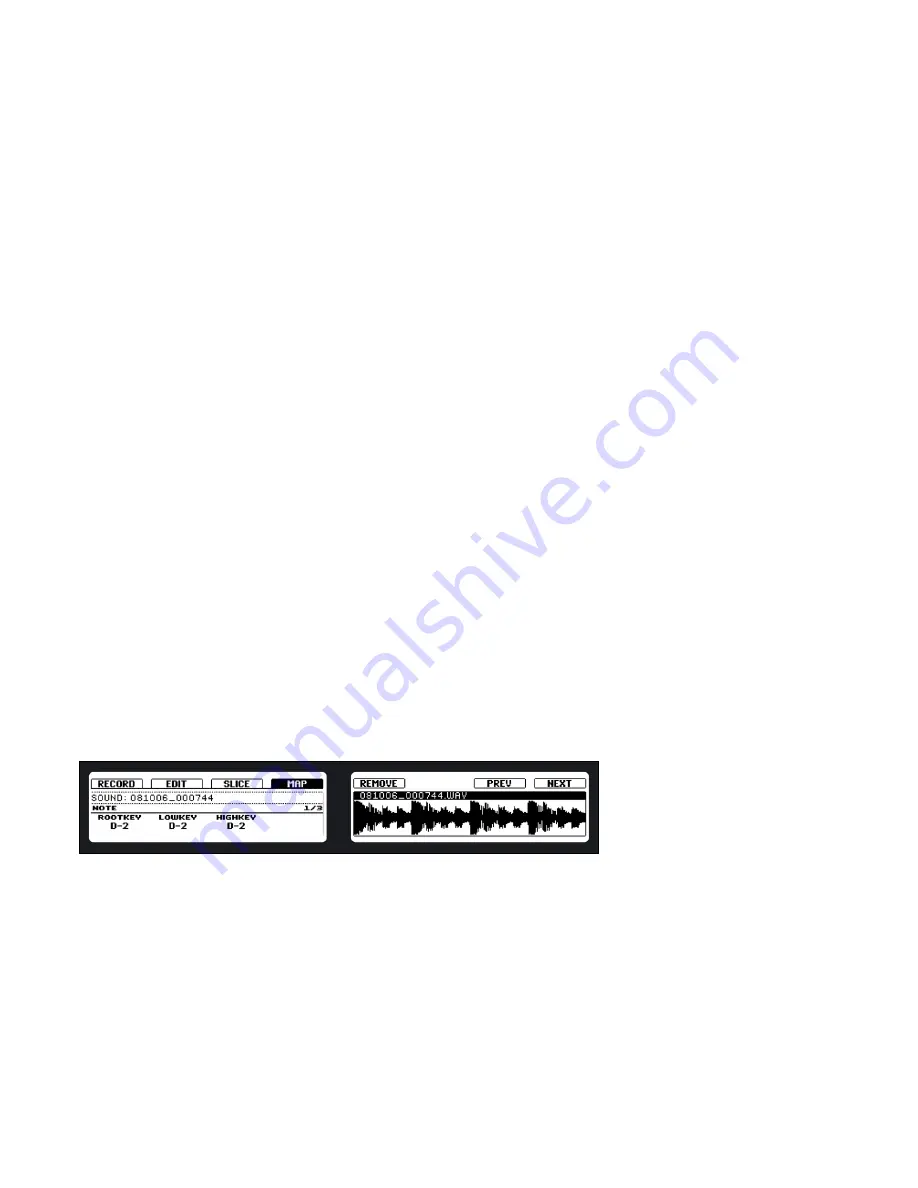
The Map Tab on the MASCHINE Controller
1.
2.
3.
4.
5.
%
Play around with the Slicing
feature by removing some of
these notes, quantizing or completely
rearranging them!
Содержание Maschine
Страница 1: ...GETTING STARTED...


