background image

SCXI Quick Start Guide

12

ni.com

4.

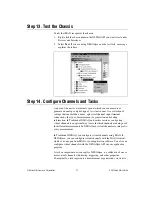
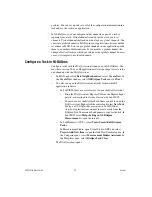
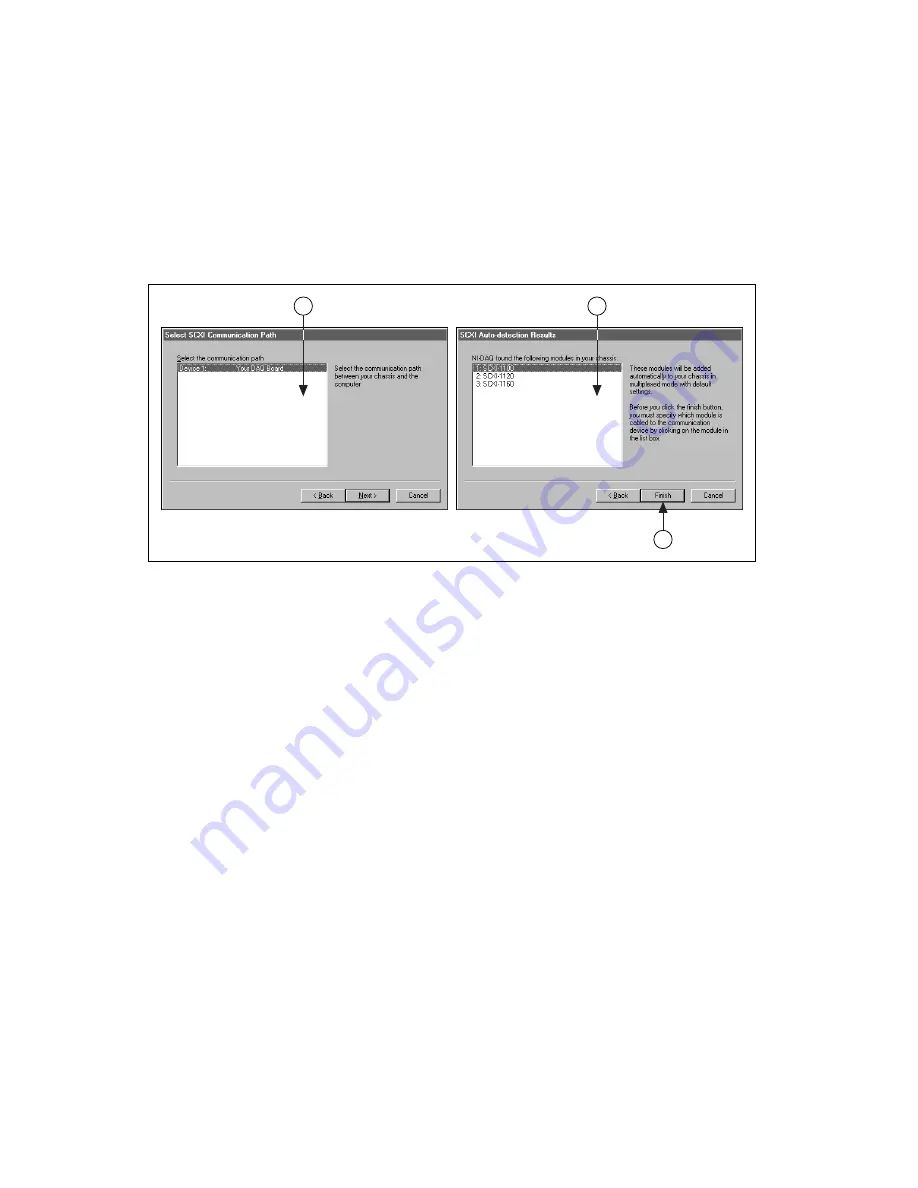
Select the DAQ device, which acts as the communication path between 
the chassis and the computer. Click 

Next

.

5.

Select the SCXI module that is cabled to the communication device. 
If the chassis has only one module, NI-DAQ selects the module by 
default.

6.

Click 

Finish

 to accept the settings.

4

5

6

Содержание SCXI

Страница 1: ...chassis the SCXI switch modules multichassis systems or parallel mode operation of any module Refer to the module chassis or cable adapter documentation for information on these topics If you are ins...

Страница 2: ...te which alerts you to important information This icon denotes a caution which advises you of precautions to take to avoid injury data loss or a system crash bold Bold text denotes items that you must...

Страница 3: ...ment System Overview Your Measurement Application Application Software LabVIEW LabWindows CVI Measurement Studio or other programming environments Configuration Measurement Automation Explorer MAX App...

Страница 4: ...ng precautions Ground yourself using a grounding strap or by holding a grounded object Touch the antistatic package to a metal part of the chassis before removing the module from the package Remove th...

Страница 5: ...al Block or TBX Accessories optional 2 SCXI Modules 3 SCXI 1000 or SCXI 1001 Chassis 4 Chassis Power Cord 5 Cable Assembly Shielded Cable and Cable Adapter 6 DAQ Device 7 Personal Computer 1 2 3 4 C 1...

Страница 6: ...g figure all switches are shown in the off position Note Older chassis use jumpers inside the front panel instead of chassis address switches Older chassis also differ in fuses and AC power selection...

Страница 7: ...Corporation 7 SCXI Quick Start Guide Step 4 Install Modules Caution Make sure the chassis is powered off 1 Insert all of the modules into the chassis 2 Tighten the module thumbscrews 1 Thumbscrews 2 M...

Страница 8: ...has switch or jumper settings refer to Getting Started with SCXI for more information about configuring the hardware For more information about sensors refer to the following documents If you are usin...

Страница 9: ...dapter to the module Use the screws provided to secure the adapter to the chassis Caution Do not force the adapter if there is resistance Forcing the adapter can bend pins 2 Connect one end of the cab...

Страница 10: ...n Devices and Interfaces Note For more information about the Traditional NI DAQ and NI DAQmx Application Programming Interfaces APIs refer to the DAQ Quick Start Guide for NI DAQ 7 0 3 Click Finish wh...

Страница 11: ...in the figures to configure the SCXI chassis 1 Select an ID for the SCXI chassis The ID can be any integer between 1 and 3 200 Use this ID to identify the chassis in your application 2 Enter the chass...

Страница 12: ...acts as the communication path between the chassis and the computer Click Next 5 Select the SCXI module that is cabled to the communication device If the chassis has only one module NI DAQ selects the...

Страница 13: ...abled 2 Select the module slot connected to the chassis communicator from Communicating SCXI Module Slot 3 Enter the chassis address setting in Chassis Address Make sure the setting matches the addres...

Страница 14: ...r more configuration options Refer to Step 12 Configure the SCXI Modules for more information 10 If you need to change any chassis settings click the Chassis tab Mst users will not need to change chas...

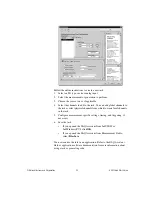
Страница 15: ...ending on the NI DAQ API you are using to program the modules Traditional NI DAQ or NI DAQmx Traditional NI DAQ If you are using Traditional NI DAQ complete the following steps to configure the SCXI m...

Страница 16: ...heckbox if the DAQ device controls the chassis 4 Some modules require an operating mode multiplexed or parallel Select a mode from Operating Mode 5 Some modules feature software selectable filter and...

Страница 17: ...National Instruments Corporation 17 SCXI Quick Start Guide 6 Click the Accessory tab Select a compatible device from the Accessory listbox 7 Click OK to accept the settings...

Страница 18: ...this step if you are using a single MIO device with your SCXI system in multiplexed mode 1 Select the chassis from Devices and Interfaces NI DAQmx Devices 2 Right click the module and choose Propertie...

Страница 19: ...ick the Jumpers tab and enter the hardware selected settings 4 Click the Accessory tab 5 To change the accessory selected during chassis configuration select a module accessory from the Accessory drop...

Страница 20: ...9 Select a DAQ device from the Module Digitizer drop down listbox The device can be different from the device selected from the Which device connects to this module listbox 10 If operating in paralle...

Страница 21: ...e type of measurement or generation and scaling information In Traditional NI DAQ and earlier versions configuring virtual channels is an optional way to record which channels are being used for diffe...

Страница 22: ...sks and channels with the DAQ Assistant In MAX right click Data Neighborhood and select Create New In the Create New window select NI DAQmx Task and click Next You also can open the DAQ Assistant dire...

Страница 23: ...hannels to the task or select physical channels from which to create local channels in the task 5 Configure measurement specific settings timing and triggering if necessary 6 Save the task If you open...

Страница 24: ...viously described In the DAQ Assistant click Add Existing DAQmx Global Channels to add global channels to your task The DAQ Assistant opens Follow the online instructions to create a new global channe...

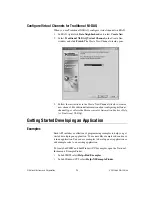
Страница 25: ...hannel For additional information about configuring different channel types refer to the Measurement Automation Explorer Help for Traditional NI DAQ Getting Started Developing an Application Examples...

Страница 26: ...Information about Measurement Applications and Devices Each application software package and driver includes information about writing applications for taking measurements and controlling measurement...

Страница 27: ...urement Studio Reference ANSI C without NI Application Software The Traditional NI DAQ User Manual and the NI DAQmx Help contain API overviews The NI DAQmx Help also contains general information about...

Страница 28: ...I overview and function VI overview Training Courses If you need more help getting started developing an application with NI products NI offers training courses To enroll in a course or obtain a detai...

Страница 29: ...aking sure that the label side of the fan is face down Reinstall the four screws and make sure the assembly is secure My chassis worked fine until I inadvertently removed and reinserted a module while...

Страница 30: ...my chassis is powered on Not exactly You can determine whether or not you can communicate with configured modules through SCXI_ModuleID_Read in NI DAQ or using a LabVIEW VI that you can obtain from ni...

Отзывы: