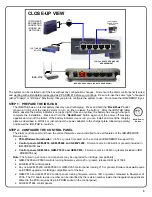
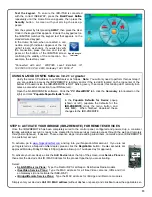


12
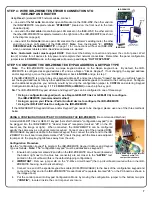
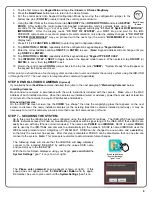
Configure the Wireless Cameras.
Be sure all wireless
cameras are powered, then tap
(3) Configure Wireless Cam-
era
.
A confirmation popup appears; tap
Yes
to proceed (or tap
No
to exit without saving changes).
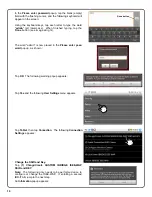
Wait while the IBR-ITAB searches for all cameras. When
finished searching, the IBR-ITAB lists all the discovered
cameras by IP address. Tap to select each camera one at a
time and tap "
Lock
" to lock the camera. Exit when complete.
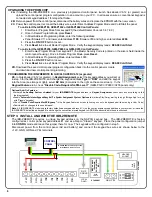
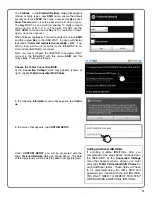
Lock Down the ISEE-WAP.
In the
Connection Settings
menu, tap
(4) Lock Down
IBRIDGE ISEE-WAP
.
Locking the ISEE-WAP turns off the default "PUBLIC" SSID
so no other systems can connect to your equipment. Any
new IBR-ITABs will have to use the new SSID and Key en-
tered in the
Preferred Network
dialog above.
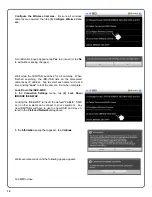
In
the
Information
popup that appears, tap
Continue
.
Wait several seconds until the following popup appears:
Tap
OK
to close.
Содержание iBridge Suite
Страница 18: ...18 NOTES...