


original operating instructions mycusini
For questions please contact us at [email protected]
If you have issues with reinstalling the
stamp you can move up the stamp
automatically.
Click "Yes" to insert the stamp
Wait while the mycusini is moving into
position
When the stamp is in the correct
position, click "stamp in position".
It will automatically move up
Wait until the stamp has fully
risen up
Close the cartridge holder
6.1.2 Info
This menu indicates your current software version. If a software update is available, you will
be informed in the mycusini Club in the message window. Also keep this information ready
in case of service issues. For more information contact our service team at the following e-
mail address:
.
For more information about the
mycusini click on "Info"
Even More information can be found
on the website mycusini.club
Press the control knob to return to
the main screen.
6.1.1 Calibrate
Your mycusini is adjusted for printing with mycusini 3D Choco. If you notice, that the tip of
your cartridge is too low or too high during the first layer of printing, you may calibrate it using
the "Calibrate" menu. With this service menu you may reset or adjust the tip to the printing
area.
Please use this menu only in combination with the video tutorial "Calibrate", which you will
find in the mycusini Club in your personal account under Tips & Tricks. You may also contact
the mycusini service team at [email protected] for assistance.
Insert Stamp now?
►
Yes
No
Please wait while the
mycusini is moving
Stamp is moving up
Close cartrige holder
► Closed
Select "Yes" to switch off the
mycusini
Select "No" to return to the main
menu
Back
Insert Stamp
>>
Info
>>
.
Calibrate
>>
Extended Cleaning
>>
Back
Insert Stamp
>>
Info
>>
.
Calibrate
>>
Extended Cleaning
>>
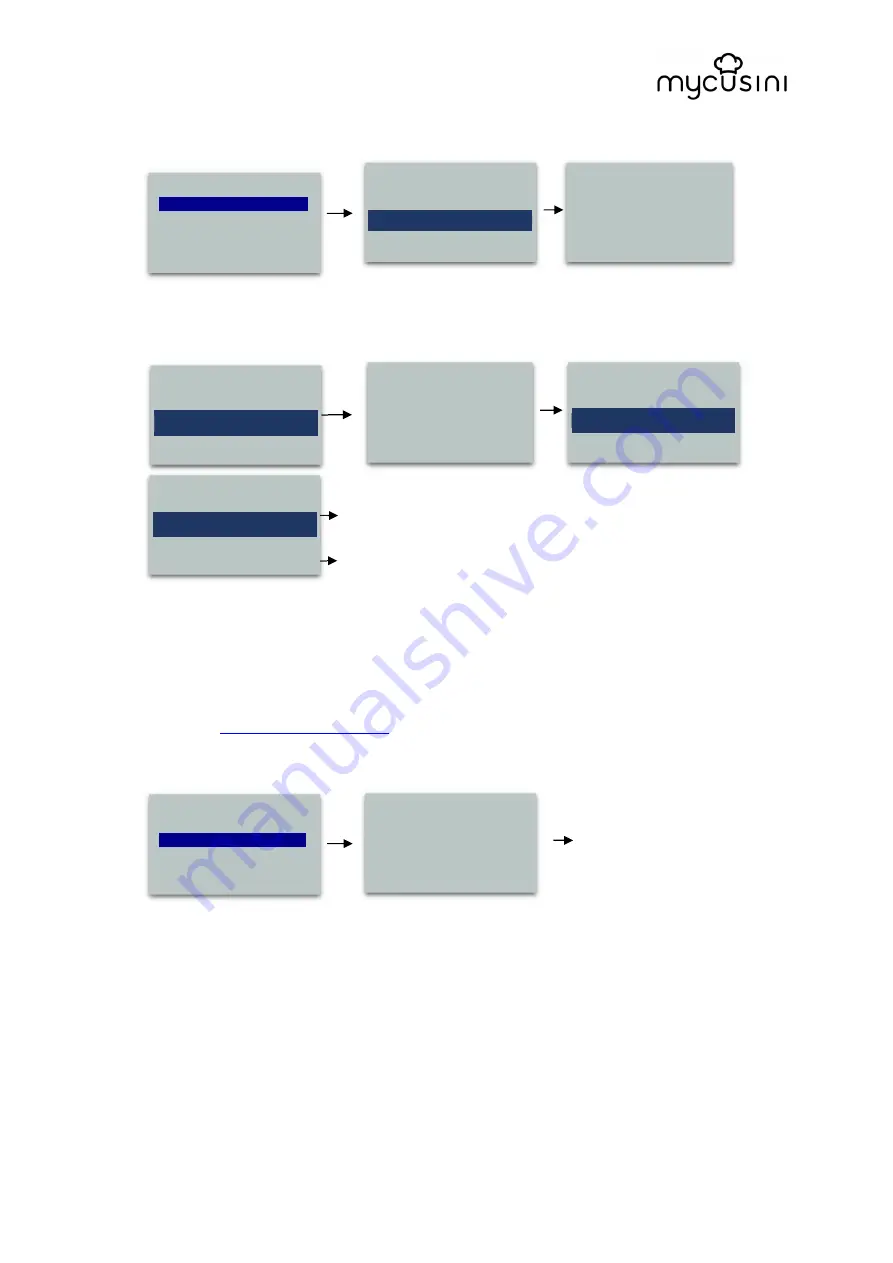
Current Version:
Version 0.9.2
For help visit:
mycusini.club
Put stamp into position
and hold it
►
Stamp in position
Turn off mycusini?
►
Yes
►
No, back to menu


