


original operating instructions mycusini
For questions please contact us at [email protected]
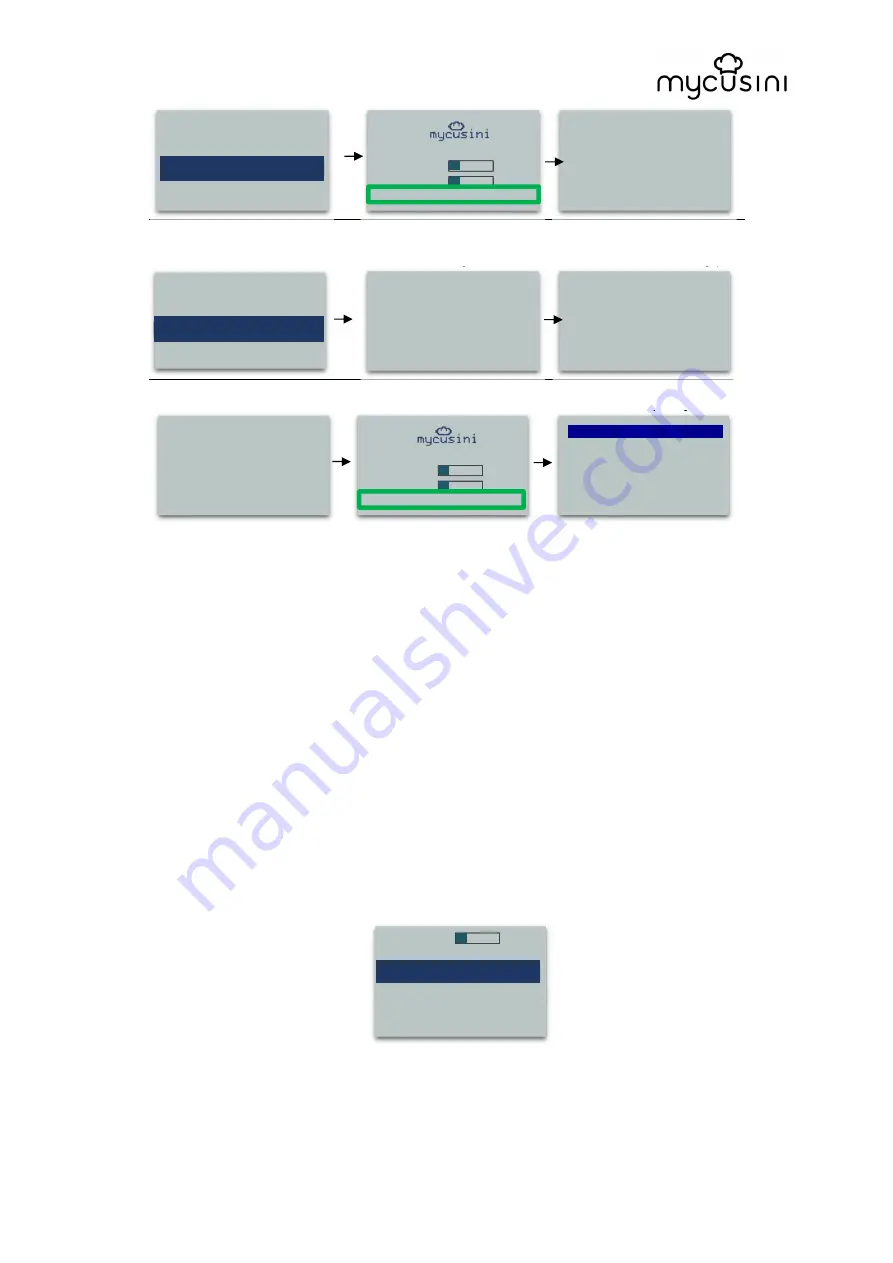
Current object:
Simon.gco
►
Start printing now
>
►
Choose other object >
Click “Start printing now” to print
Printer is moving all axes
Turn right to extrude (Turn about 3-5
times clockwise after the first time
3D Choco has left the cartridge).
Click to continue
Print status
Menu while printing
4.7 Remove 3D objects from the flexible mat
1. Wait till the object has cooled down and turned solid.
2. Remove the flexible mat.
3. Slightly bend the mat to remove your printed mycusini Choco object.
4. Clean the surface of the flexible mat (washable) in order to use for the next time.
5. Start printing another object or end with cleaning.
4.8 The “Next action” menu
After each successful print, the menu "Next action" appears. In this menu you have
the following options. At the top of the display, you can check the current fill level of
your refill to prevent starting a large object when the level is too low.
4.8.1 „Print another object“
With this option you can produce another object from your SD card. In addition, you
can control the level of your 3D Choco to have enough material for your next 3D
object.
Insert cartridge now!
►
Done
Refill R
█
EFI d
11 %
Temperature R
█
EF I
Preheating ... 5 m 59 s
Chooose object
Hello.gco
Simon.gco
Vase.gco
Please wait while the
mycusini is moving
Turn right to Extrude
until Choco comes out
continously
click when Done
Turn right to Extrude
until Choco comes out
continously
click when Done
Refill R
█
EFI d
11 %
Temperature R
█
EF I
Print: Simon 6,3 %
►
Back .
Abort print
Abort print & extrude
Refill R
█
EFI d
11 %
Next action
►
Print another object
Clean now
>>
Remove cartridge
>>
Turn off
>>


