


INSTALLING THE BACK
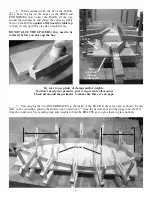
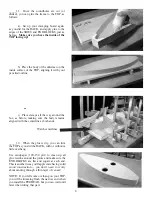
_____3. Find the spacer(s) for your kit and position them as shown to hold the shape of the instrument.
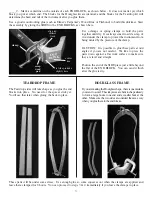
NOTE: The TOP and BACK panels of this instrument can be interchanged.
Although we like putting mahogany on the top and cherry on the back, you may
reverse them. Mahogany has the straighter, more open grain, and often has very
interesting color variations. These panels are much larger than necessary to fit the
frame of your instrument, so you’ll be cutting them down to shape as you progress
through the building process.
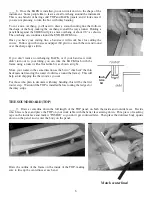
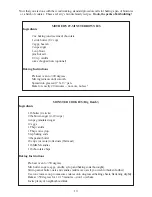
Select which piece you want for
the back panel and draw a cen-
terline down the length of it on
the inside surface. Then you can
position the frame on the back,
lining it up on the centerline, as
shown.
Mark the center of your spacers
also, so you can keep the frame
straight.
The single spacer for the Teardrop kit
can be pushed toward one end or the
other to shift the center of the bout
one way or the other. Just be careful
to avoid spreading the SIDES too far
apart to fit the TOP and BACK. We
like to keep the instrument no wider
than about 9-1/2” at the widest point.
The three spacers for the
Hourglass kit will force the SIDES
into position without much room
for adjustment.
Centerlines
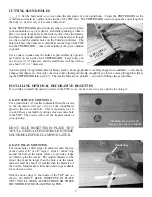
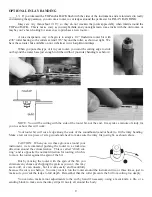
_____4. Take a minute to clean off any excess glue residue from around the END BLOCKS, and to sand the SIDES
level with the END BLOCKS so the TOP and BACK can be glued firmly to those surfaces.
CAUTION: Use a flat sanding block for this purpose and try to avoid rounding the END BLOCKS.
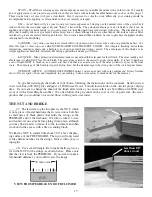
_____5. Find yourself a nice flat piece of ply-
wood about the size of the dulcimer (10” X 33’)
to use as a clamping board. A particle board
shelf would be inexpensive and ideal.
Rest the shelf on a couple supports to give
room for your clamps to fit under the board.
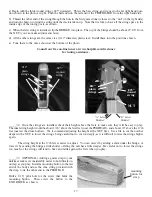
clamping board
No glue!
No glue!
No glue on
spacers!
4


