

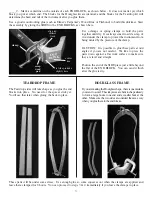


INSTALLING THE FRETBOARD
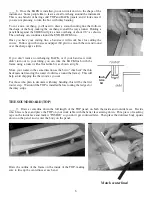
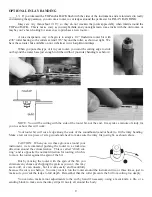
d) Once the PEGHEAD is glued in place, you’ll want to reinforce it with a
screw. Use a 7/64” drill bit to bore a pilot hole into the END BLOCK, as
shown. Then install the screw provided.
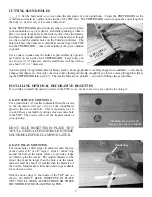
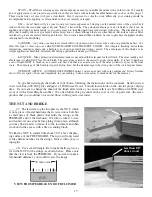
e) You can cover the screw head with the wood plug provided. Put a little
glue into the hole first, and then tap the plug into place and let it dry.
f) Sand off the excess portion of the wood plug, making it flush with the
surrounding wood.
7/64”
drill
bit
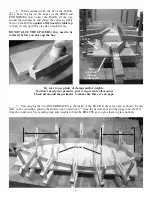
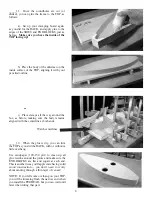
_____23. Now you’re ready to install the FRETBOARD on top of the instrument. It must be oriented correctly,
with the squared end against the PEGHEAD, as shown at bottom. This leaves a slot for the plastic NUT that we
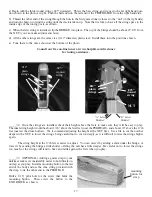
mentioned earlier. Look carefully at the bottom photo on this page to see how we clamp the FRETBOARD in place.
Don’t be tempted to add more clamps in the middle -- you’d end up pressing the TOP down and making the
FRETBOARD and TOP concave. This is all the clamping pressure you need!
When you have everything ready, apply glue to the underside of the FRETBOARD only on the flat areas that will
contact the TOP of the instrument, as shown, and clamp the FRETBOARD in place until dry.
Find three clamps and make a test run of clamping the FRETBOARD before applying glue.
Carefully line up the FRETBOARD on the center of the instrument at each end,
and mark its location so you can return it quickly and accurately when you apply
the glue. We like to use masking tape to mark the outer edge near the tail end,
as shown. The head end is easy to align with the PEGHEAD by eye.
This clamp reaches through the sound hole and
presses the FRETBOARD against the TOP.
clamp at
tail end
clamp
at
head
end
13


