


Mounting and installation
Mounting the display in the vehicle cab
4
31302713-02-US
V9.20191001
15
Mounting and installation
Mounting the display in the vehicle cab
Connecting the display to voltage supply
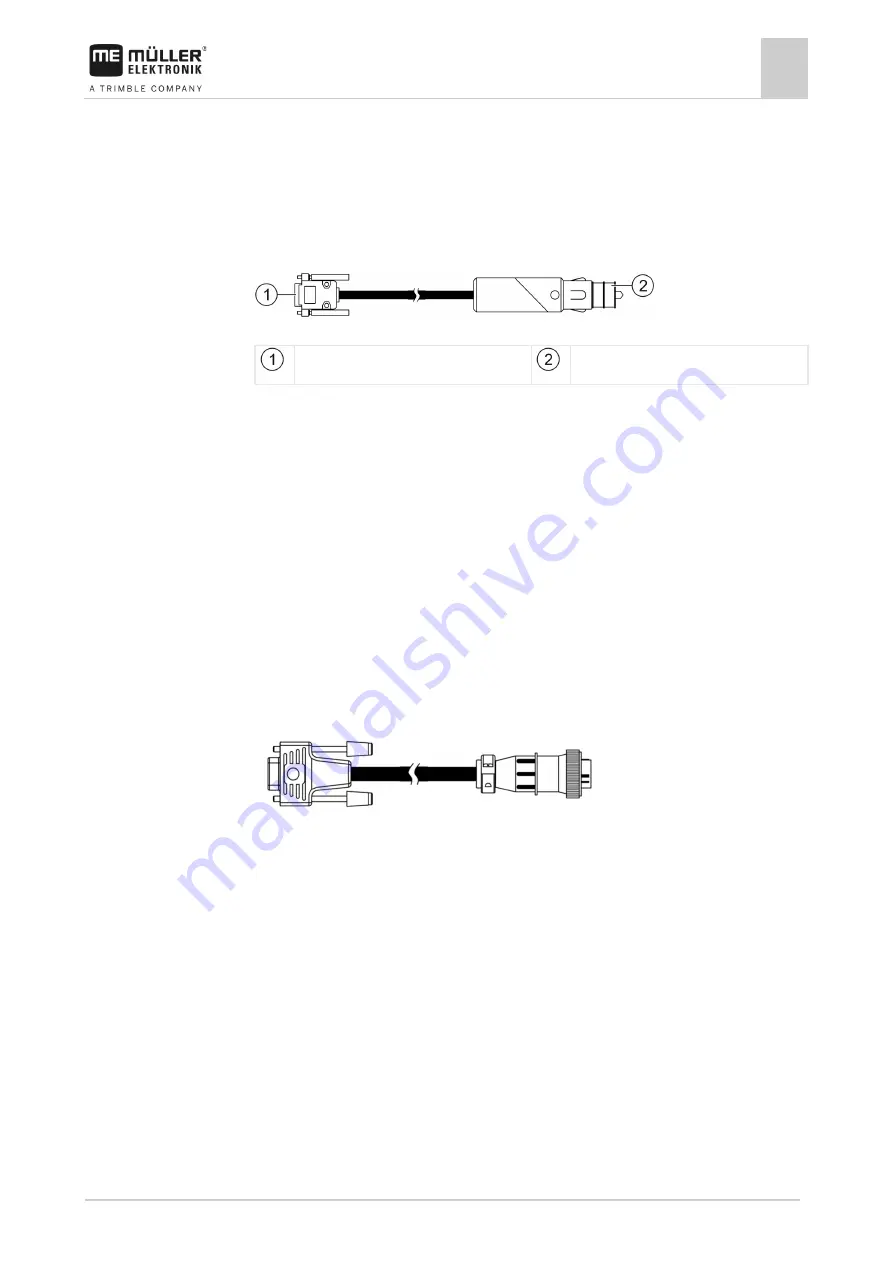
Cable for the power supply - Item no. 31302495
9-pin Sub-D on socket A in the display
Plug for vehicle power supply (cigarette
lighter)
This is how you connect the display to voltage supply:
1.
Connect the power cable included in the delivery to port A of the display.
2.
Connect the power cable on the other side to (10V - 30V) the vehicle's electrical system.
Connecting the display to the ISOBUS
Connection to the ISOBUS serves to:
▪
supply the display with power,
▪
enable communication with other ISOBUS components.
You will need a different connection cable for this, depending on the model of your tractor.
▪
In tractors which have been subsequently upgraded with an ISOBUS-basic vehicle harness
provided by Mueller-Electronics, use connector cable A from the ISOBUS-basic vehicle harness.
▪
In tractors which are equipped as standard with ISOBUS and which have an ISOBUS In Cab
Connector, you will need the following connector cable:
D-Sub <-> CPC connector cable, item no. 30322541
When there is more than one display in the tractor cab, you may need to change certain settings in
order to enable two-way communication. Find out more: Using two displays [
1.
Connect the 9-pin plug A of the basic vehicle harness to the CAN port of the display.
2.
Tighten the safety screws on the connector.
Inserting a Micro-SD card
The micro-SD card serves as internal storage for the display.
To change the SD card:
1.
Switch off the display and disconnect all cable connections.
2.
Unscrew the cover on the rear of the display.
3.
Use your finger to press on the SD card in the slot.
⇨
The SD card is unlocked and now protrudes by approx. 1 mm.
4
4.1
Procedure
4.2
Procedure
4.3
Procedure
4.4
Procedure


