NPort W2150A-W4/W2250A-W4 Series User Manual
12
3.
Initial IP Configuration
Overview
This chapter presents several ways to assign the NPort’s IP address for the first time. Please refer to
Chapter 2 for instructions on connecting to the network.
The web console is the recommended method for configuring the NPort. Please refer to Chapter 5 and 6 for
details on using the web console for configuration.
ATTENTION
The LAN and WLAN interfaces cannot be used at the same time if you don't enable the Ethernet Bridge
mode (please refer to Chapter 7 for more details). If the Ethernet link is active, then WLAN connections
will be disabled. If the WLAN connection is active, then the Ethernet link will be disabled.
ATTENTION
Make sure that the Ethernet cable is connected before powering up the NPort.
Factory Default IP Settings
Network Interface
IP Configuration
IP Address
Netmask
LAN
Static
192.168.126.254
255.255.255.0
WLAN
Static
192.168.127.254
255.255.255.0
If your NPort is configured to get its IP settings from a DHCP server but cannot get a response, it will use
the factory default IP address and netmask.
ATTENTION
If you forget the IP address of your NPort, you can look it up using the Device Search Utility (DSU). After
the Device Search Utility (DSU) has found all NPorts on the network, each unit will be listed with its IP
address. Please refer to Chapter 11 for additional information on using the Device Search Utility (DSU).
Using the Telnet Console to an Assign IP
Address
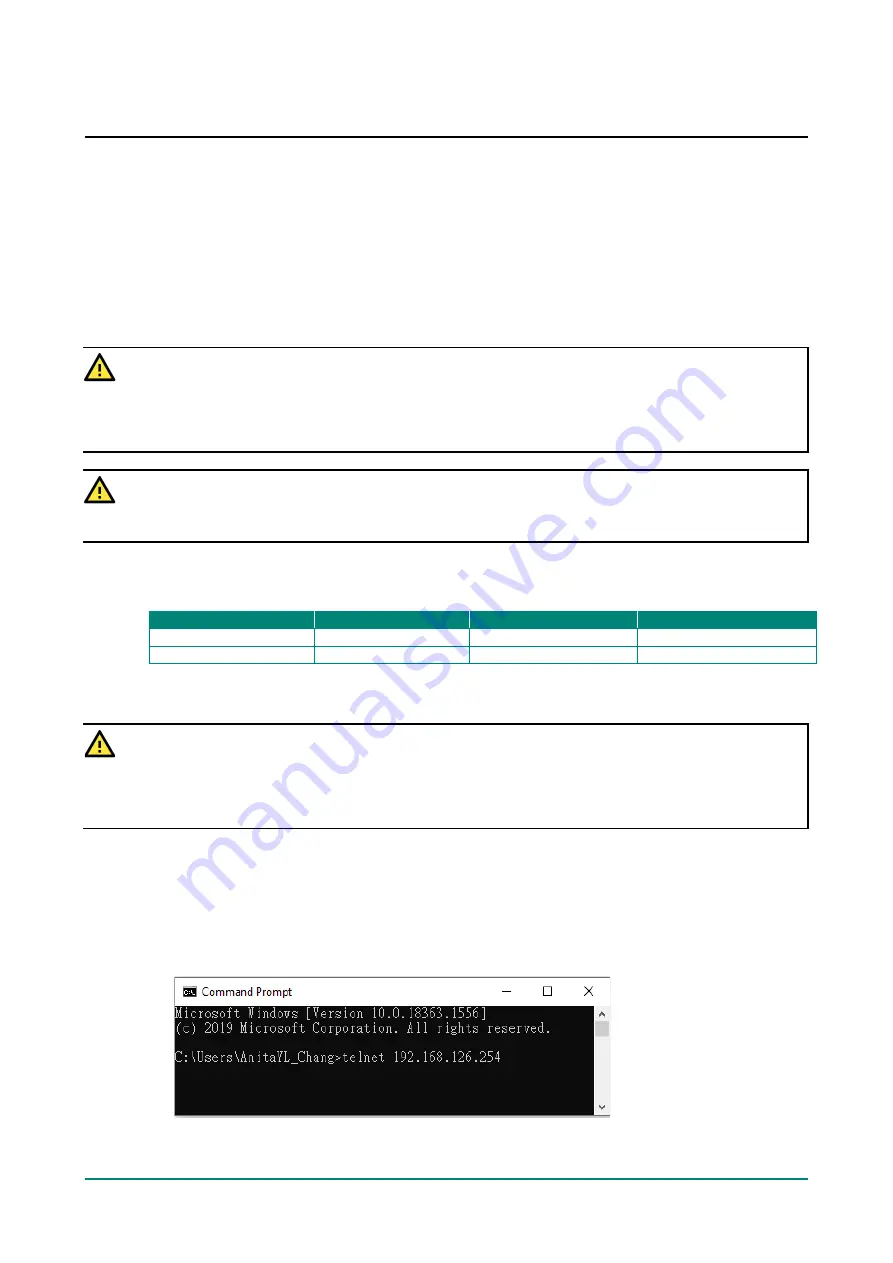
1.
Select
Command Prompt…
from the Windows Start menu.
2.
Enter
telnet 192.168.126.254
(the NPort’s default IP address) and click
[OK]
.


