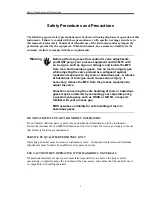
Safety Procedures and Precautions
2
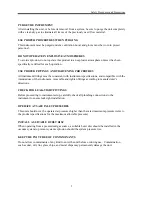
PURGE THE INSTRUMENT
After installing the unit, or before its removal from a system, be sure to purge the unit completely
with a clean dry gas to eliminate all traces of the previously used flow material.
USE PROPER PROCEDURES WHEN PURGING
This instrument must be purged under a ventilation hood, and gloves must be worn to protect
personnel.
DO NOT OPERATE IN EXPLOSIVE ATMOSPHERES
To avoid explosion, do not operate this product in an explosive atmosphere unless it has been
specifically certified for such operation.
USE PROPER FITTINGS AND TIGHTENING PROCEDURES
All instrument fittings must be consistent with instrument specifications, and compatible with the
intended use of the instrument. Assemble and tighten fittings according to manufacturer's
directions.
CHECK FOR LEAK-TIGHT FITTINGS
Before proceeding to instrument setup, carefully check all plumbing connections to the
instrument to ensure leak-tight installation.
OPERATE AT SAFE INLET PRESSURES
This unit should never be operated at pressures higher than the rated maximum pressure (refer to
the product specifications for the maximum allowable pressure).
INSTALL A SUITABLE BURST DISC
When operating from a pressurized gas source, a suitable burst disc should be installed in the
vacuum system to prevent system explosion should the system pressure rise.
KEEP THE UNIT FREE OF CONTAMINANTS
Do not allow contaminants of any kind to enter the unit before or during use. Contamination
such as dust, dirt, lint, glass chips, and metal chips may permanently damage the unit.
Содержание 248A
Страница 2: ...107428 P1 Rev L 8 06 MKS Type 248A B C Control Valve...
Страница 5: ...Table of Contents iv Index 27...
Страница 7: ...List of Figures and Tables vi...
Страница 11: ...Safety Procedures and Precautions 4 This page intentionally left blank...
Страница 19: ...Setup Chapter Two Installation 12 This page intentionally left blank...
Страница 21: ...General Information Chapter Three Operation 14 This page intentionally left blank...
Страница 27: ...Assembly Chapter Four Maintenance 20 This page intentionally left blank...
Страница 29: ...General Information Chapter Five Repair 22 This page intentionally left blank...
Страница 31: ...General Information Specifications 24 This page intentionally left blank...


