50
5. TV Menus
51
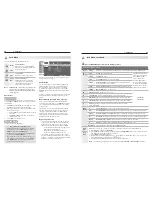
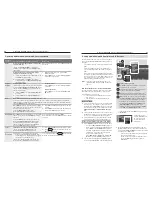
Lock Menu, continued
Time
Blocks all use of the TV during the time period you specify. You must enter a pass code to use the TV when the time
lock is in effect.
Lock by Time
On, Off
Enable or disable Lock by Time.
Lock Time,
Unlock Time
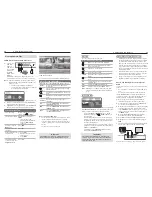
To set the lock and unlock times:
1. Highlight the hour digits for the
Lock Time
.
2. Press repeatedly to change the hour and associated
AM
/
PM
indicator. To move quickly
through the numbers, just press and hold.
3. Press
ENTER
to set the hour and highlight the minutes.
4. With the minutes highlighted, press repeatedly to change the minutes. To move quickly
through the numbers, just press and hold.
5. Highlight the
Unlock Time
digits and set the time as described above.
Note:
To make Lock by Time active 24 hours a day, make
Start Time
and
Stop Time
the same.
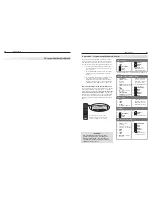
Other Menu Options (alternate rating system)
This TV can recognize new rating systems that may come into effect in the future. The
Other
option remains grayed
out until the TV receives a signal using an alternate rating system. Such alternate rating systems will apply only to
digital programming received on the
ANT 1
and
ANT 2
inputs.
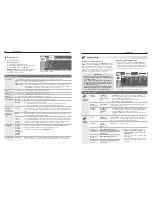
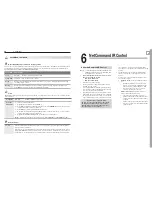
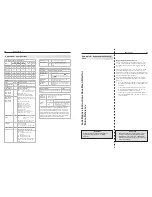
Option Name and Description
Lock
On, Off
Enable or disable program blocking.
System Name
The rating system available for the channel
Group
Rating groups available in the rating system shown on the screen. Rating groups are defined by
the rating system in effect.
Rating
Rating restrictions available in the selected rating system and group. Highlight the rating and
press
ENTER
to check (block) or uncheck (allow) rated content.
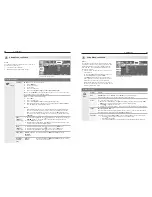
Control Panel
On, Off
On
locks and
Off
unlocks the buttons on the TV’s control panel. Use this option if small children
may try to press TV buttons.
If the remote control is unavailable, use the control panel to release the Control Panel Lock. Press
and hold the
MENU
button for over eight seconds. You can do this to release the lock even if the TV
is powered off. To reactivate the lock, you must return to this menu and change the setting to
On
.
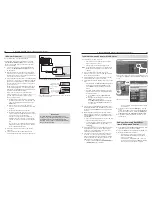
6
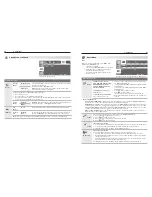
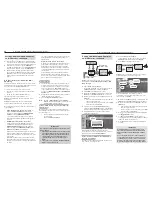
NetCommand IR Control
About NetCommand IR Control
Note:
To learn about NetCommand for HDMI devices,
available on all TV models, see “NetCommand
for HDMI Devices” on page 28.
•
NetCommand IR home-theater control is avail-
able on the following models:
WD-65736, WD-73736
-
WD-65835, WD-73835
-
• NetCommand setup is optional.
• You may wish to use NetCommand IR control to
supplement CEC control.
• You can perform NetCommand setup when the TV
first recognizes a device during Auto Input Sensing
or at any convenient time afterward.
• NetCommand operates by sending remote control
signals from the TV to your other devices via the IR
emitters, telling the devices to play, record, change
inputs, adjust volume, change channels, or perform
other functions. All this is accomplished with the
TV’s remote control and the slide switch left in the
TV
position.
• The IR “Learning” feature of NetCommand allows
the TV to learn the IR control signals for your A/V
devices.
• You can choose the level of NetCommand control
for your home theater.
Standard Setup.
Perform a standard setup if
you:
Want NetCommand to control only a few
devices, such as the TV, a playback device
(like a DVD player), and a cable box. With
this setup, you can use the TV’s remote
control to operate these devices.
A/V Receiver Setup.
Perform A/V receiver
setup if you want NetCommand to:
Control a surround sound A/V receiver.
Automatically change audio input selections
on an A/V receiver when you change inputs
on the TV.
Automatically change audio and video input
selections on an A/V receiver with an HDMI
output to the TV.
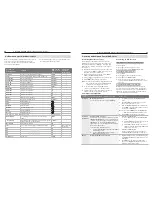
Important Note on NetCommand
Be sure to connect the IR emitter cable to the
TV and properly place the emitters so that
NetCommand can control your devices. See
the explanation on the next page.


