56
••••••••••••••••••••••••••••••••••••••••••••••••••••••••••••••••••••••••••••••••••••••••••••••••••••••••••••••••••••••••••••••••••••••••••••••••••••••••••
Timer
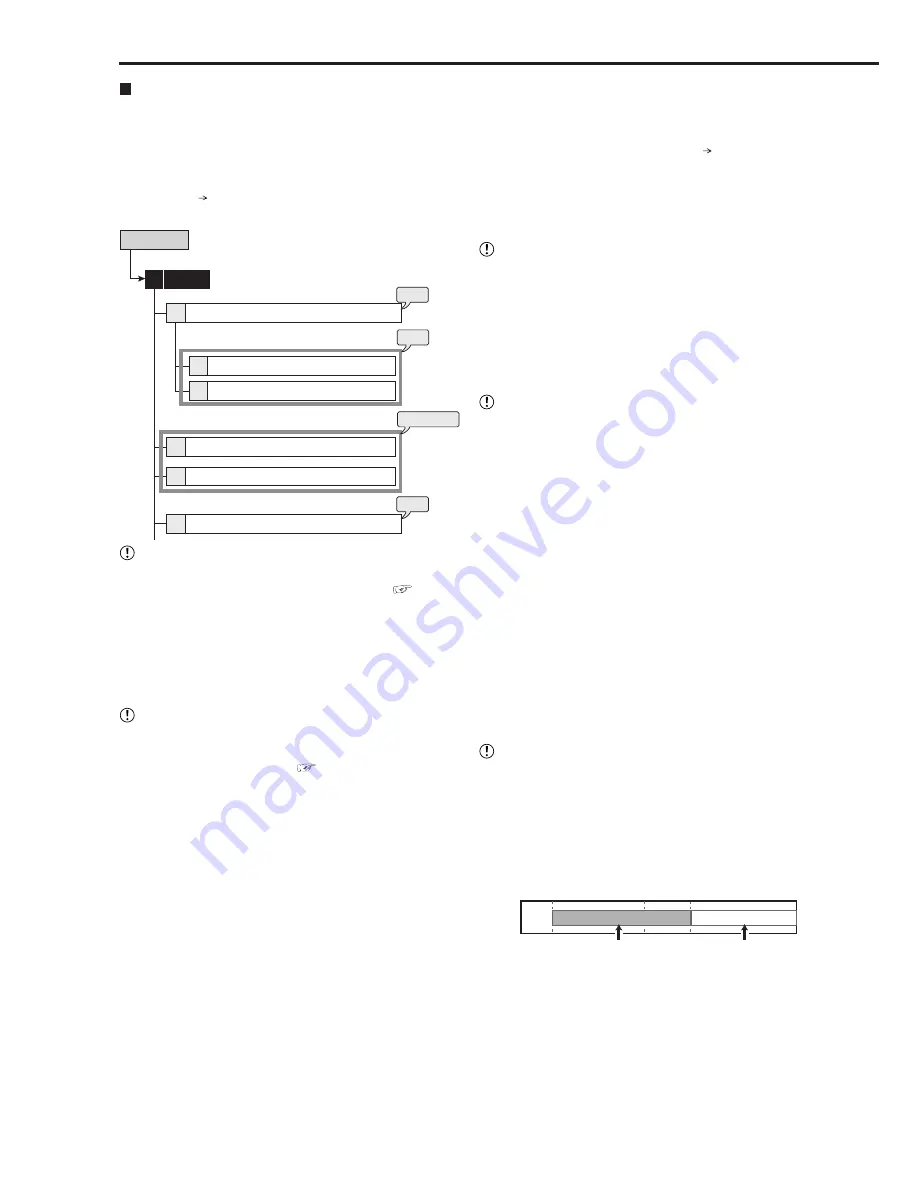
This menu is used to program the timer of 2 most frequently
used operation patterns. Also, by individually setting
recording camera, recording rate, and picture grade for
normal/alarm recording to <Set Recording Pattern A
(Normal/Timer)> to <Set Recording Pattern D (Timer)>
(Setup Menu Recording), settings can be changed in-
stantly by switching “Program Mode.”
Setup Menu
Timer
steps
1 to 3
Program Selection and Program Overview
Configure Timer Program 1
Configure Timer Program 2
Define Holidays
Timer program 1 overview
Timer program 2 overview
2
2
1
2
3
3
4
step
6
step
5
step
4
• Before you start recording, accurately set the present
date and time (for setting the date and time,
see
page 60).
(Setting the program:)
step
1.
Select the timer program line to be set.
• Up to 8 programs can be set in one program
number.
Clear
: Clears all the settings for the selected line.
• When the recording period of 2 or more programs
are overlapped, the higher-numbered program is
given priority for recording. (
See the next page.)
step
2.
Set the detailed settings for each program line.
2-1
Day of The Week
Set the day of the week from Sunday to Saturday.
Everyday
: Records at the programmed time
everyday.
Special
: Records for the period specified in special
day of the week.
Holiday
: Applies holidays specified in the holiday
settings. This setting is carried out by priority,
regardless of the program number.
2-2
Time
Set the program start and end time. (The time is
indicated using the 24-hour system.)
2-3
Program Mode
Record A to Record D
: Records by using the
cameras and rates which are set in <Set Recording
Pattern A (Normal/Timer)> to <Set Recording
Pattern D (Timer)> (Setup Menu Recording).
Copy 2:
Makes the backup of the data to the copy
2 device.
Skip:
Temporarily skips the recording (the recording
does not perform for the specified time period of
that program).
• When you make the backup in timer recording, set
the start and end time so that the backup time is 10
minutes or more.
2-4
Motion Detection
Active:
Performs the motion detection function
during timer recording.
Inactive:
Does not perform the motion detection
function during timer recording.
• When the motion detection is set to “Active” in “Record
A,” the motion detection pattern of the alarm trigger
which is set in <Set Recording Pattern A (Normal/
Timer)> is used. When the alarm trigger is set to
“External,” the motion detection recording is not
available in the timer recording even if the motion
detection is set to “Active” in timer setting.
• When the trigger for alarm recording is set to “External
& MD-A” or “External & MD-B,” and the motion
detection for timer setting is set to “Inactive,” the
recording is not started even when the ALARM IN
terminal is grounded.
step
3.
Set the special day of the week.
• Set the start and end day of the week. The time
period between start and end day of the week
set here becomes available when setting
“Special” for “Day of The Week” on step 2-1.
step
4.
Set the holidays.
• Set the date and month for the holiday operation.
• When setting the end time of the holiday program over
00:00, the holiday program is executed until the set
end time, and then the program returns to the normal
program.
For example, when 01/01 is set for holiday:
00:00
01/01
02/01
07:00
06:00
00:00
From 01/01 07:00 to 02/01 06:00, program mode is set to Holiday.
From 02/01 06:00, program mode is set to the normal program.
Holiday program
Normal program
step
5.
Display the overview screen to check the timer
recording settings you have set.
(Carrying out timer recording:)
step
6.
Select the program number to be used from program
1 or 2 in the program selection.
Timer
Setup Menu


