65
Operations
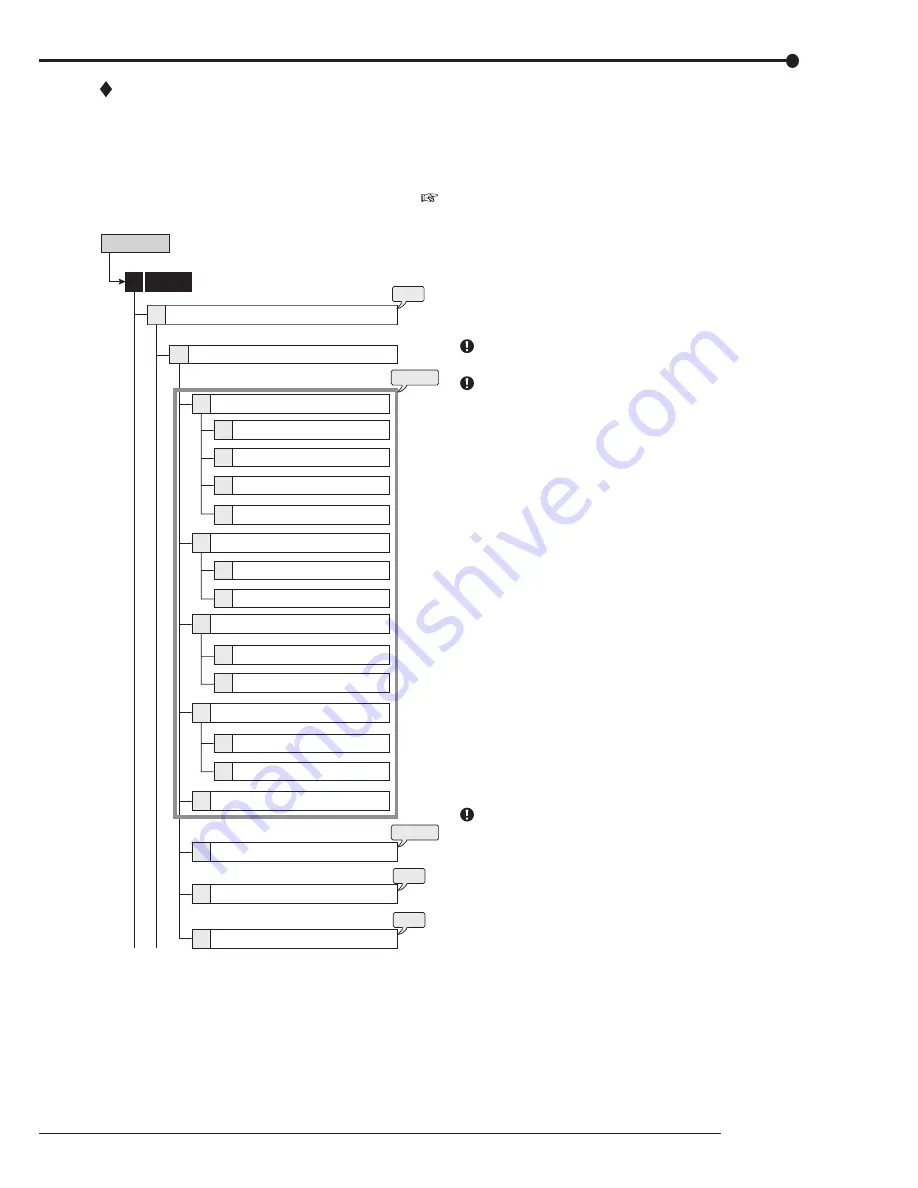
Output B Settings
This item is used to set the camera number to be displayed in
the split screen display on the monitor connected to OUTPUT
B. And also used to set the sequential display settings and
the switching time. Sequential display is the function to switch
the selected displays automatically.
The selectable screen types are shown in the table on
page 63.
System
4
2
1
2
3
4
1
5
step
7
steps
1, 2
1
2
2
1
2
3
4
5
1
2
6
7
8
step
5
step
6
steps
3, 4
Setup Menu
Output B Settings
Multiplexer Setting
Split 4a screen
Split 4b screen
Split 4c screen
Split 4d screen
Split 4 screen
Split 9a screen
Split 9b screen
Split 9 screen
Split 10a screen
Split 10 screen
Split 10b screen
Split 13a screen
Split 13b screen
Split 13 screen
Split 16 screen
Sequence Single
Sequence Multi
Sequence Time
[Split screen]
step
1.
When using front panel buttons, press the C or D
button to select the display position to be set.
When using the mouse, left-click the number of the
display position to be set.
• The number of the selected position is displayed
in orange.
step
2.
When using front panel buttons, press the camera
number button (1 to 16) of the desired camera
number to be displayed.
• When not displaying the picture, press A button
to display “– –.”
When using the mouse, left-click the number until
the desired camera number appears.
• The number (1 to 16) or “– –” is displayed.
The same camera number cannot be set repeatedly in
one split screen display.
When you select “– –,” “– –” displays for the camera
number display on the normal screen.
[Single sequential screen <Sequence Single>]
step
3.
When using front panel buttons, press the C or D
button to select the display position to be set.
When using the mouse, left-click the number of the
display position to be set.
• The number of the selected position is displayed
in orange.
step
4.
When using front panel buttons, press the camera
number button (1 to 16) of the desired camera
number to be displayed.
• When not displaying the picture, press A button
to display “– –.”
When using the mouse, left-click the number until
the desired camera number appears.
• The number (1 to 16) or “– –” is displayed.
[Split sequential screen <Sequence Multi>]
step
5.
Select the displaying order of the screen type.
[<Sequence Time>]
step
6.
Select the desired switching time.
step
7.
When setting the output B settings to the same
settings as those for the output A, select “Same as”
and then select “Set.”
While sequential screen is displayed for either of output
A or B, it is cancelled once when changing the settings of
split screen and sequential screen.
Содержание DX-TL4516U series
Страница 131: ...872C415A4 PRINTED IN MALAYSIA ...


