41
Operations
Copy
User Menu
This item is used to copy the data from the main device to a
copy device.
Copy Data to Copy 1 Drive/Set Copy 1 Drive
This item is used to copy the data to Copy 1 device by speci-
fying the start and end points. The points are specified by
the date and time or the bookmark. This function is useful for
copying the data of the short period of time.
Before executing the copy, make sure that the Copy 1
device is connected and set in the <Add/Remove HDD
Device> and <Add/Remove DVD/CD Drive> (
pages
75 and 76) correctly.
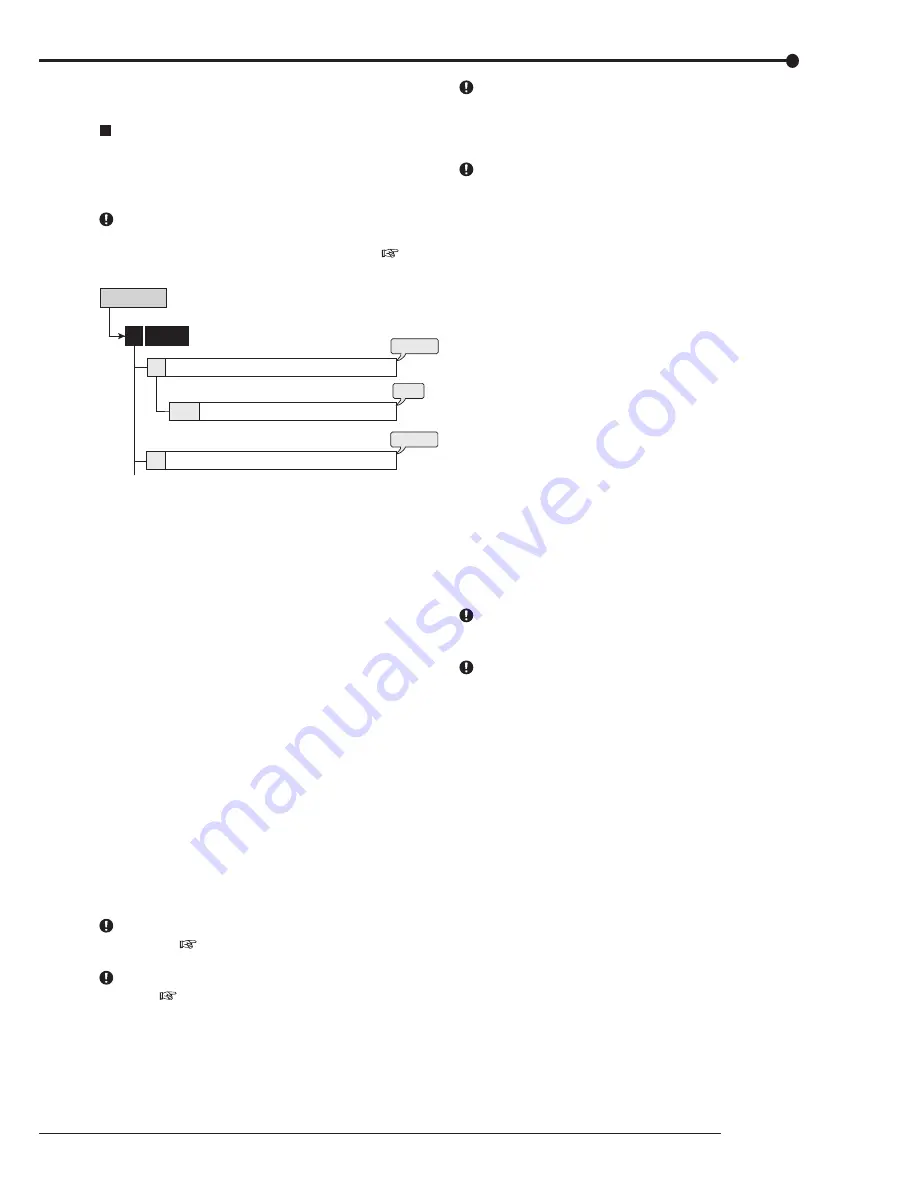
1
1 + 2
3
Copy
2
steps
1, 2
step
3
steps
4, 5
Copy Data to Copy 1 Drive
Set Copy 1 Drive
Range of Copy
User Menu
step
1.
Set the camera number to be copied.
• The button function changes between “All Off”
and “All On” each time you select this button.
You can switch on and off for all the cameras
easily by using this button.
• The picture is not copied when there is no
recorded picture of the set camera number or
time. Make sure to check that the picture of the
specified camera has been recorded on the
specified copy start point.
step
2.
Select “Other settings” and then set the detailed
settings.
From Device:
Sets the device which contains the
data to be copied. The available setting items are
“Main” and “Copy 2.”
From Group:
Sets the group which contains the
data to be copied. The available setting items are
“Normal,” “Alarm,” and “LPA” for main, “SerialBus,”
“DVD/CD,” and “Internal” for copy 2.
To Copy 1:
Sets the group to where the data is
copied. The available setting items are “SerialBus,”
“DVD/CD,” and “USBmemory.”
Copy Data:
Sets the data area to be copied. The
available setting items are “Alarm” and “All.”
Overwrite:
Selects whether or not to overwrite the
existed data.
Auto Eject:
Selects whether to eject media (CD/
DVD) automatically when the copy is over.
“Alarm” appears for “From Group” when “Alarm Record-
ing Area” (
page 77 “Change Partition Setting”) is set
to other than “0 %.”
“LPA” appears for “From Group” when “Long Pre-Alarm
Area” (
page 77 “Change Partition Setting”) is set to
other than “0 %.”
When copying the data to DVD while “Overwrite” is set to
“On,” the unit clears the existing data on the disc before
overwriting with new data. Note that clearing the data
takes about 30 to 40 minutes. You cannot cancel opera-
tion during clearing the data of the DVD.
When copying the data while “Copy Data” is set to “Alarm,”
the unit performs copy operation, however, the data is not
copied if there is no alarm recording data within the speci-
fied range of copy. In case of CD/DVD disc, the remaining
capacity becomes low because only the management
information is recorded. It is recommended to carry out
“Calculate” in <Copy Data to Copy 1 Drive> to confirm
whether or not there is alarm recording data in the speci-
fied range.
step
3.
Set the start, start/end, or end point of copy by
specifying the date and time or the bookmark
number.
Start:
Sets only the start point of copy. The data
is copied from the specified start point as much
data as possible with the remaining capacity of the
media to be copied.
Start/End:
Sets the start and end points of copy.
End:
Sets only the end point of copy. The data
is copied as much data as possible with the
remaining capacity of the media to be copied until
the specified end point reaches.
• To set the bookmark point, select “Bookmark”
and then select the desired bookmark number.
• To copy from the oldest recording time, select
“Copy Start Time.” To copy to the latest
recording time, select “Copy End Time.”
step
4.
Select “Calculate” to calculate the capacity of data
to be copied.
When using “End,” the copy cannot be executed unless
the calculation of the capacity of data to be copied is com-
pleted.
When using “Start” or “Start/End” and executing copy
without calculating the capacity of data to be copied, the
progress or the time of the copy may not be displayed
correctly because the unit cannot determine the capacity
of data to be copied.
step
5.
Select “Execute.”
• The copy starts.
• To stop copy manually, select “Cancel” in the
progress screen. The data which has been
copied before cancelling is copied.
Содержание DX-TL4516U series
Страница 131: ...872C415A4 PRINTED IN MALAYSIA ...


