background image

OM-2236 Page 2

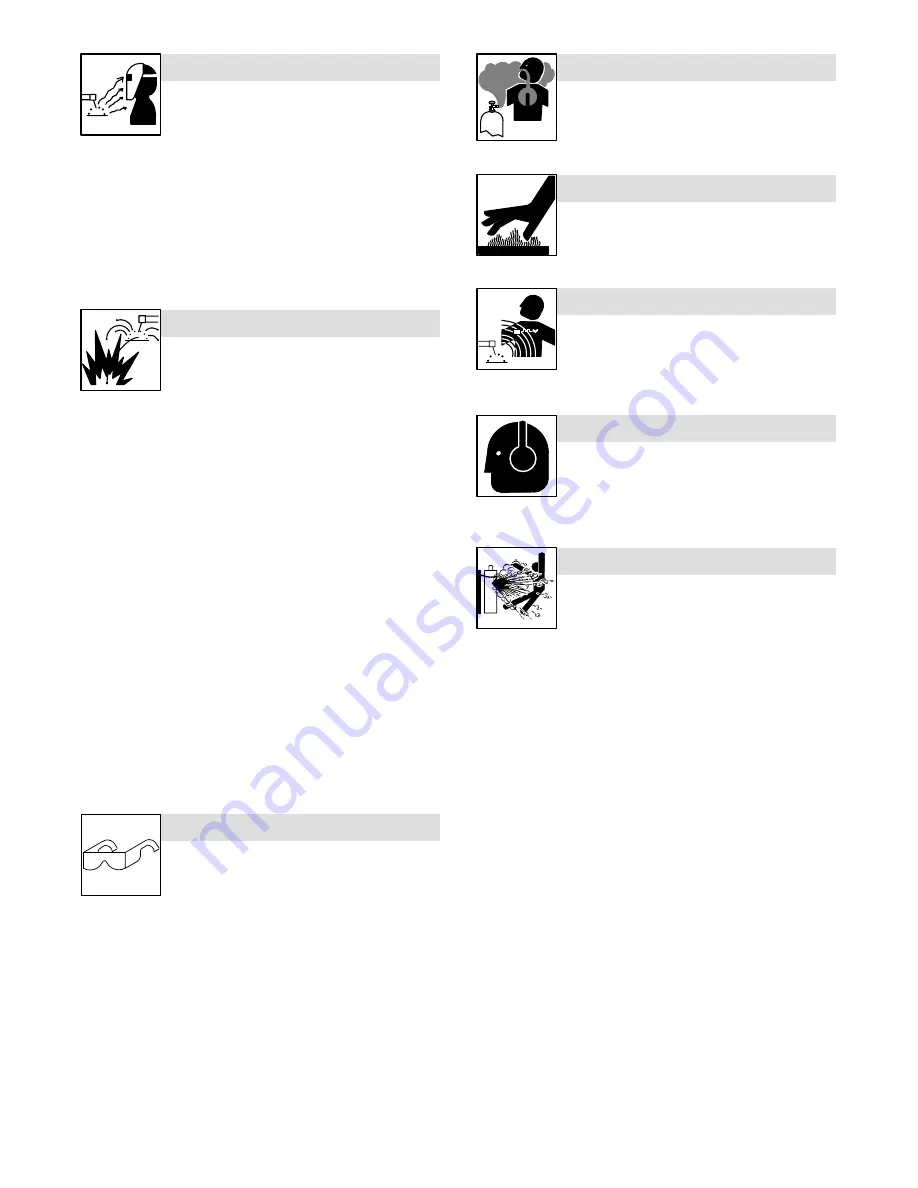
Arc rays from the welding process produce intense
visible and invisible (ultraviolet and infrared) rays
that can burn eyes and skin. Sparks fly off from the
weld.

ARC RAYS can burn eyes and skin.

D

Wear a welding helmet fitted with a proper shade of filter to protect
your face and eyes when welding or watching (see ANSI Z49.1
and Z87.1 listed in Safety Standards).

D

Wear approved safety glasses with side shields under your
helmet.

D

Use protective screens or barriers to protect others from flash and
glare; warn others not to watch the arc.

D

Wear protective clothing made from durable, flame-resistant mate-
rial (leather and wool) and foot protection.

Welding on closed containers, such as tanks,
drums, or pipes, can cause them to blow up. Sparks
can fly off from the welding arc. The flying sparks, hot
workpiece, and hot equipment can cause fires and

burns. Accidental contact of electrode to metal objects can cause
sparks, explosion, overheating, or fire. Check and be sure the area is
safe before doing any welding.

WELDING can cause fire or explosion.

D

Protect yourself and others from flying sparks and hot metal.

D

Do not weld where flying sparks can strike flammable material.

D

Remove all flammables within 35 ft (10.7 m) of the welding arc. If
this is not possible, tightly cover them with approved covers.

D

Be alert that welding sparks and hot materials from welding can
easily go through small cracks and openings to adjacent areas.

D

Watch for fire, and keep a fire extinguisher nearby.

D

Be aware that welding on a ceiling, floor, bulkhead, or partition can
cause fire on the hidden side.

D

Do not weld on closed containers such as tanks, drums, or pipes,
unless they are properly prepared according to AWS F4.1 (see
Safety Standards).

D

Connect work cable to the work as close to the welding area as
practical to prevent welding current from traveling long, possibly
unknown paths and causing electric shock and fire hazards.

D

Do not use welder to thaw frozen pipes.

D

Remove stick electrode from holder or cut off welding wire at
contact tip when not in use.

D

Wear oil-free protective garments such as leather gloves, heavy
shirt, cuffless trousers, high shoes, and a cap.

D

Remove any combustibles, such as a butane lighter or matches,
from your person before doing any welding.

FLYING METAL can injure eyes.

D

Welding, chipping, wire brushing, and grinding
cause sparks and flying metal. As welds cool,
they can throw off slag.

D

Wear approved safety glasses with side
shields even under your welding helmet.

BUILDUP OF GAS can injure or kill.

D

Shut off shielding gas supply when not in use.

D

Always ventilate confined spaces or use
approved air-supplied respirator.

HOT PARTS can cause severe burns.

D

Do not touch hot parts bare handed.

D

Allow cooling period before working on gun or
torch.

MAGNETIC FIELDS

 can affect pacemakers.

D

Pacemaker wearers keep away.

D

Wearers should consult their doctor before
going near arc welding, gouging, or spot
welding operations.

NOISE can damage hearing.

Noise from some processes or equipment can
damage hearing.

D

Wear approved ear protection if noise level is
high.

Shielding gas cylinders contain gas under high
pressure. If damaged, a cylinder can explode. Since
gas cylinders are normally part of the welding
process, be sure to treat them carefully.

CYLINDERS can explode if damaged.

D

Protect compressed gas cylinders from excessive heat, mechani-
cal shocks, slag, open flames, sparks, and arcs.

D

Install cylinders in an upright position by securing to a stationary
support or cylinder rack to prevent falling or tipping.

D

Keep cylinders away from any welding or other electrical circuits.

D

Never drape a welding torch over a gas cylinder.

D

Never allow a welding electrode to touch any cylinder.

D

Never weld on a pressurized cylinder − explosion will result.

D

Use only correct shielding gas cylinders, regulators, hoses, and fit-
tings designed for the specific application; maintain them and
associated parts in good condition.

D

Turn face away from valve outlet when opening cylinder valve.

D

Keep protective cap in place over valve except when cylinder is in
use or connected for use.

D

Read and follow instructions on compressed gas cylinders,
associated equipment, and CGA publication P-1 listed in Safety
Standards.

Содержание SRH-503

Страница 1: ...ocesses Description Stick SMAW Welding OM 2236 205 982G May 2004 Air Carbon Arc CAC A Cut ting and Gouging Arc Welding Power Source Submerged SAW Welding SRH 503 Visit our website at www MillerWelds c...

Страница 2: ...ue the tradition They re just as committed to providing equipment and service that meets the high standards of quality and value established in 1929 This Owner s Manual is designed to help you get the...

Страница 3: ...DEFINITIONS 9 3 1 General Precautionary Label 9 3 2 Input Connection Label 10 3 3 Nameplate Safety Symbols 10 3 4 Do Not Lift 10 SECTION 4 INSTALLATION 11 4 1 Specifications 11 4 2 Duty Cycle And Over...

Страница 4: ...Notes...

Страница 5: ...hat cord plug is connected to a properly grounded receptacle outlet D When making input connections attach proper grounding conduc tor first double check connections D Frequently inspect input power c...

Страница 6: ...lding wire at contact tip when not in use D Wear oil free protective garments such as leather gloves heavy shirt cuffless trousers high shoes and a cap D Remove any combustibles such as a butane light...

Страница 7: ...ng a qualified electrician prompt ly correct any interference problem resulting from the installa tion D If notified by the FCC about interference stop using the equipmentat once D Have the installati...

Страница 8: ...e 617 770 3000 website www nfpa org and www sparky org OSHA Occupational Safety and Health Standards for General Indus try Title 29 Code of Federal Regulations CFR Part 1910 Subpart Q and Part 1926 Su...

Страница 9: ...d alimentation est bien raccord la borne de terre du sectionneur ou que la fiche du cordon est raccord e une prise correctement mise la terre D Pour ex cuter les branchements d entr e fixer d abord l...

Страница 10: ...ue des gants en cuir une chemise en tissu pais des pantalons sans revers des chaussures montantes et un masque D Avant de souder retirer tout produit combustible de ses poches tel qu un briquet au but...

Страница 11: ...s et dispositifs de protection LE RAYONNEMENT HAUTE FR QUENCE H F risque de causer des interf rences D Le rayonnement haute fr quence peut causer des interf rences avec les quipements de radio navigat...

Страница 12: ...andards for General Indus try Title 29 Code of Federal Regulations CFR Part 1910 Subpart Q and Part 1926 Subpart J de l U S Government Printing Office Super intendent of Documents P O Box 371954 Pitts...

Страница 13: ...head out of the fumes 2 2 Use forced ventilation or local exhaust to remove the fumes 2 3 Use ventilating fan to remove fumes 3 Welding sparks can cause explosion or fire 3 1 Keep flammables away fro...

Страница 14: ...plying power S 179 290 1 4 5 3 2 V A V 3 1 96 1 2 3 4 5 6 8 7 9 3 3 Nameplate Safety Symbols 1 Warning Watch Out There are possible hazards as shown by the symbols 2 Electric shock from welding electr...

Страница 15: ...5 49 2 2 38 9 1 8 26 0 7 While idling 4 2 Duty Cycle And Overheating Duty Cycle is percentage of 10 min utes that unit can weld at rated load without overheating Y Exceeding duty cycle can damage uni...

Страница 16: ...lifting forks to move unit If using lifting forks extend forks beyond opposite side of unit 3 Rating Label Use rating label to determine input power needs Label located under front access door 4 Line...

Страница 17: ...ng Gear And Lift Eye C D E Height 35 1 4 in 895 mm E 4 Holes Width 28 in 711 mm Depth 33 1 2 in 851 mm A 27 1 2 in 699 mm A B 3 4 in 19 mm A C 21 1 8 in 537 mm D 1 1 8 in 29 mm E 7 16 in 11 mm Dia Wei...

Страница 18: ...ll onto work cable 4 8 Weld Cable Sizes Total Cable Copper Length In Weld Circuit Not Exceeding 100 ft 30 m Or Less 150 ft 45 m 200 ft 60 m 250 ft 70 m 300 ft 90 m 350 ft 105 m 400 ft 120 m Welding Am...

Страница 19: ...erse cable connections 3 4 10 Electrical Service Guide Input Voltage 220 230 440 460 Input Amperes At Rated Output 98 49 Max Recommended Standard Fuse Rating In Amperes 1 Time Delay 2 100 50 Normal Op...

Страница 20: ...links Check input voltage available at site 1 Jumper Link Label Check label only one is on unit 2 Jumper Link Move jumper links to match input voltage and label on unit Close access door or go on to...

Страница 21: ...ighten screws 3 Machine Grounding Terminal 4 Green Or Green Yellow Grounding Conductor Connect green or green yellow grounding conductor to welding power source groundingterminal first 5 Welding Power...

Страница 22: ...over tempera ture protection If unit becomes hot or if the duty cycle is exceeded see Section 4 2 weld output shuts down and the fan stops running The indicator lamp on the power switch remains on Y W...

Страница 23: ...OM 2236 Page 19 5 2 Electrode Amperage Selector...

Страница 24: ...inside During heavy service clean monthly Or 6 2 Fuse F1 Ref ST 800 101 C Y Disconnect and lockout tag out input power before open ing rear access door to change fuse 1 Fuse Holder Cover 2 Fuse F1 See...

Страница 25: ...utput Check for proper input power connections see Section 4 12 Check for proper jumper link position see Section 4 12 Check for open line fuse s and replace if necessary see Section 4 12 Clean and ti...

Страница 26: ...OM 2236 Page 22 Notes...

Страница 27: ...OM 2236 Page 23 SECTION 7 ELECTRICAL DIAGRAM 205 900 C Figure 7 1 Circuit Diagram For Primary Circuit Diagram Portion refer to Circuit Diagram located inside wrapper of welding power source...

Страница 28: ...e is common and not available unless listed 1 2 8 10 9 5 27 1 11 12 13 14 15 17 16 18 6 7 3 4 19 4 2 3 28 29 30 33 32 31 38 39 47 36 40 35 48 44 42 41 43 45 37 34 50 58 57 56 49 51 52 53 54 55 49 25 2...

Страница 29: ...BRS 24 010913 WASHER FLAT 218 ID BRS 24 23 159034 HOLDER FUSE MINTR 1 24 F1 156065 FUSE CRTG 5A 600V TIME DELAY 1 25 W 160793 CONTACTOR DEF PRP 60A 3P 24VAC 1 26 T2 208382 XFMR CONTROL 50VA 24V 220 44...

Страница 30: ...08381 THERMOSTAT NC OPEN 135C CLOSE 135C W INSUL LEADS included w T1 3 59 604536 SCREW 312 18 X 1 75 HEX HD PLN GR5 PLD 2 60 217136 LABEL WARNING ELECTRIC SHOCK 2 61 217864 LABEL CAUTION DO NOT LIFT F...

Страница 31: ...ma Cutting Torches Remote Controls Accessory Kits Replacement Parts No labor Spoolmate Spoolguns Canvas Covers Miller s True Blue Limited Warranty shall not apply to 1 Consumable components such as co...

Страница 32: ...complete and retain with your personal records Always provide Model Name and Serial Style Number Call 1 800 4 A Miller or see our website at www MillerWelds com to locate a DISTRIBUTOR or SERVICE AGEN...

Отзывы: