PC Configuration
31
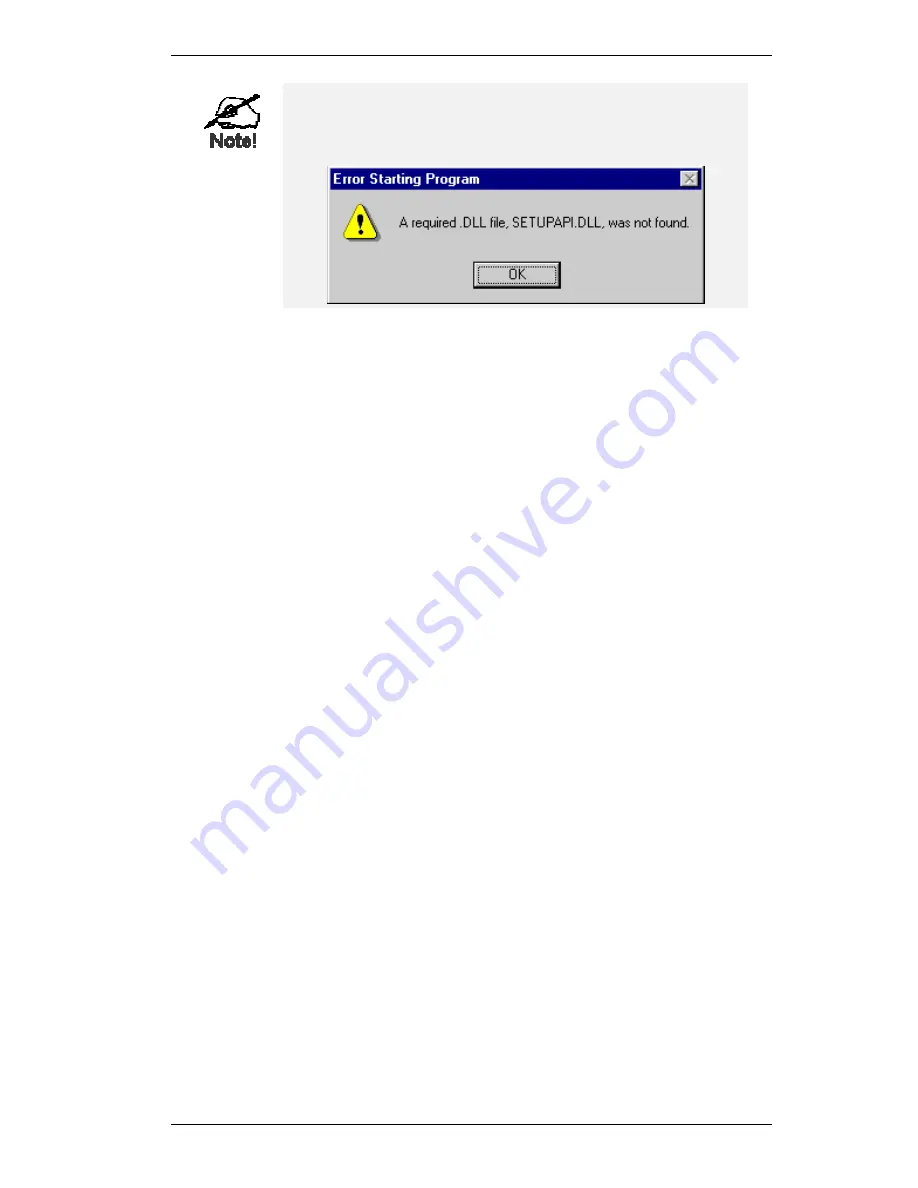
If you see the following error message, either install Internet
Explorer 4 or later, or follow the procedure in the "Trouble
Shooting - Printing" section of Appendix A.
7.
A pop-up message will inform you if the port has been created successfully, and then the
Windows
Add Printer
wizard will start.
•
Select the correct Printer Manufacturer and Model, or use the "Have Disk" option if
appropriate.
•
If desired, change the Printer name so it indicates the device used (e.g. HP2100 on
SCA43600)
•
If prompted about Sharing, do NOT enable Sharing.
8.
Installation is now complete. You can now print using this printer.
•
To install additional Printers, repeat steps 6 and 7.
•
Use the
Start
menu to run this program in future. The default installation is
Start -
Programs - Broadband Internet Router - Add Port
.
Management
•
Print jobs can be managed like any Windows printer. Open the
Printers
folder (
Start -
Settings - Printers
) and double-click any printer to see the current print jobs.
•
If the printer attached to the Wireless Gateway is changed, just run this program again, and
select the correct printer.
•
To delete a port created by this setup program, use the Windows
Delete Port
facility:
•
Right-click any printer in the
Printers
folder, and select
Properties
.
•
Locate the
Delete Port
button. This button is on the
Details
or
Ports
tab, depending on
your version or Windows.
•
If the Wireless Gateway's IP Address is changed, and you can no longer print, delete the
port (see procedure above) and re-install it.
Port Options
The options for the
Print Port Driver
are accessed via the Windows
Port Settings
button.
Use
Start - Settings - Printers
to open the Printers folder, then right-click the Printer, and select
Properties
. The
Port Settings
button is on the
Details
or
Port
tab, depending on your version of
Windows.
An example screen is shown below:


