www.mhpgrills.com
| 1
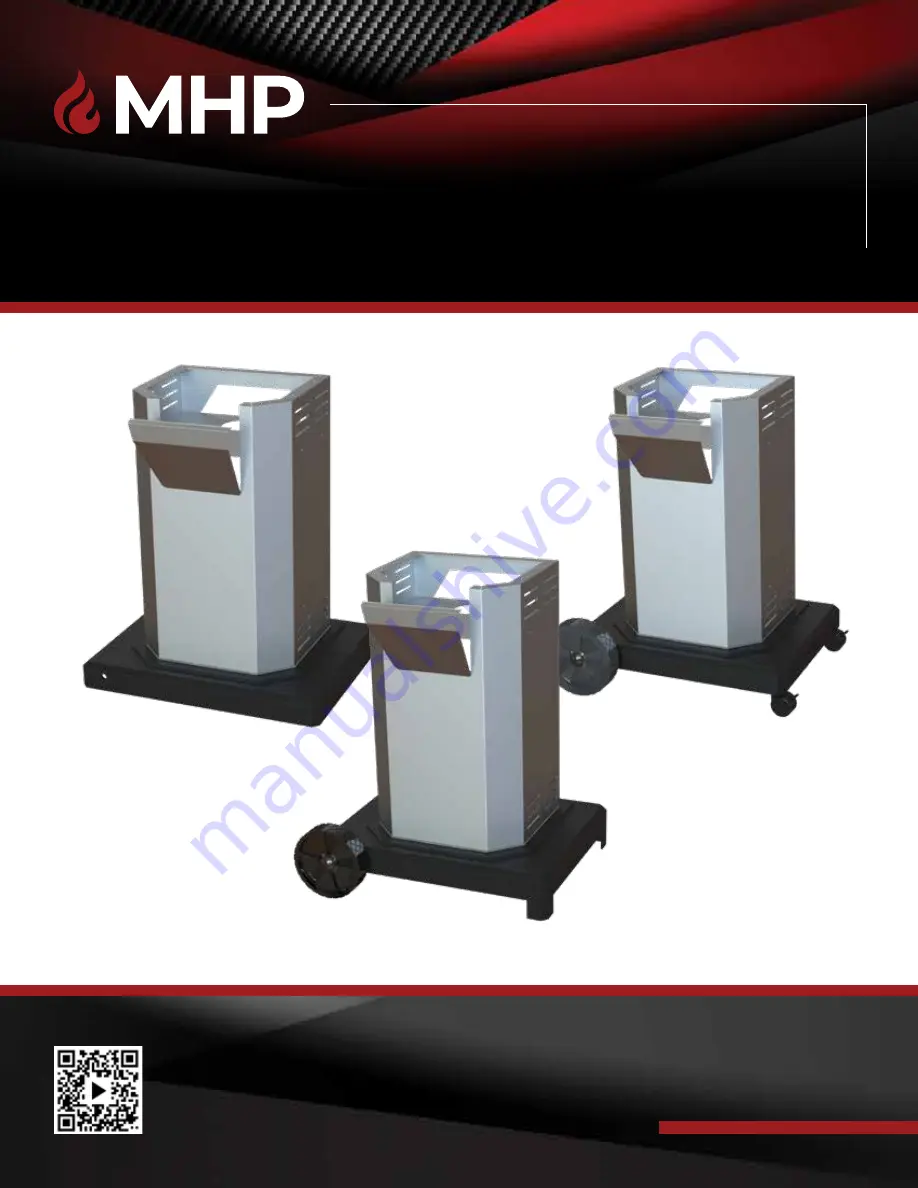
OCOL
Installation Manual
SCAN THE QR CODE FOR ASSEMBLY VIDEO
English
OCOL-OMN
OCOL-OMP
OCOL-OPN
OCOL-OPP
OCOL-OCN
OCOL-OCP
Страница 1: ...www mhpgrills com 1 OCOL Installation Manual SCAN THE QR CODE FOR ASSEMBLY VIDEO English OCOL OMN OCOL OMP OCOL OPN OCOL OPP OCOL OCN OCOL OCP...
Страница 2: ...was dealer assembled Do not try to light this appliance without reading the Lighting instructions The appliance is FOR OUTDOOR USE ONLY It is not to be used inside a garage other building or any type...
Страница 3: ...e column Use 7 16 open end wrench to hold the Kep Nut while using the second open end wrench to tighthen the Bolt AFTER CONNECTING THE TANK LOCK BAR YOU CAN ATTACH THE BASE AND THE GAS LINE FOLLOW THE...
Страница 4: ...ATTACH THE COLUMN TO THE BASE Attaching the column to the base will be easier to handle by laying the column face down and matching the holes on the column lip to the holes on the base Slide a 1 4 x 2...
Страница 5: ...gasket must be installed to create a barrier between the two dissimilar metals Remove the backing strips from the gasket to expose the adhesive and stick the gasket to the bottom lip of the column Mak...
Страница 6: ...pping the hub caps on before standing the unit upright ATTACH CASTERS Place caster stem into stem opening of the portable base Press and tap into place using a rubber mallet if needed STEM OPENING CAS...
Страница 7: ...down to the underside of the base through the pre drilled hole on the column and secure using a Kep Nut Use a 7 16 wrench to hold the Kep Nut while using a second adjustable wrench to tighten the bolt...
Страница 8: ...you are going to set up your grill Make sure the surface is flat and be certain that there are no combustible materials above behind left or right closer than 18 away Run your natural gas line through...
Страница 9: ...the grease cup into the opening The grease cup should fit snuggly into place Remove the Burner optional Remove the grill burner by taking out the cotter pins located under the bottom grill head fig a...
Страница 10: ...recommended one wrench is used to hold fitting while the other is used to tighten Before using your grill check for any gas leaks with a soap and water solution before using your grill INCLUDED WITH N...
Страница 11: ...ight from your assembled grill TOOLS NEEDED 3 4 OPEN END ADJUSTABLE WRENCH Attach the swivel connector end of the ASPCL1 hose to the gas valve located under the control panel Make sure your gas line r...
Страница 12: ...k and securely hand tighten the coupling nut to the cylinder valve Before using your gril check for any gas leaks with a soap and water solution before using your grill CONNECTING THE GAS SUPPLY LINE...
Страница 13: ...commended one wrench is used to hold fitting while the other is used to tighten Tighten very securely as flare fittings are a metal upon metal surface seal and no additional gas sealant is needed GGCT...
Страница 14: ...trol panel fig a Slip the bottom double edge of the access panel cover over the edge of the access opening upward pressure may be needed fig b ATTACHING THE ACCESS PANEL STEP 6 Do not attach the front...
Страница 15: ...designed to work with all MHP Grills Insert moistened wood chips not included for your favorite smoke flavor Stainless steel construction with a removable vented lid SSST Brass Bristle SearMagic Cook...
Страница 16: ...or other reproductive harm For more information go to www P65Warnings ca gov TECHNICAL SUPPORT Modern Home Products 150 South Ram Road Antioch IL 60002 847 395 6556 888 647 4745 Customerservice mhpgr...