background image

Merope-dive-tools Compass K22 DPV 


When the red indicator is activated, only a few minutes of display time remain

.  

Always fully charge the compass before each dive. 


Right 

next to the battery status


is the satellite indicator “S”. This indicates how many satellites are 

in use by the compass. When the compass starts up, it will be set to S00. After about a minute, it 
will  indicate  the  number  of  satellites  being  received.  This  number  can  vary  depending  on  the 
strength of the satellite signal.  

In the top center 

is the compass direction in decimal degrees. This is a decimal representation of 

the round compass rose in the center

.  

In the top right corner

 is the temperature indication. It measures the temperature of the housing.


Underwater,

  t

he  water  temperature  is  indicated.  The  display  can  be  changed  from  Celsius  to 

Fahrenheit in the menu. 


The middle left 

shows a tabl

e with 4 lines. The first line is marked “A”, then 1, 2 and 3 are shown. 

A = Active, the selected heading in use. 1, 2 and 3 show the previously selected headings


This table stores multiple heading(s) selected with the right button. 


In the center 

of the compass is the compass rose. This is an analogue representation of the north 

and south directions. North is a red sphere, South is a white sphere

.


In the center of this compass rose there is a tip-tilt indicator (oval sphere). 


At


the bottom left of the screen

 the dive timer (bottom timer) is located. It starts automatically 

from a depth of 1.5 meters. The compass must be turned on first. 


On the bottom right 

of the screen


is the depth gauge with, on the left, an indicator that shows 

whether the depth remains the same or whether you are ascending or descending

.  

2.3 Menu structure 


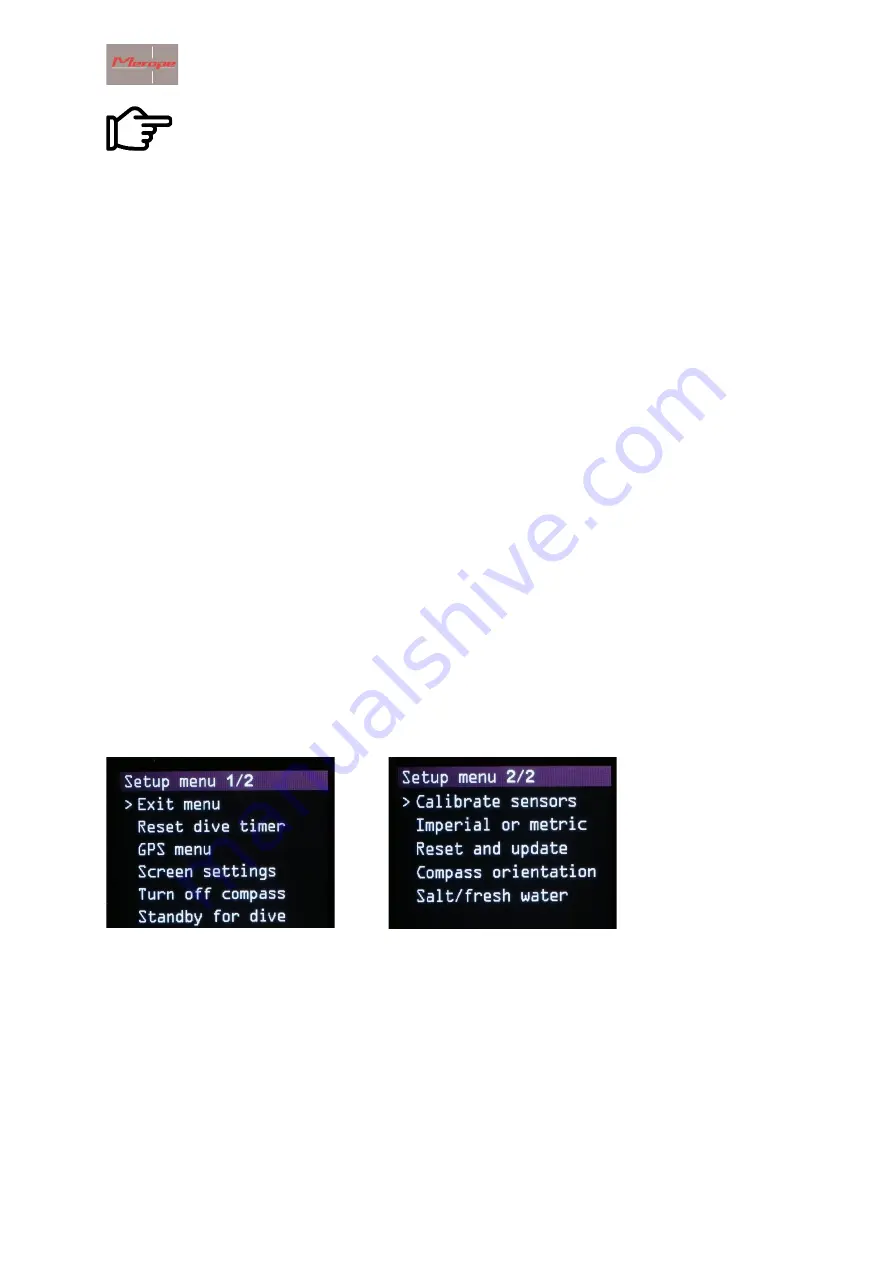
Pressing the left button brings up the setup menu. There are 2 pages. 


“ > ” (menu indicator) 

shows which menu will be selected. Select the sub menu 

“ > ” 

by using the 

left push button. The right push button confirms the selection. Then you enter the submenu. 

2.3.1


Exit menu

: Exit this menu and go back to a previous menu, or to the main screen.  


Содержание K22 DPV

Страница 1: ...Merope dive tools Compass K22 DPV 1 Manual Compass K22 DPV...

Страница 2: ...dive timer 7 2 3 3 GPS menu 7 2 3 4 Screen settings 8 2 3 5 Turn off the compass 9 2 3 6 Standby for dive 10 2 3 7 Calibrate sensors 10 2 3 8 Imperial or metric 12 2 3 9 Reset and update 12 2 3 10 Co...

Страница 3: ...e only if you are in good health Merope Engineering is in no way liable for any damage resulting from use of this compass By using this compass you agree with the general terms and conditions of Merop...

Страница 4: ...Technical data Operating Temperature Range 2 up to 50 C Storage temperature 5 up to 40 C Compass accuracy 3 degrees resolution 1 degree Maximum depth 100 meter denotation 99 9mtr resolution 10 cm Batt...

Страница 5: ...compass will start up and the main screen will appear If no button is pressed the compass will automatically turn off after about 5 seconds The name of the compass owner is also displayed during the...

Страница 6: ...A then 1 2 and 3 are shown A Active the selected heading in use 1 2 and 3 show the previously selected headings This table stores multiple heading s selected with the right button In the center of th...

Страница 7: ...upload them to the compass Waypoints Above water use the active GPS location as the starting point Then choose the destination from the list of GPS points Underwater choose a previously entered GPS p...

Страница 8: ...inate will be saved at the selected position A new coordinate can be saved at any position overwriting the old position GPS status The built in GPS receiver displays the number of satellites received...

Страница 9: ...rom the list The active colour is used for all indications except for the the compass rose colours Switch buttons Selecting the menus and confirming them can be reversed using the switch buttons funct...

Страница 10: ...nsor This is done on a calibrated horizontal plate and normally does not need to be repeated Calibration by the end user may only be done when a perfectly horizontal plate in x and y direction is avai...

Страница 11: ...ce point maintenance applications Set declination Magnetic north and true north geographic poles are not the same The value varies per location and can be positive or negative Also this value varies s...

Страница 12: ...values to the factory settings Metric screen orientation screen colour compass barometer calibration brightness 100 declination 0 Update firmware Activate Bluetooth and pair the compass with the K22 D...

Страница 13: ...ater type Select here whether it is fresh or salt water 3 Installing the compass on the scooter Mount the compass at a place on the scooter where it is easy to read and operate A good spot is at the t...

Страница 14: ...al heading function By using the manual heading function the direction can easily be fixed in the compass rose Do this as follows Point the scooter in the direction of the object you want to navigate...

Страница 15: ...e The compass heading remains active under water The distance will only change if a GPS signal is active If there is no GPS signal the distance will remain unchanged The heading dot the heading under...

Страница 16: ...8 hours Tapping the housing during charging will bring up the charging screen for a short time Charging the battery only works when the ambient temperature is below 30 C If the battery is will be full...

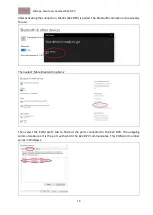
Страница 17: ...K22 DPV 17 Ensure that the Bluetooth module of the computer or laptop is turned on Go to the Bluetooth menu on the computer laptop and select Devices Then choose Bluetooth other devices and click Add...

Страница 18: ...ls Compass K22 DPV 18 Click on Bluetooth The computer detects Mantis Click Mantis to add the device Enter the password The password is 0000 and cannot be changed by the user Click Connect to establish...

Страница 19: ...s paired The Bluetooth connection is now ready for use Then select More Bluetooth options Then select the COM ports tab to find out the ports connected to the K22 DPV The outgoing communication port i...

Страница 20: ...ow the next steps 1 Click on the drop down menu to choose a communication port and select the K22 DPV outgoing communication port In this example COM3 2 Click on Connect to activate the Bluetooth conn...

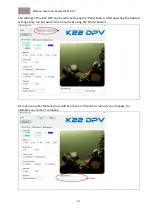
Страница 21: ...2 DPV can be retrieved using the Read button After adjusting the desired settings they can be saved in the compass by using the Write button Here you can enter the text you would like to see on the st...

Страница 22: ...mpass and the version that will be uploaded Then click on Start upload The K22 DPV screen will show a countdown of 3 2 1 and then the upload starts The green bar appears and will turn completely green...

Страница 23: ...ed Place the compass as close as possible to it In the second case wait 10 minutes before it is possible to restart the K22 DPV on off button If this succeeds start the standard update procedure as di...

Страница 24: ...Merope dive tools Compass K22 DPV 24...

Отзывы: