background image

- 13 -

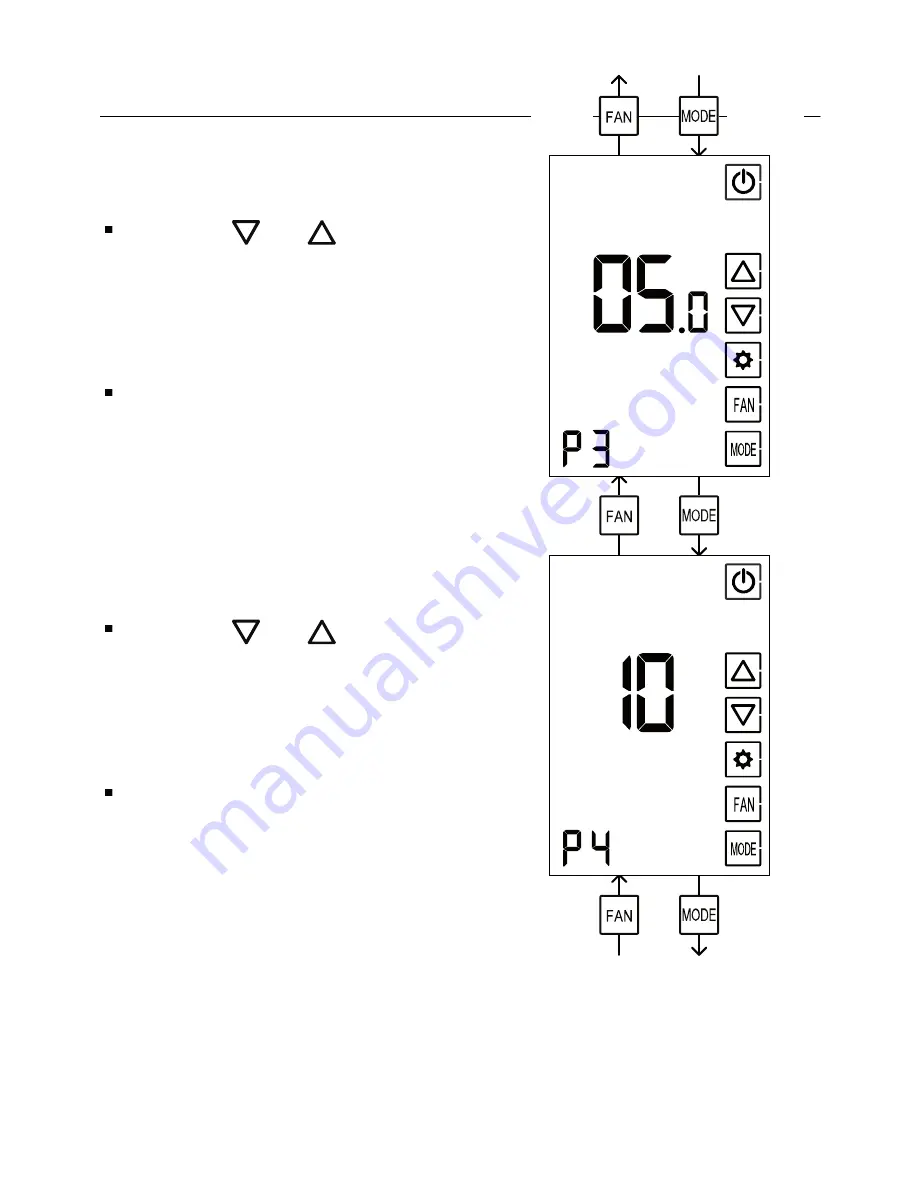
P3

Screen dimming time delay

Using the      and      buttons, 

adjust the time delay before the 

screen will dim

Range: 0...99 sec., default: 5 sec. 

5. Technician settings (cont’)

(Advance)

(Return)

(Advance)

(Return)

(Advance)

(Return)

P4

Dimming percentage value

Using the      and      buttons, 

adjust the dimming percentage 

value

Range: 10...90%, default: 10% 

Содержание MTS/V50

Страница 1: ...Touch Screen Wall Panel MTS V500 Owner s manual and technician settings...

Страница 2: ...ructions 7 3 Wiring Diagram 10 4 DIP Switch settings 10 Switch 1 Temperature readings from CTU or from panel 10 5 Technician Settings 11 P1 Temperature readings offset 12 P2 Enable Disable screen dimm...

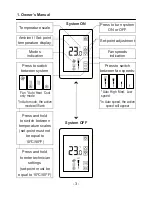
Страница 3: ...tween temperature scales set point must not be equal to 10 C 50 F Press and hold to enter technician settings set point must be equal to 10 C 50 F Set point adjustment Temperature scale Modes indicati...

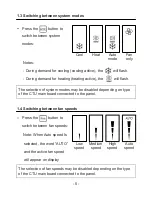
Страница 4: ...d fan speed symbols will appear on display Press again to turn the unit OFF the symbols will disappear 1 2 Adjusting the set point temperature While the thermostat is ON press the or buttons the set p...

Страница 5: ...witching between fan speeds Press the button to switch between fan speeds Low speed Medium speed High speed Auto speed Note When Auto speed Is selected the word AUTO and the active fan speed will appe...

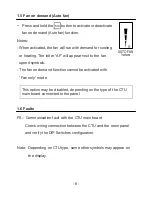
Страница 6: ...he fan speed symbols The fan on demand function cannot be activated with Fan only mode This option may be disabled depending on the type of the CTU main board connected to the panel 1 6 Faults F8 Comm...

Страница 7: ...re is representative of the general room conditions away from cold or warm air draughts radiant heat and direct sunlight The panel should not be installed on an outside wall The standard installation...

Страница 8: ...gently 2 Remove the front display and keep it in a safe place 3 Connect the wires as shown in the enclosed wiring diagram All terminals accept 1x0 5mm2 24 AWG 4 If necessary make changes to the DIP sw...

Страница 9: ...9 2 Installation Instructions cont 1 2 5 3 4 6...

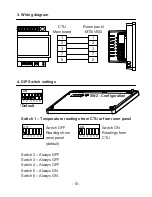
Страница 10: ...or fom room panel Switch OFF Readings from room panel default Switch ON Readings from CTU 6 5 4 3 2 1 ON 6 5 4 3 2 1 ON SW2 Configuration 6 5 4 3 2 1 ON Default 3 Wiring diagram 4 DIP Switch settings...

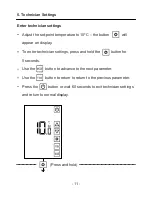
Страница 11: ...the button will appear on display To enter technician settings press and hold the button for 5 seconds Use the button to advance to the next parameter Use the button to return to return to the previo...

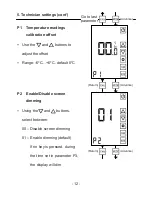
Страница 12: ...on offset Use the and buttons to adjust the offset Range 6 C 6 C default 0 C Advance Return Advance P2 Enable Disable screen dimming Using the and buttons select between 00 Disable screen dimming 01 E...

Страница 13: ...just the time delay before the screen will dim Range 0 99 sec default 5 sec 5 Technician settings cont Advance Return Advance Return Advance Return P4 Dimming percentage value Using the and buttons ad...

Страница 14: ...w Hide lighting button Using the and buttons select between 0 Hide the lighting button 1 Show the lighting button default Note the lighting button will only be available with some CTU types It will ne...

Страница 15: ...to parameter P1 Press the button or wait 60 seconds to exit technician settings mode and return to normal display Advance Return 5 Technician settings cont P7 Enable Disable the beeper Using the and b...

Страница 16: ...www meitavtec com...

Отзывы: