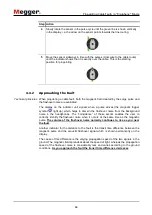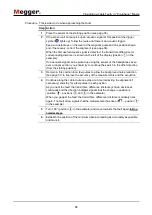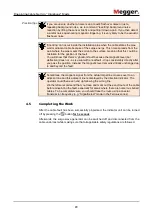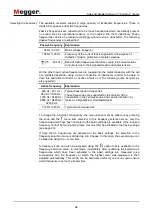
Pinpointing Cable Faults in “Digiphone” Mode
33
4.3.3
Switching between automatic and manual trigger sensitivity
setting
The trigger sensitivity (both for the electromagnetic pulse and the acoustic pulse) is
automatically set to the optimal value determined by the software by default. If required,
the setting can also be adjusted manually at any time. This is specially designed for
experts and allows for fine adjustment, for example if the automatic setting obviously
triggers on the wrong pulses or does not react to acoustic pulses that can clearly be
heard in the headphones.
In order to be able to switch from automatic to manual trigger sensitivity setting during
operation, the function keys of the indictor unit must be assigned the corresponding
functions first (see page 25).
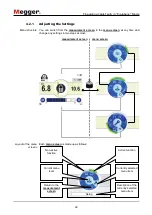
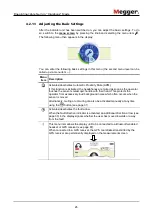
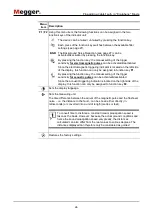
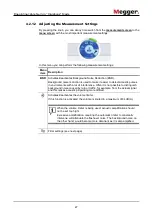
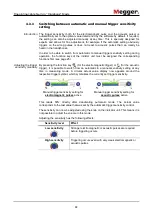
By pressing the function key
(for the electromagnetic trigger) or (for the acoustic
trigger), it is possible to switch from an automatic to a manual sensitivity setting at any
time in measuring mode. A circular actual value display now appears around the
respective trigger symbol, which symbolises the currently set trigger sensitivity.
Manual trigger sensitivity setting for
electromagnetic pulses
active
Manual trigger sensitivity setting for
acoustic pulses
active
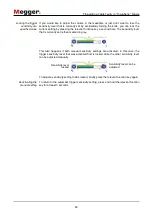
This reads 50% directly after deactivating automatic mode. The actual value
corresponds to the last value that was set by the automatic trigger sensitivity control.
The sensitivity can now be adjusted using the knob on the indicator unit. This means it is
not possible to adjust the volume in this mode.
Adjusting the sensitivity has the following effects:
Sensitivity level
Effect
Low sensitivity
Stronger electromagnetic or acoustic pulses are required
before triggering occurs.
High sensitivity
Triggering occurs even with very weak electromagnetic or
acoustic pulses.
Introduction
Adjusting the trigger
sensitivity manually


