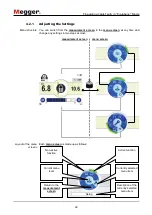
Pinpointing Cable Faults in “Digiphone” Mode
25
4.2.1.1
Adjusting the Basic Settings
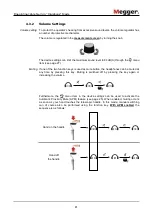
After the indicator unit has been switched on, you can adjust the basic settings. To do
so, switch to the
menu screen
by pressing the knob and selecting the menu item .
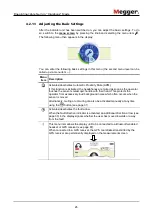
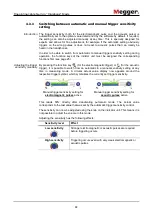
The following menu then appears in the display:
You can enter the following basic settings in this menu (the second menu level can be
called up via menu item
...
):
Menu
item Description
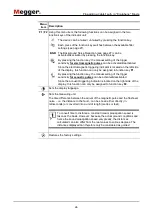
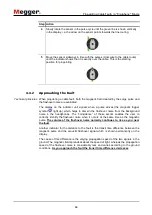
Activates/deactivates Automatic Proximity Mute (APM).
If this function is activated, the headphones are muted as soon as the operator
touches the sensor’s telescopic handle with their hand. This protects the
operator from excessively loud background noise which often occurs when the
sensor is moved.
Alternatively, muting or unmuting can also be activated manually at any time
using the
button (see page 31).
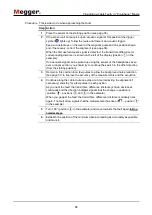
Activates/deactivates the fault arrow.
When the fault direction indicator is activated, an additional direction arrow (see
page 30) in the display signals whether the user has moved towards or away
from the fault.
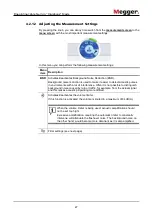
This menu item allows the display unit to be connected to a Bluetooth-enabled
headset or GPS receiver (see page 87).
When connected to a GPS receiver, the GPS coordinates transmitted by the
GPS receiver are permanently displayed on the measurement screen.


