29
DE
NL
EN
ES
FR
DK
IT
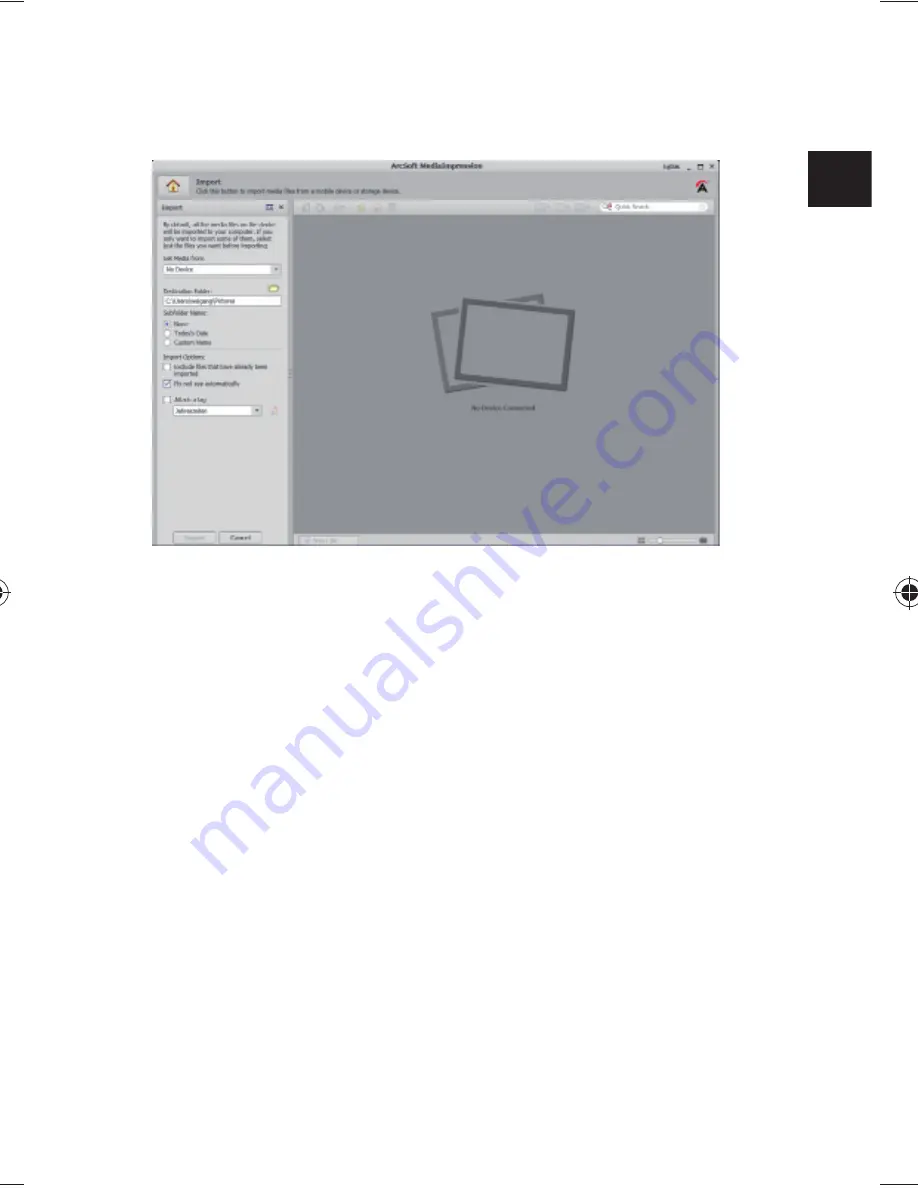
The import preview screen will open and you can
then select the photos here for the import process.
You can define the import options using the side
menu bar on the left. The camera will be automat-
ically recognised as a removable storage medium
and “
GET MEDIA FROM:
” will be shown in the drop-
down menu.
Select a target folder where you would like to save
the data.
You can define other import options using the side
menu bar.
You can call up a complete help function for ArcSoft Me-
dia Impression by pressing the F1 button.
There you will find additional information on importing,
editing and protecting photos.
86743 EN Content Final.indd 29
86743 EN Content Final.indd 29
29.11.2011 14:42:37
29.11.2011 14:42:37
Содержание S49101
Страница 3: ...2 Wartung und Pflege 24 Entsorgung 25 Technische Daten 26 ArcSoft Media Impression installieren 27...
Страница 31: ...30...
Страница 33: ...2 Waste disposal 25 Technical Data 26 Installing ArcSoft Media Impression 27...
Страница 61: ...30...
Страница 63: ...2 Recyclage 25 Donn es techniques 26 Installer ArcSoft Media Impression 27...
Страница 91: ...30...
Страница 119: ...28...
Страница 121: ...2 Mantenimiento y limpieza 24 Eliminaci n 25 Especificaciones t cnicas 26 Instalar ArcSoft Media Impression 27...
Страница 149: ...30...
Страница 157: ...8 Bagside 6 7 8 9 10 6 Kortslot til microSD SDHC 7 Reset bning 8 Micro USB stil 9 Funktionsvalgknap 10 Opladnings LED...
Страница 177: ...28...
Страница 179: ...2 Manutenzione e cura 24 Smaltimento 25 Dati tecnici 26 Installare ArcSoft Media Impression 27...
Страница 207: ...30...


