29
DE
NL
EN
ES
FR
DK
IT
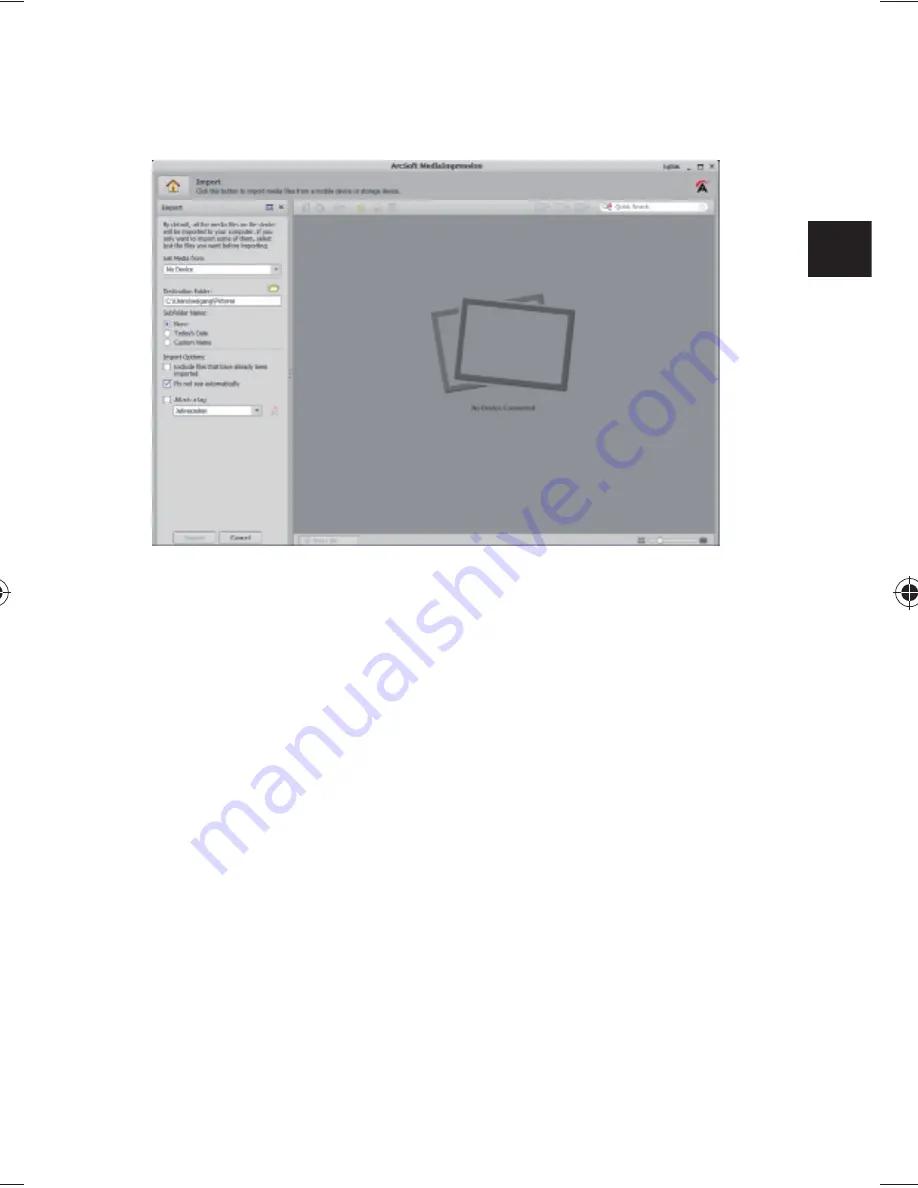
L'aperçu d'importation s'affiche et vous pouvez y sé-
lectionner les photos pour l'importation.
Dans le volet de gauche, vous pouvez définir les op-
tions d'importation. L'appareil photo est automa-
tiquement reconnu comme support de données
amovible et apparaît dans le menu déroulant «
GET
MEDIA FROM:
».
Sélectionnez un dossier cible dans lequel enregistrer
les données.
Vous pouvez régler d'autres options d'importation
dans le volet latéral.
Vous pouvez afficher une aide complète pour l'utilisa-
tion du logiciel ArcSoft Media Impression avec la touche
F1.
Vous y trouverez d'autres informations sur l'importa-
tion, le traitement et la sauvegarde des photos.
86743 FR Content Final.indd 29
86743 FR Content Final.indd 29
29.11.2011 14:44:32
29.11.2011 14:44:32
Содержание S49101
Страница 3: ...2 Wartung und Pflege 24 Entsorgung 25 Technische Daten 26 ArcSoft Media Impression installieren 27...
Страница 31: ...30...
Страница 33: ...2 Waste disposal 25 Technical Data 26 Installing ArcSoft Media Impression 27...
Страница 61: ...30...
Страница 63: ...2 Recyclage 25 Donn es techniques 26 Installer ArcSoft Media Impression 27...
Страница 91: ...30...
Страница 119: ...28...
Страница 121: ...2 Mantenimiento y limpieza 24 Eliminaci n 25 Especificaciones t cnicas 26 Instalar ArcSoft Media Impression 27...
Страница 149: ...30...
Страница 157: ...8 Bagside 6 7 8 9 10 6 Kortslot til microSD SDHC 7 Reset bning 8 Micro USB stil 9 Funktionsvalgknap 10 Opladnings LED...
Страница 177: ...28...
Страница 179: ...2 Manutenzione e cura 24 Smaltimento 25 Dati tecnici 26 Installare ArcSoft Media Impression 27...
Страница 207: ...30...


