MediCap
®
USB200 User Guide – English
9 of 20
USB200H-UG01-EN-140120-MC
Connecting the MediCap USB200
To connect the MediCap USB200, see the diagram on page 7.
The MediCap USB200 is easy to set up. It connects “in-line” between a monitor and a video source
(for example, an ultrasound camera, surgical video camera, etc.)
1. If you are adding the USB200 to imaging equipment that you are already using, then begin by
unplugging the existing video cable that connects the monitor and the video source.
2. Connect a cable between the “Video Out” on the video source and the “Video Input” on the back
panel of the USB200. Then connect another cable between the “Video Out” on the USB200 and
the “Video Input” on the monitor.
3. Plug in the power cord.
4. As an option, you may connect audio cables (not included) to the input and output of the USB200.
Connect in the same manner as the video cables in Step 2 above.
5. You can also connect standard footswitches to the “Capture” connectors on the back panel. A
footswitch connected to the “Still” connector performs the same function as the
Capture Photo
button on the front panel. The “Motion” connector performs the same function as the
Capture
Video
button. Footswitches are available as an option at medicapture.com.
Note: To make the video connections, you can use BNC or S-Video cables. If your camera or monitor
uses RCA connectors, you will need to obtain a BNC-to-RCA adapter. (Some USB200 models ship
with this adapter.)
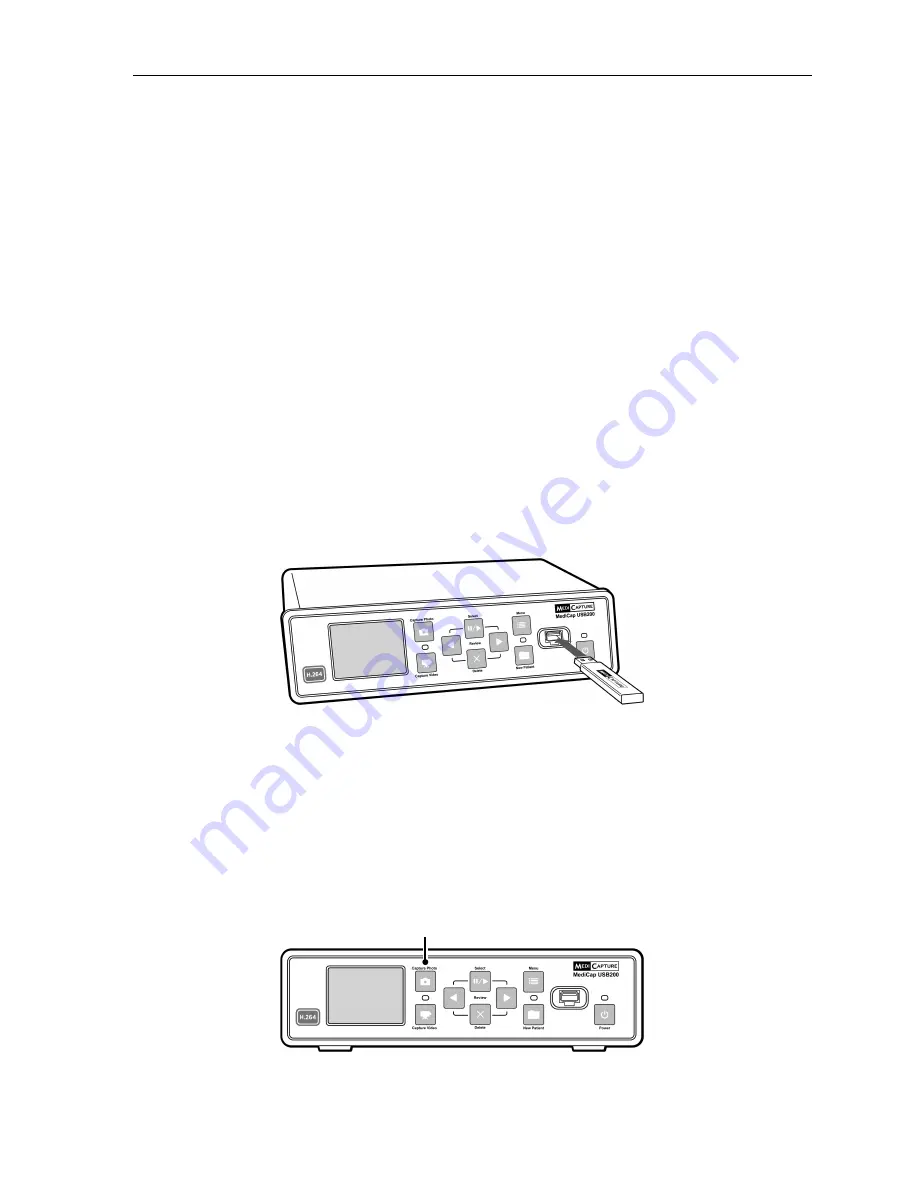
Inserting a USB Flash Drive
Before you begin using your USB200, insert the supplied MediCapture brand USB flash drive in the
USB connector on the front panel.
MediCapture brand flash drives come in a variety of models. The flash drive supplied with your USB200
may not look the same as the one in the above illustration, but it will function in the same way.
MediCapture brand USB flash drives are recommended because they have been tested for
compatibility with the USB200. You may use other brand name USB flash drives. However, please
note that compatibility is not guaranteed for non-MediCapture brand flash drives.
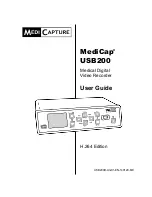
Capturing Images
Capturing images with your USB200 is simple. When you see an image on your monitor that you
would like to capture, simply press the
Capture Photo
button on the front panel. The image will be
saved directly to the inserted USB flash drive (later, you can transfer your images from the USB flash
drive to your computer).
Capture Photo button


