3.
Select a value for the Avg Exp box. This is the number of exposures that are
averaged together to create each composite Dark Frame exposure. Typically,
set this value to 10.
4.
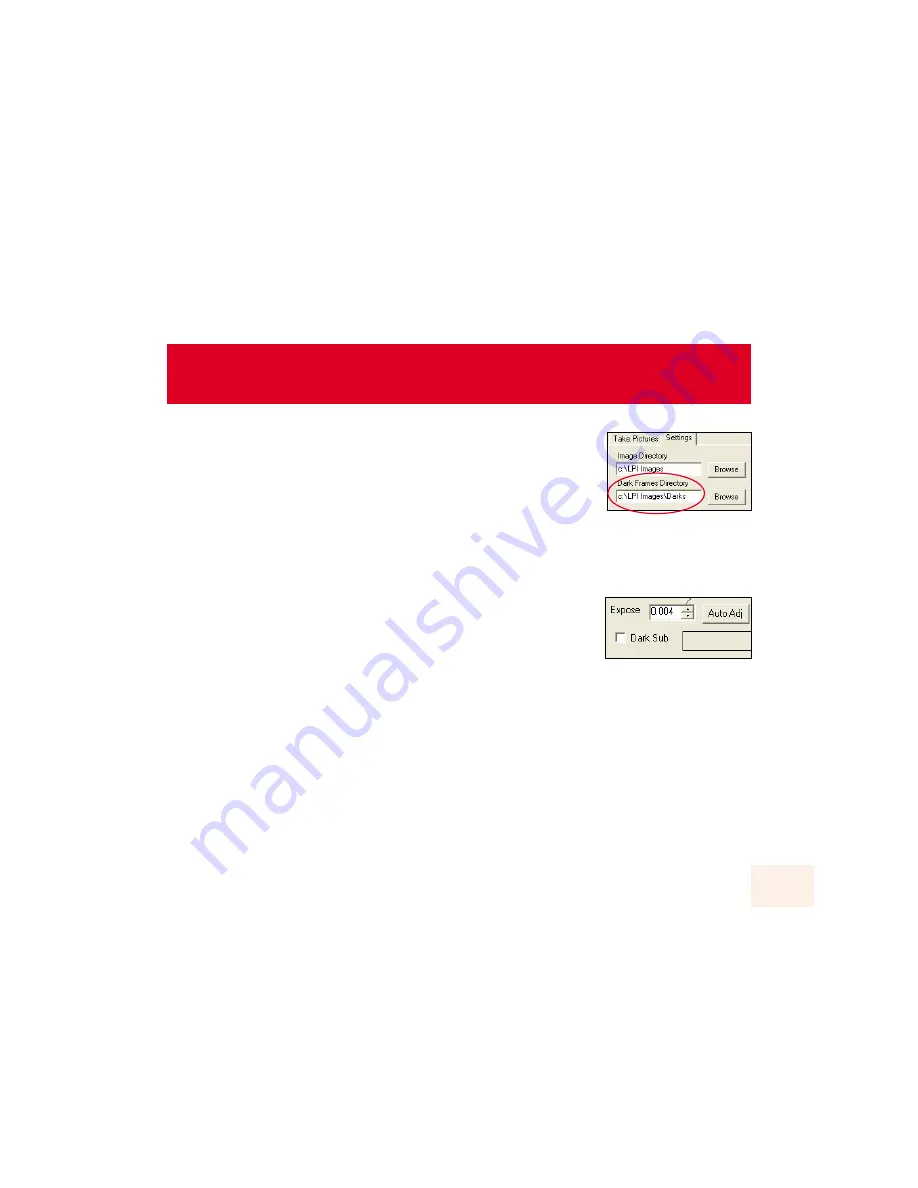
Click on the Setting tab (9). The Dark Frames directory field displays. The Dark
Frames will be saved to this directory. You may change the directory if you wish.
5.
Click the Start button (14). A message displays that tells you to cover up your telescope or LPI camera.
Replacing the lens cap on your telescope is sufficient.
The program erases all the old Dark Frames files in the directory, and takes and saves the new Dark
Frames series. When all the Frames are taken, “Done” displays in the Status Display (24). Notice the
Histogram display; it will reflect the Dark Frames that are being imaged.
6.
Select an exposure in the Exposure Controls (2). The Dark Frames feature is
used with Longer exposures, so your exposure time should typically be longer
than 1 second.
7.
Check the Dark Sub check box (6). The Dark Frames feature is automated, so
Dark Frames will automatically be applied to any pictures you now take.
8.
Remove the lens cap from your telescope or uncover your LPI camera.
Begin taking pictures as previously
described in “Start Taking Pictures.” (See page 10 for more information.) The Dark Frames feature is
automated, so Dark Frames will automatically be applied to any pictures you now take.
Note that if you are taking longer exposures, better results will be achieved with black and white (mono) images:
Check the Mono check box (4).
Dark Frames
2
28


