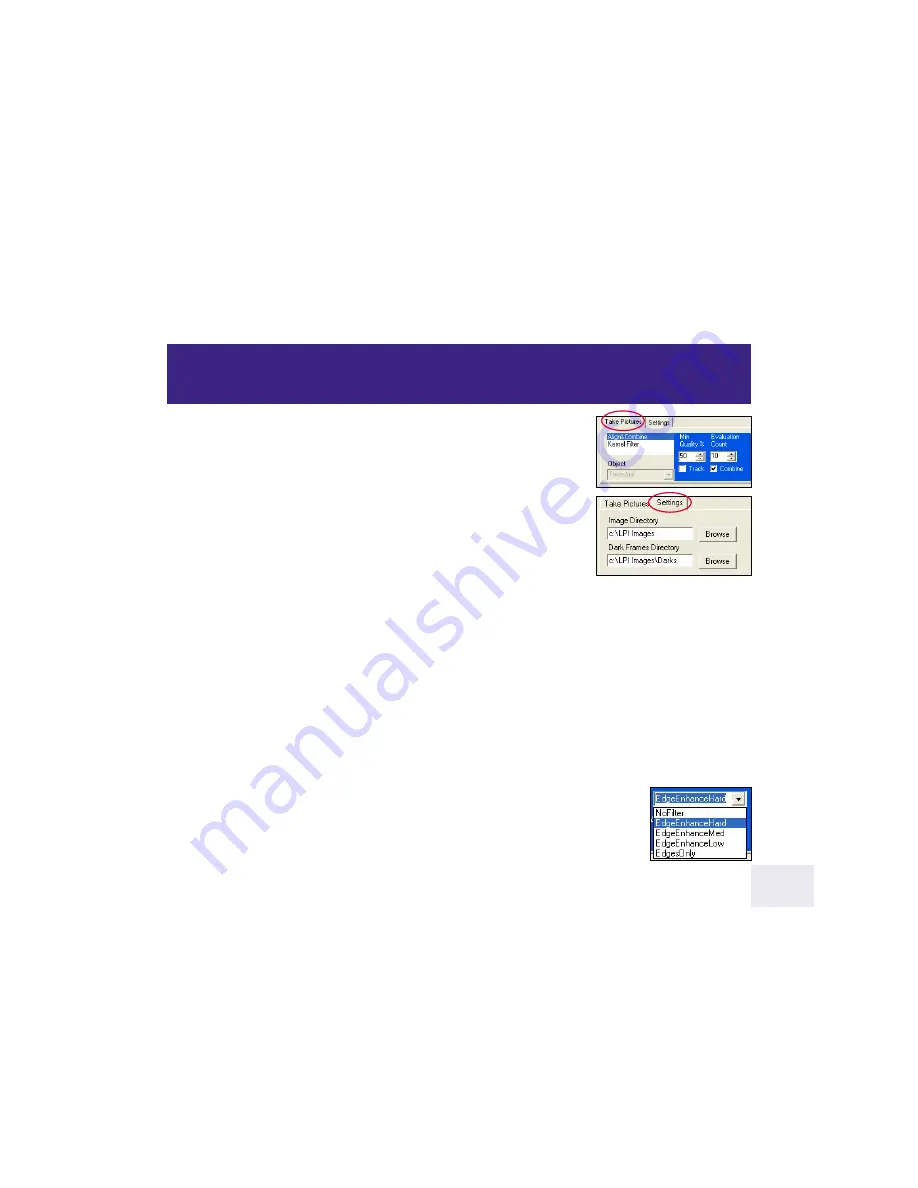
Take Picture Tab (8)
: Click on the Take Picture Tab to display the Take Picture
controls.
Setting Tab (8)
: Click on the Setting Tab to display the Setting controls.
Align and Combine (9)
: Selects a minimum quality level that is acceptable when
images are added together to produce the composite image. Typically 50% is
selected. You may wish to set it lower (e.g., 30%) if you have an image that has
a lot of turbulence or other noise, but should try adjusting other controls first,
such as the
Exposure (2)
setting,
Histogram sliders (19)
and
Filters (9).
Also try
refocusing the telescope.
Object (10):
Displays a list of objects to view, such as Mars, the Moon, terrestrial, etc. Adjusts some of the
image processing settings to preset levels that will assist you in better quality images for the select object. Also
“Take Dark” is on this list; see “Dark Frames,” page 27, for more information.
Click on the
Min Quality % spin box
to change the minimum quality level.
Evaluation Count
allows you change number of images accumulated and evaluated to determine a quality
baseline when the Start button is pressed. Normally, 10 images are evaluated (this is the default number). Click
in the spin box to change the number of images used.
Track check box:
Check this box if you wish to have the ROI track the centroid. See “Tracking Boxes and
Centroids,” page 23, and “ROI,” page 24, for further information.
Combine check box
: Normally, you will leave this box checked. If you wish to take raw images that are not
combined into a composite image (you may wish to process the images yourself), uncheck this box and check
the Save Every Image box. The LPI camera will take images and save them in the Image directory.
Kernel Filter
: The chosen sharpening filter is applied to the composite image as it is saved
and is displayed in the live Display Image after about 10 images are accumulated. 3 levels
of sharp filters, 1 edge only filter and “None” (no filter) are available.
Image Processing Controls
1
17


