26
3. When the Windows Security window appears
check the
Always trust software from “Savitech
Corp.”
box and then the Install button. When the
software has been installed, it is necessary to re-
boot the computer. Refer to figure 96.
After rebooting, a McIntosh-HD icon will
appear on the desktop. Refer to figure 98.
USB Connection
Connect the USB Cable with Type A to Type B con-
nectors between the PC Computer and the McIntosh
Product with the USB-Digital Audio Input. An Icon
will appear On-Screen
indicating Windows has
found new hardware.
Refer to figure 99.
Upon completion of in-
stalling the driver, figure
100 will appear.
Windows Sound Settings
For proper operation of the McIntosh Product via the
Computer USB Connection, it is required to make
changes to Windows Sound Settings:
1. From the Windows
START button, click on
“CONTROL PANEL”
followed by selecting
“SOUND”. Refer to
figure 101.
2. Referring to figure 102,
first select “McIntosh-
HD HS USB Audio” and
than click on the “Set
Default” button.
Notes: 1. When the McIntosh USB Audio Product is
not connected to
your computer,
the previous
default Audio
Device will be
selected.
2. If other McIn-
tosh Products
with USB Audio
Connections are
also connected
to the computer, an additional “McIntosh
USB Audio” playback device will appear in
the listing. Make sure to select the “McIn-
tosh-HD HS USB Audio” from available
playback devices listed when using this
McIntosh Product for USB Audio.
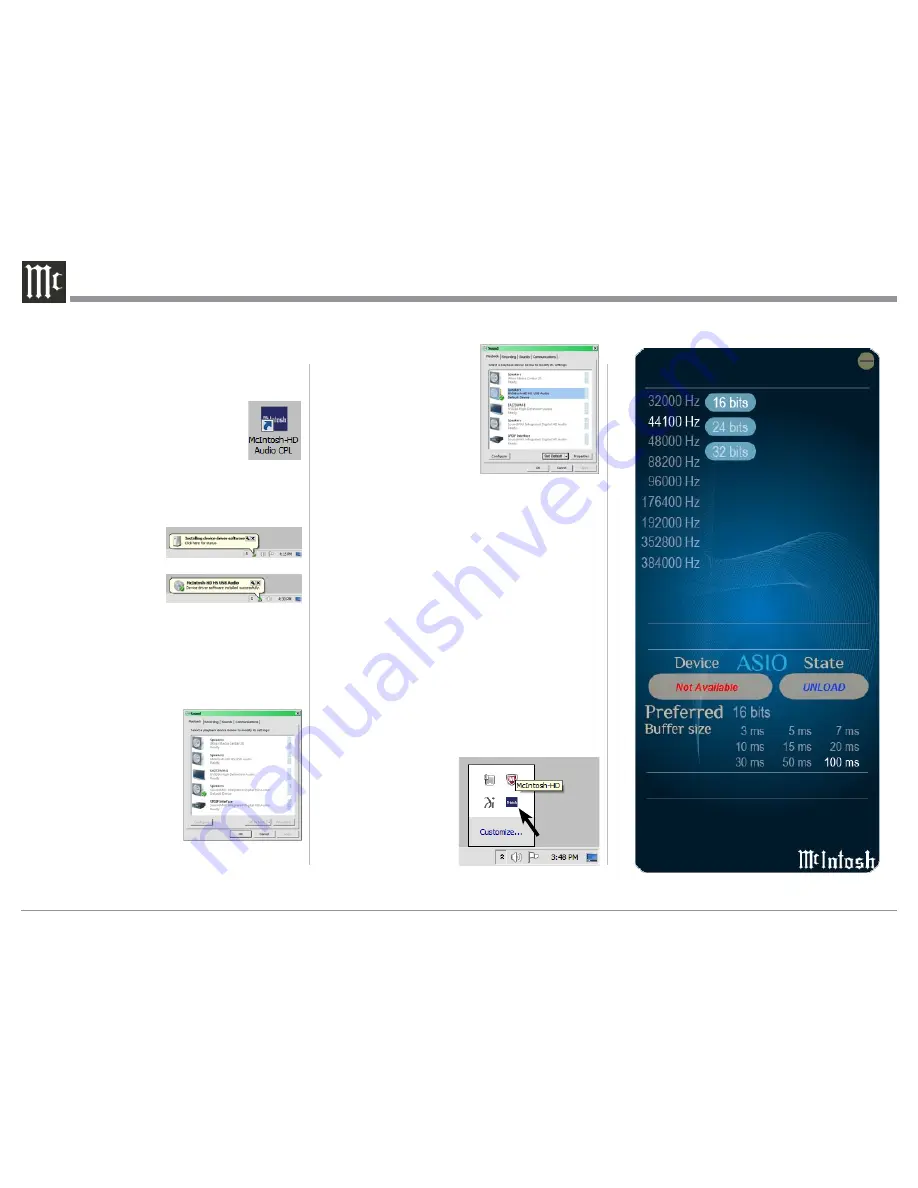
Control Panel Settings
To activate the McIntosh-HD USB Audio Control
Panel Click on the “McIntosh Icon” (located in the
Windows notification area on the right side of the
taskbar) or click on the Wiondows “Show hidden
icons”, then select the “McIntosh Icon”. Refer to fig-
ures 103 and 104.
Notes: 1. It is not necessary for the McIntosh-HD USB
Audio Control Panel to be running, unless it is
desired to make changes to the default settings.
2. The McIntosh-HD USB Audio Control Panel
displays the cur-
rent Sampling
Rate, Bit-Rate
and Buffer Size
for the music
streaming from
the computer
into the C52.
Figure 103
Figure 104
Figure 98
Figure 99
Figure 100
Figure 101
Figure 102


